How to View Project Profitability
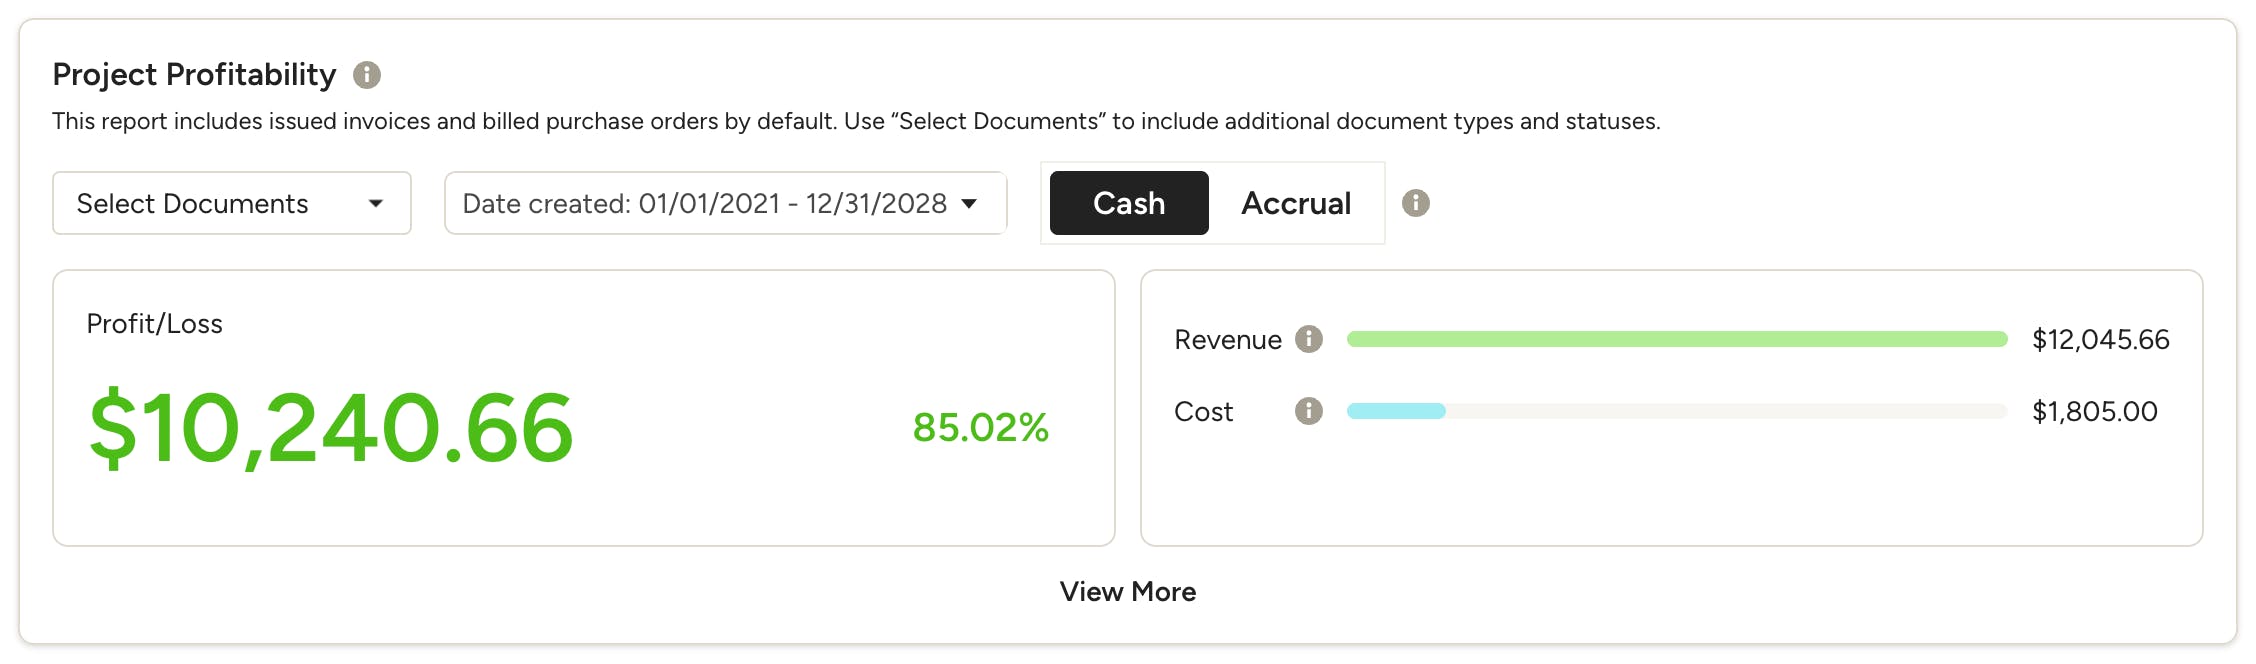
Project Profitability gives you a clear, at-a-glance view of how profitable each of your projects really is. Instead of pulling numbers from separate revenue, expense, and time reports, you can see it all in one place — and quickly spot which projects are earning well and which ones need attention. The report combines the following things into a single view for each project:
- Revenue — what the project is bringing in
- Cost — what it's costing you (purchase orders, time, expenses)
What's Included
To give you a reliable picture of revenue and costs you've actually committed to, the report includes the following by default:
- Issued invoices
- Billed purchase orders
What's Excluded
To keep profitability numbers grounded in real financial commitments, the report always excludes:
- Draft documents — these haven't been finalized yet, so they're not counted.
- Sales tax — this is collected on behalf of tax authorities, not project income, so it's left out of revenue calculations.
View Project Profitability
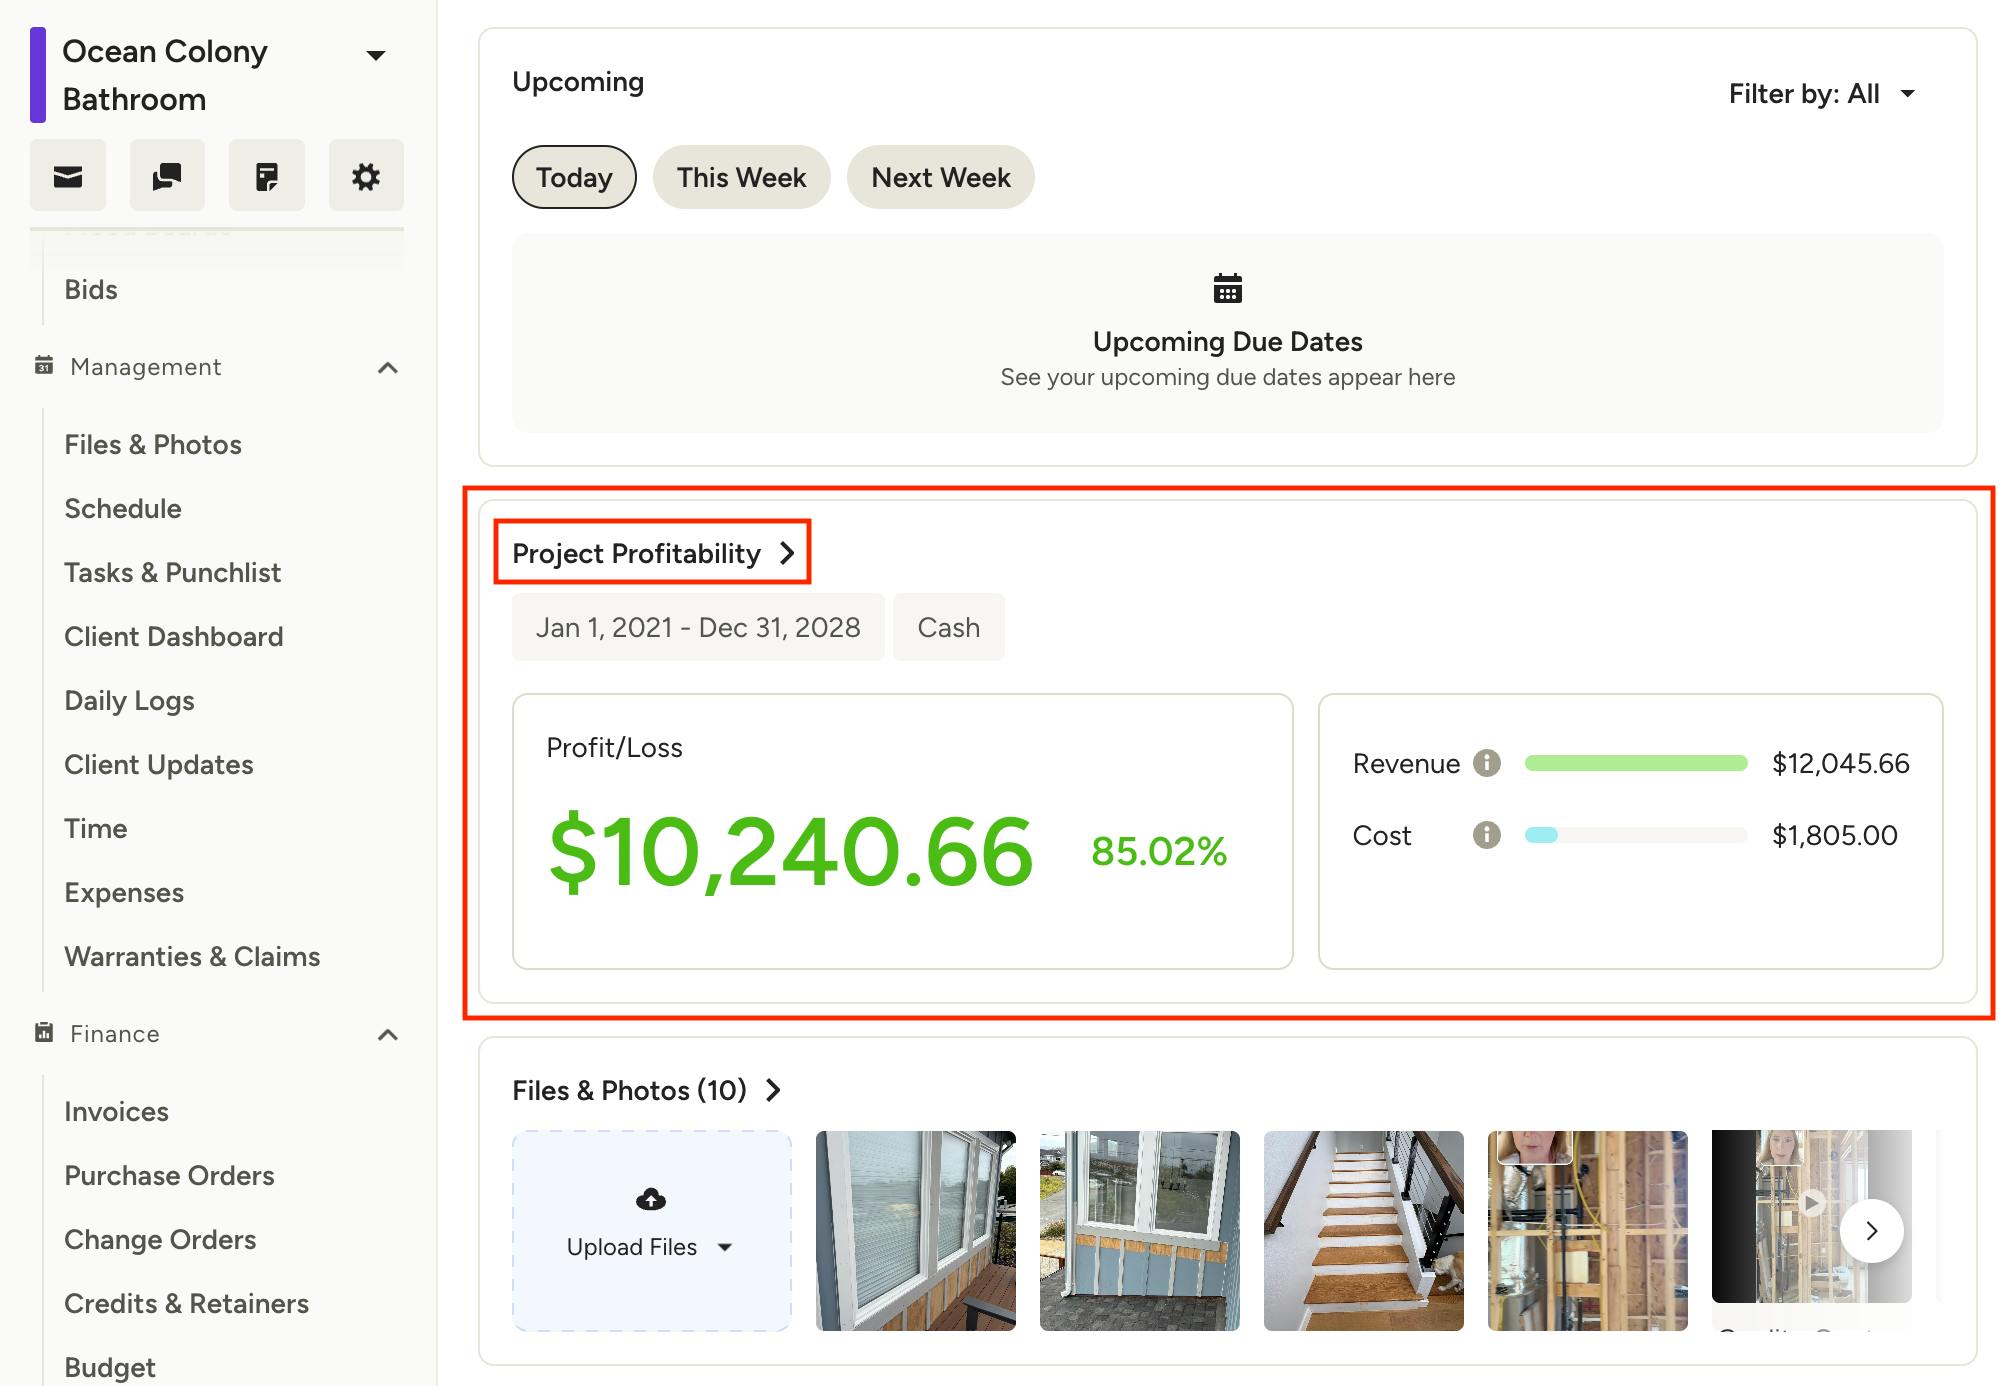
You can view the Project Profitability for a specific project directly on the project overview page. This will show you a summary of the profit/loss, revenue and cost. The timeframe and accounting method will be displayed at the top. To see a detailed breakdown and adjust the settings, click the Project Profitability title.
If you don't see Project Profitability on the project overview page, open the customize settings and toggle it on.
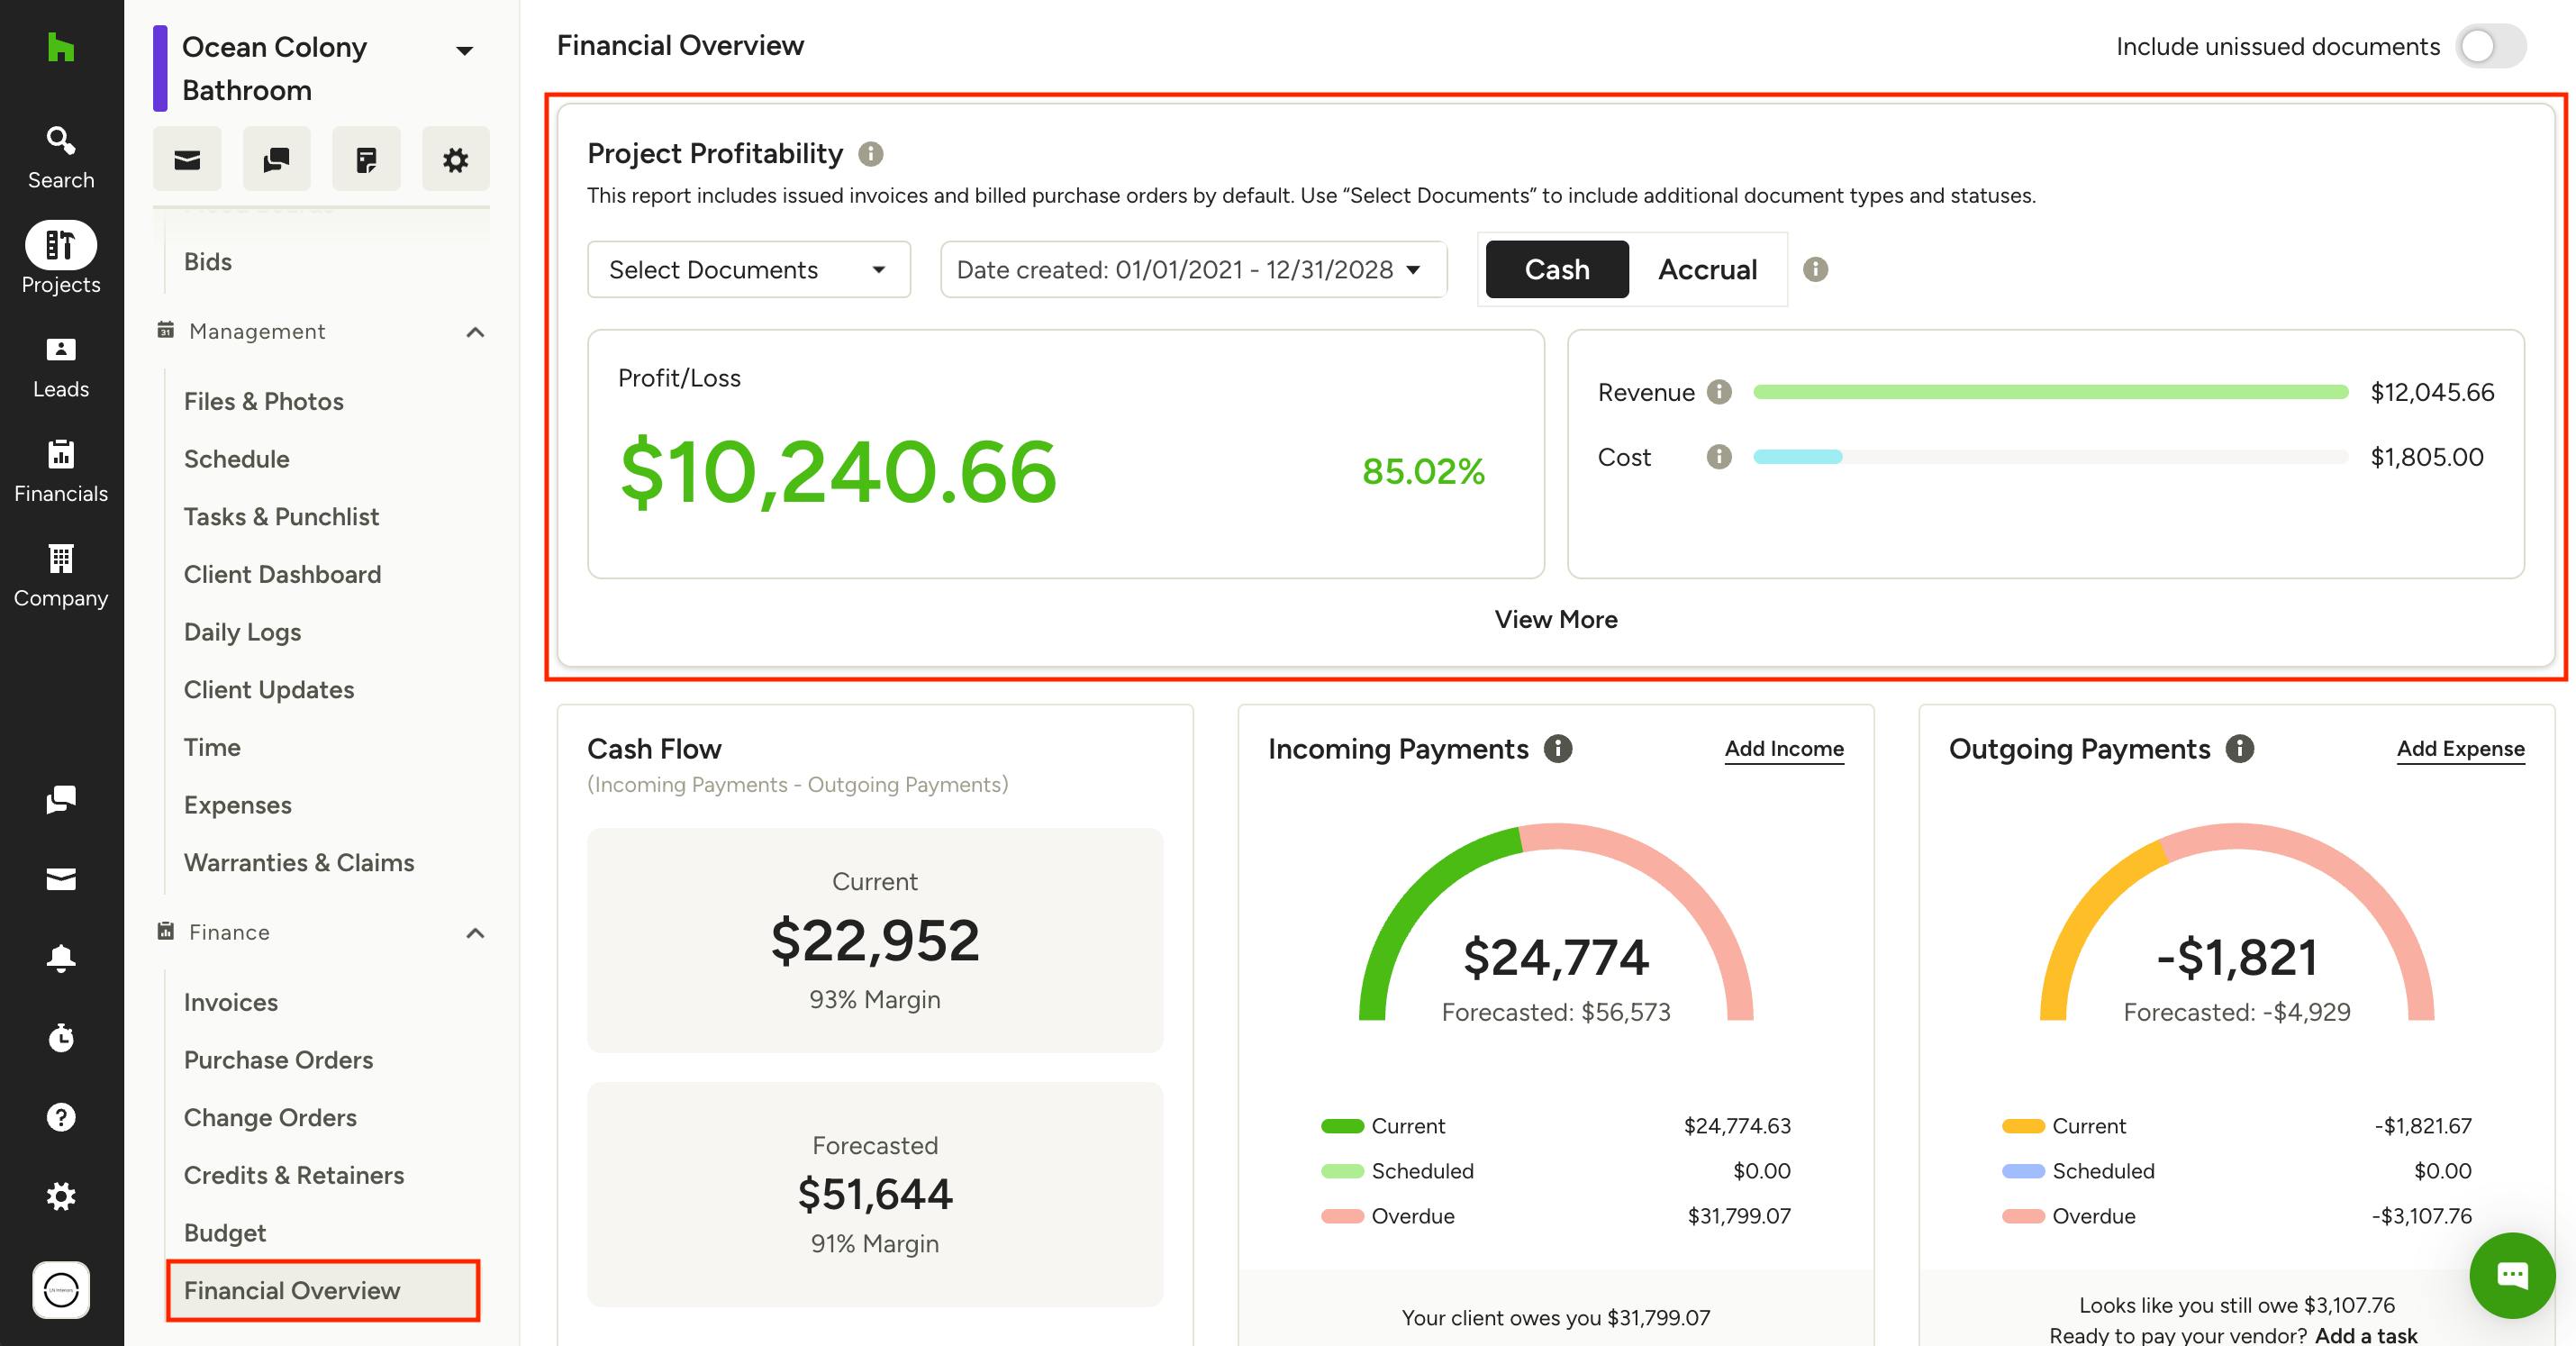
You can also access Project Profitability by clicking Financial Overview from the menu on the left within the desired project. On the Financial Overview page, Project Profitability will be at the top.
Customize What's Included
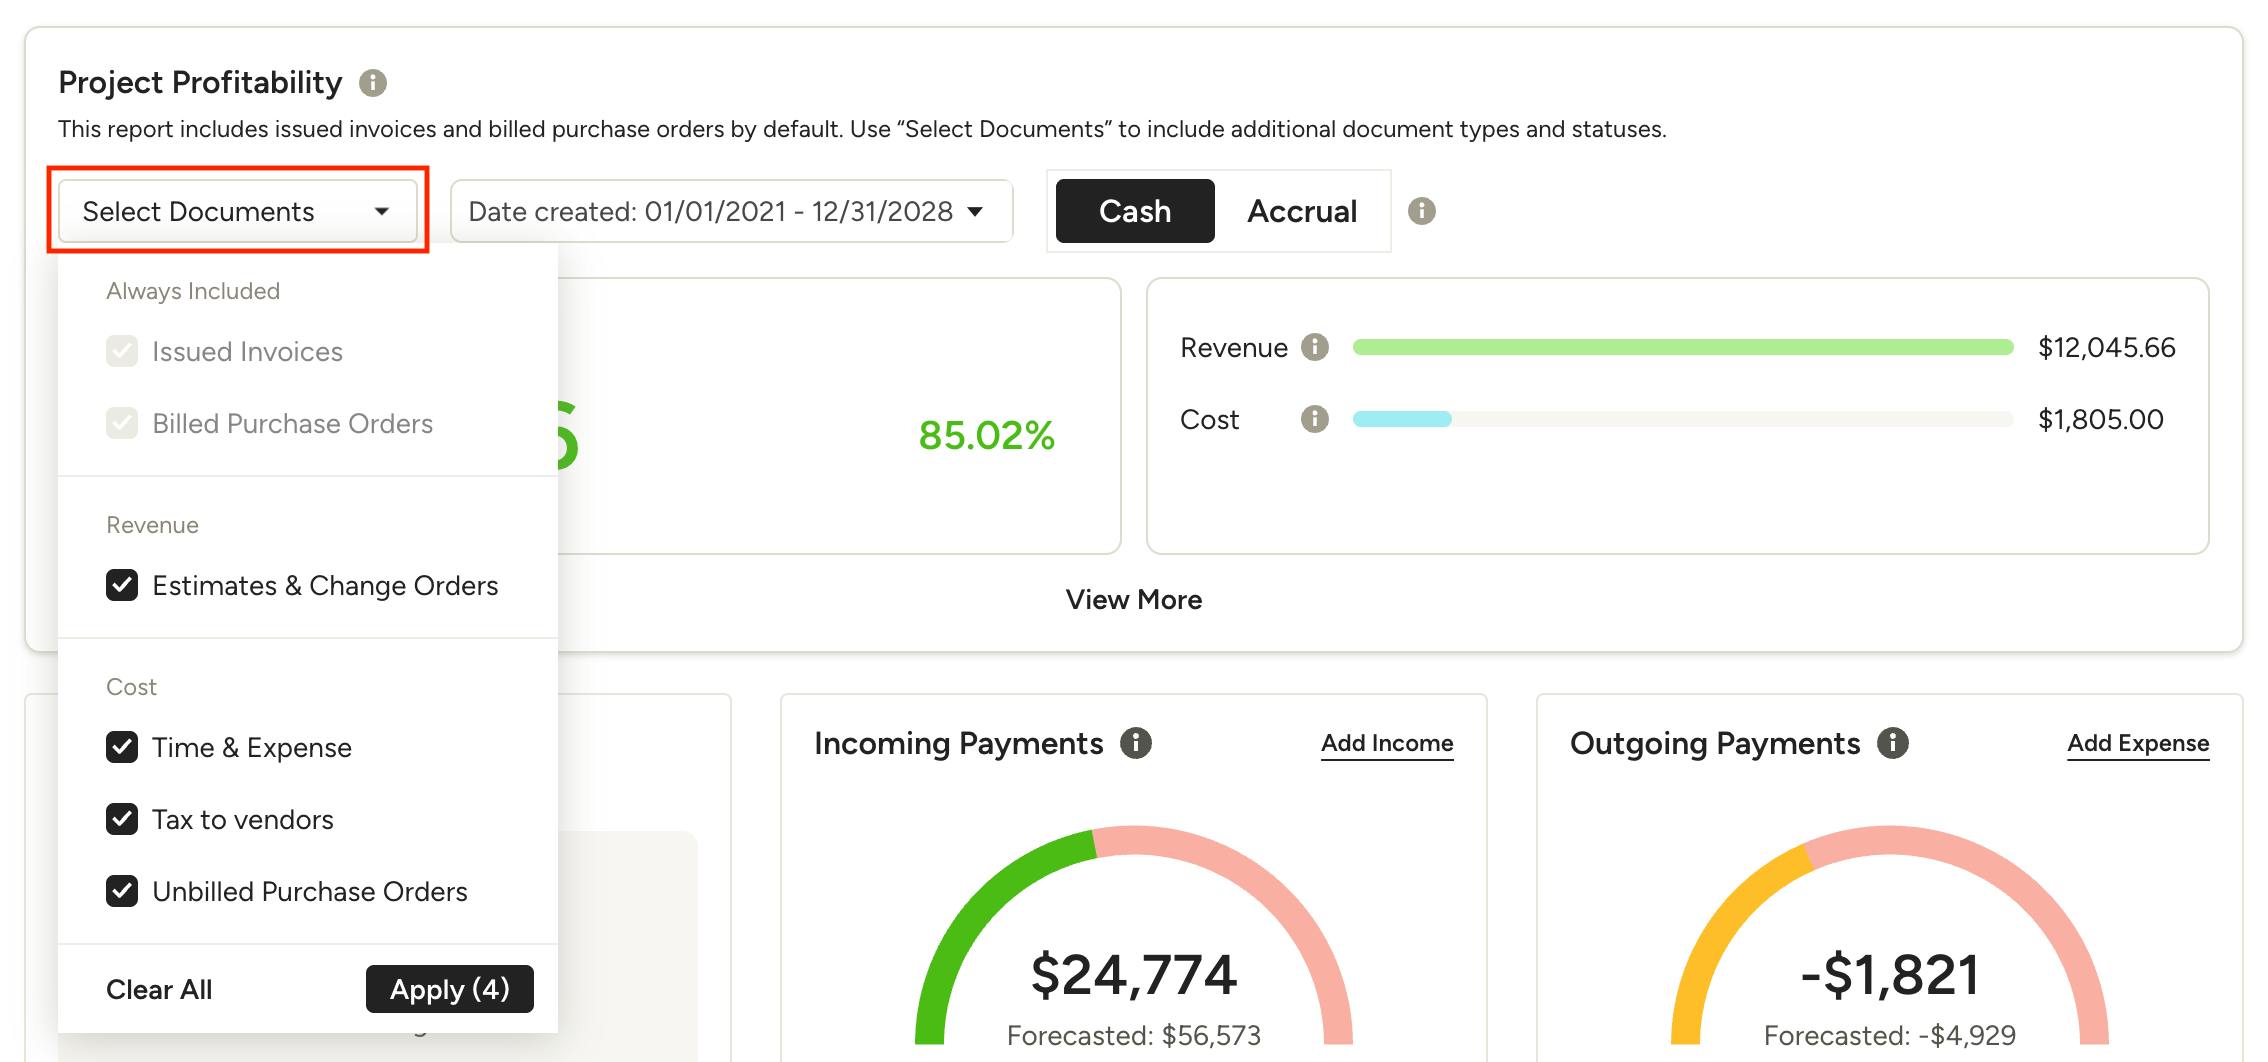
By default, Project Profitability shows only finalized, committed amounts. If you want a fuller picture, you can choose to include additional items. Turn these on or off depending on how far ahead you want to look — from strictly what's been finalized to a more forward-looking estimate that includes pending work. Additional items available to include are:
For Revenue:
- Estimates and change orders
For Cost:
- Time and expenses
- Tax to vendors
- Unbilled purchase orders
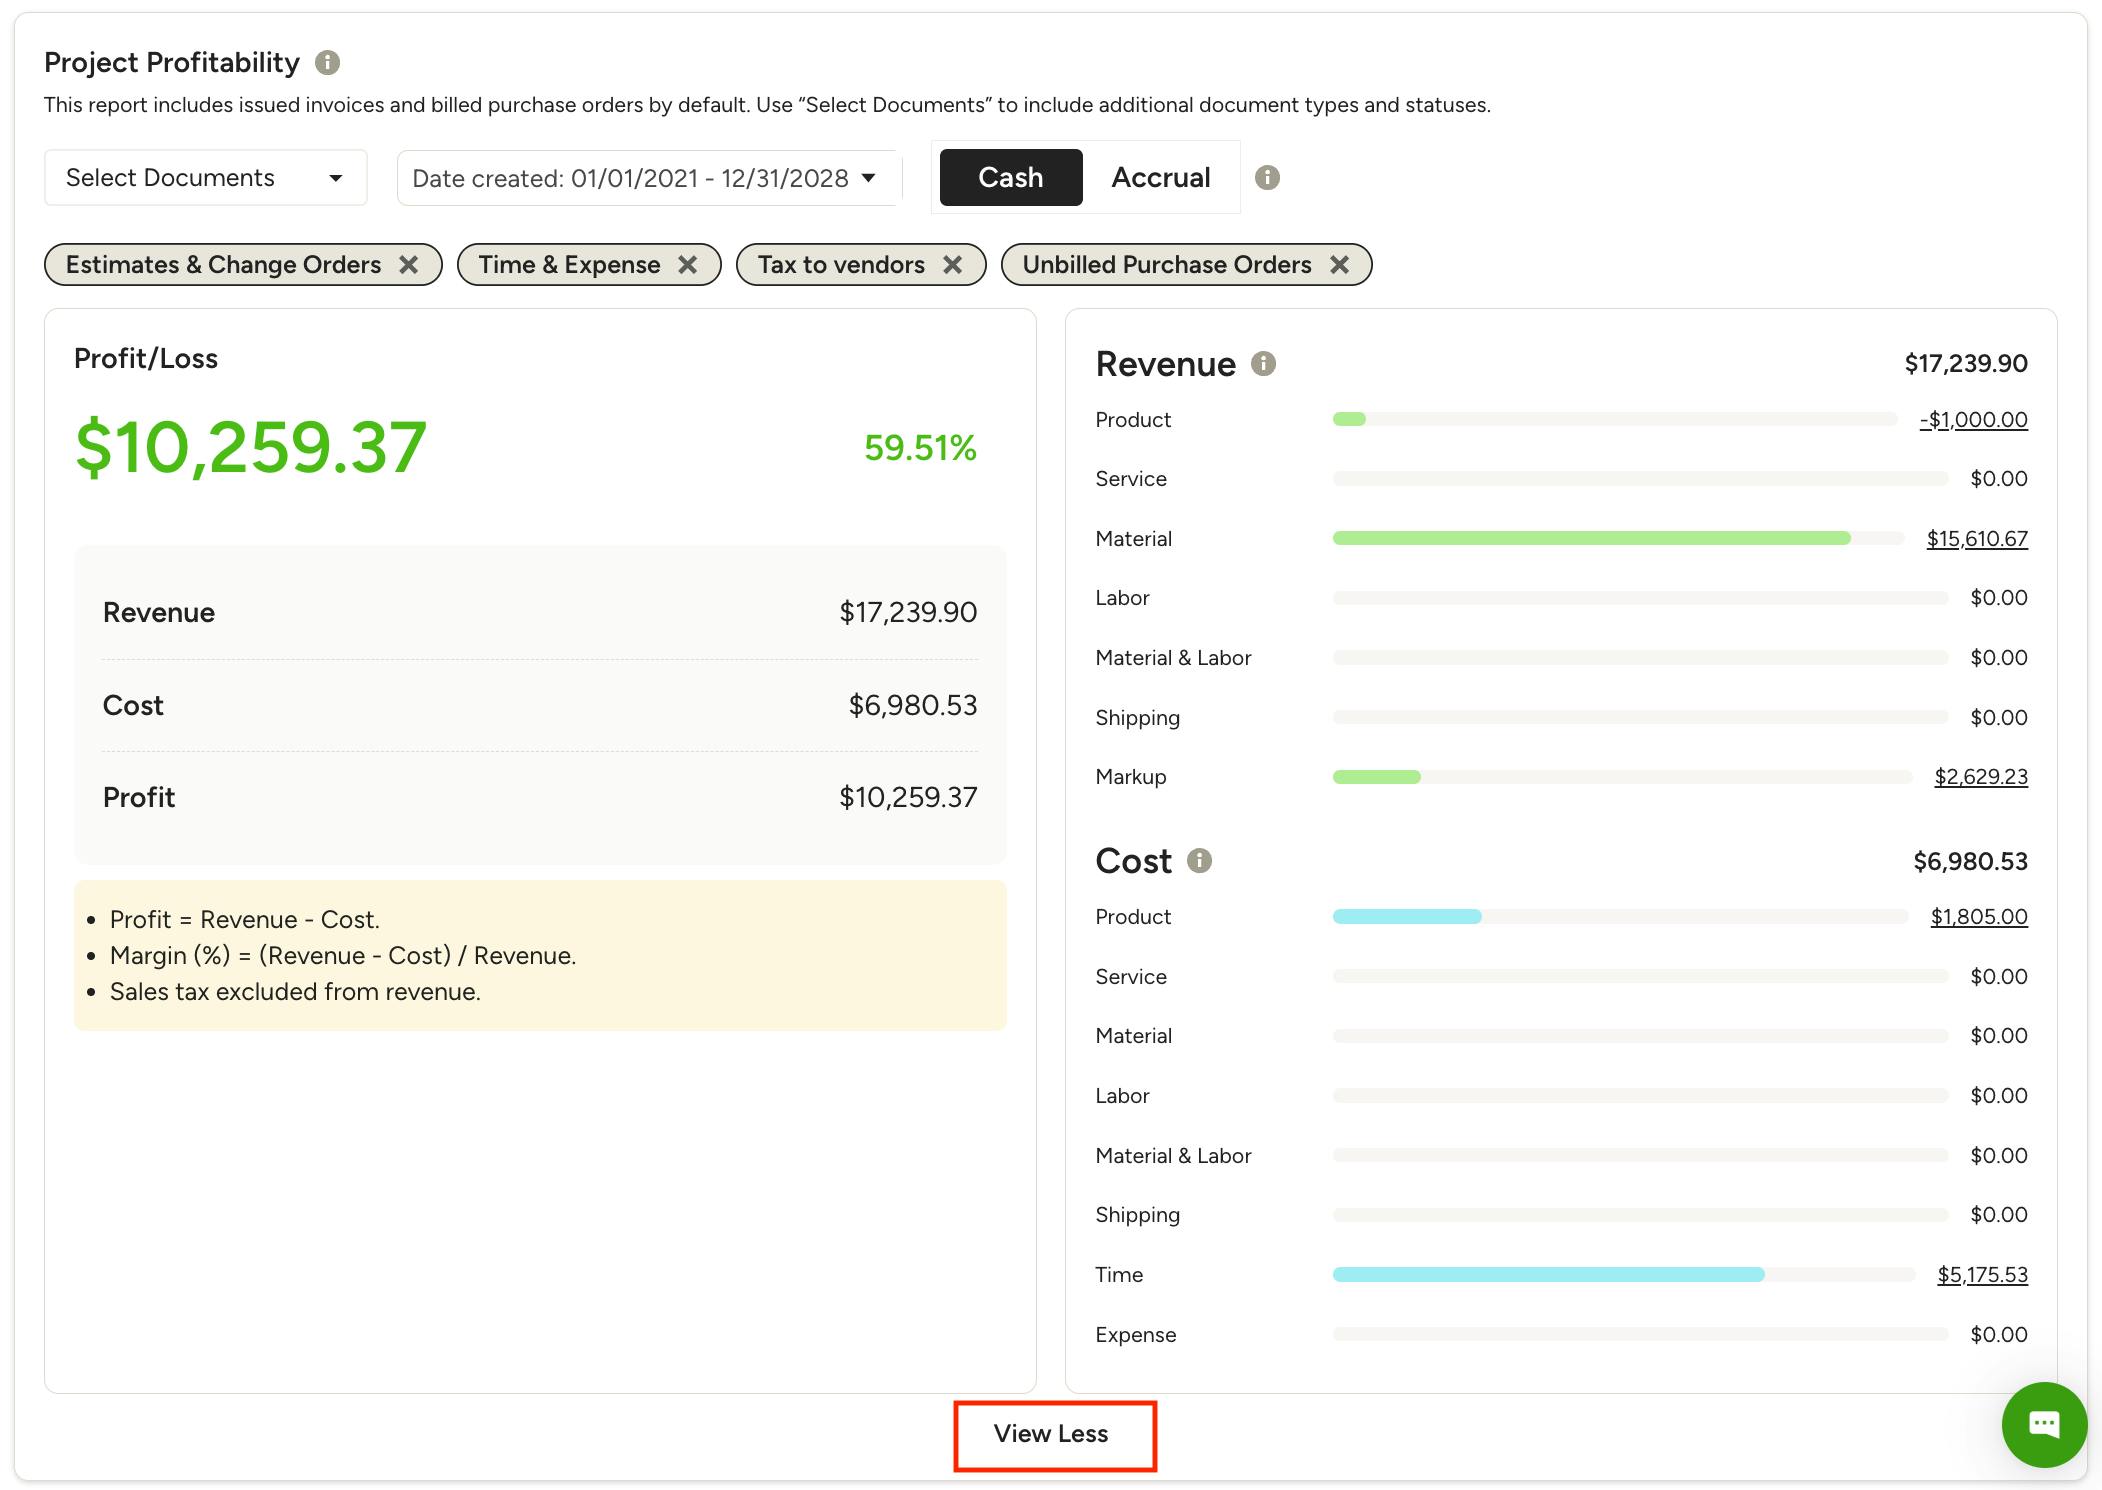
To include these items, use the Select Documents dropdown at the top of the report. Once you make a change, click Apply to update the report view.
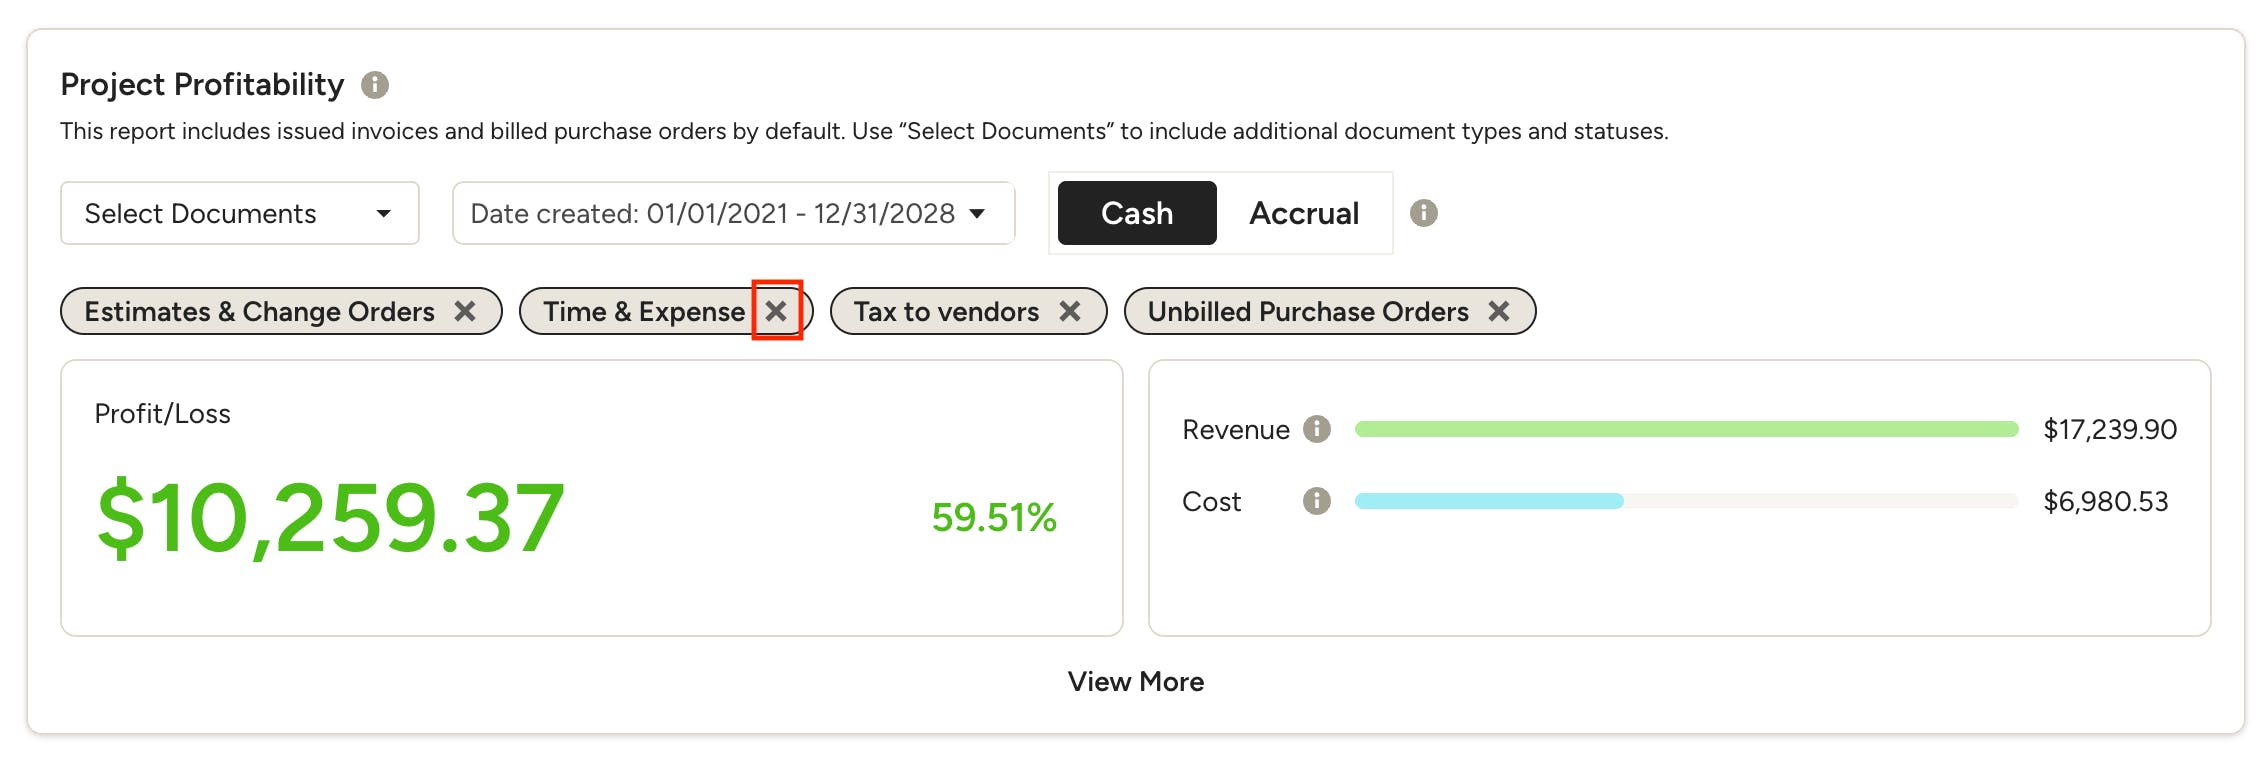
Once applied, you can easily remove these additional items by clicking the X on the one(s) you want to exclude from the report.
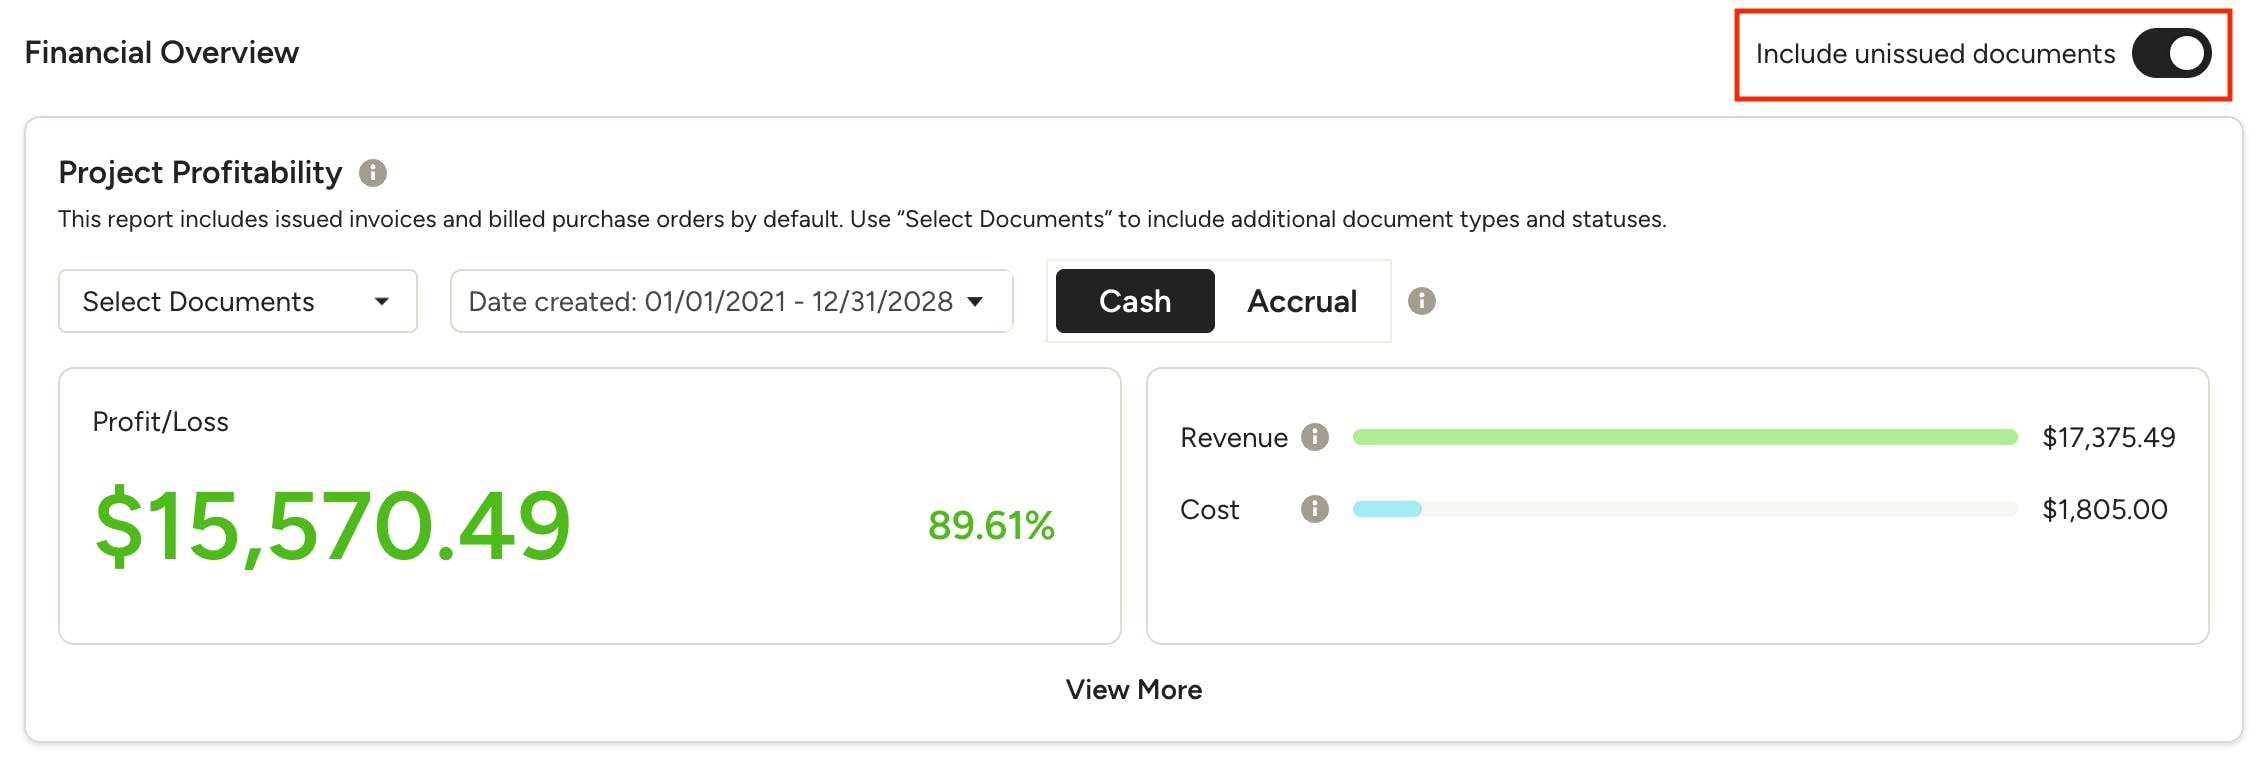
Include Unissued Documents
Unissued documents are excluded from Project Profitability (and the overall Financial Overview) by default. To include them, toggle on the Include Unissued Documents option in the top right of the page.
Note: Including or excluding issued documents will update the calculations for the entire Financial Overview.
Cash vs. Accrual Accounting
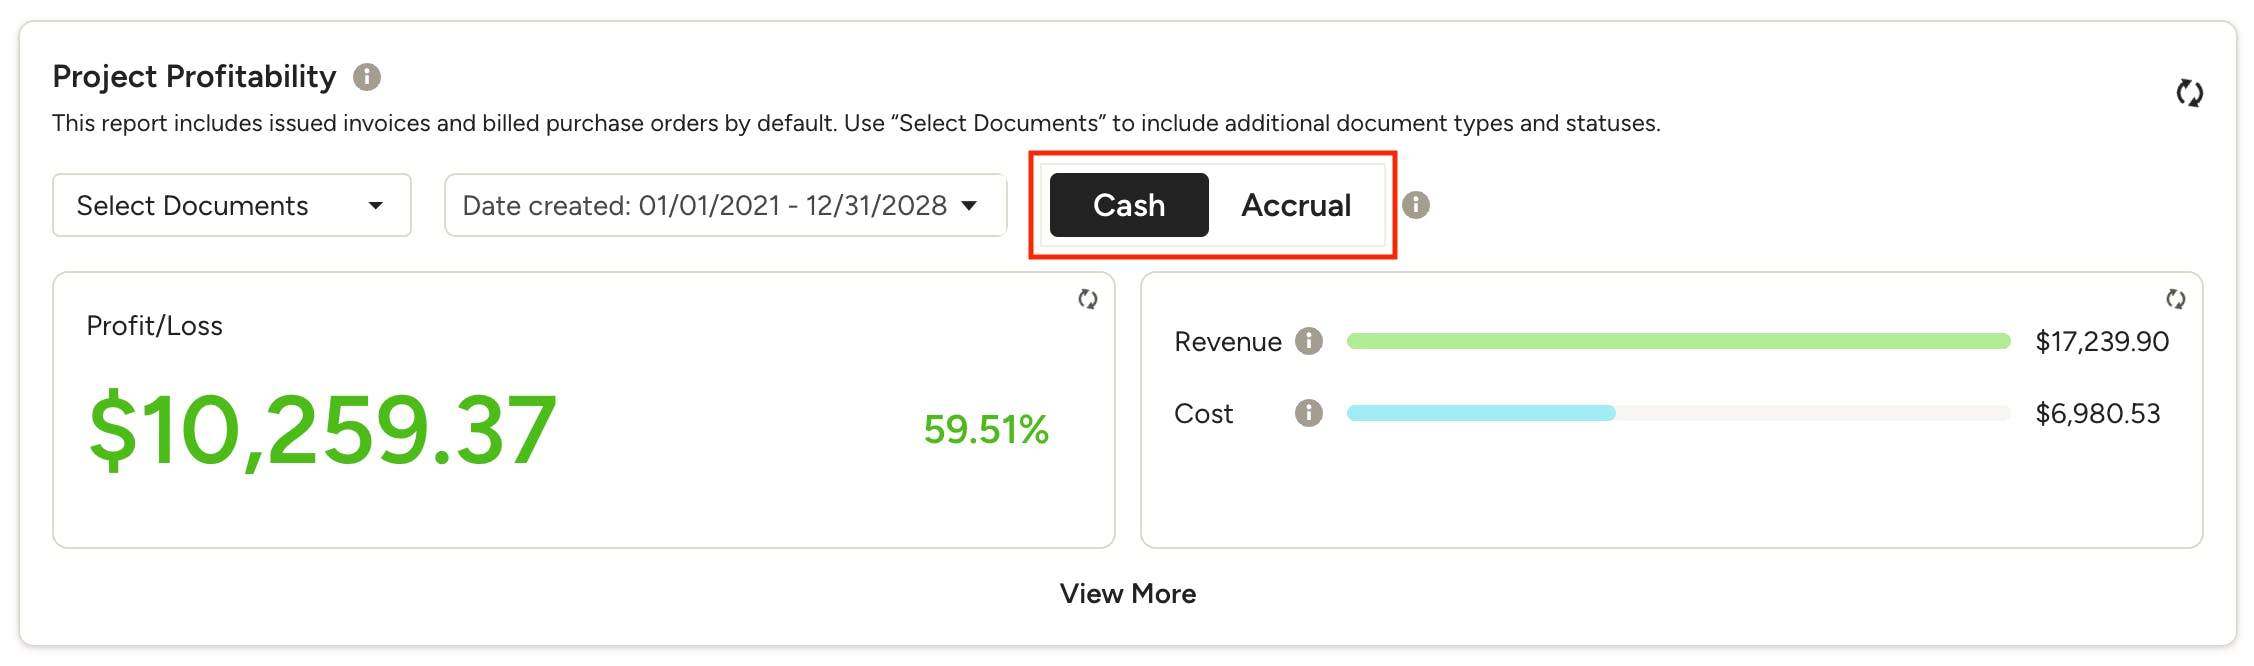
You can switch between cash and accrual accounting methods at the top of the report, so it reflects profitability the way you actually track your finances.
- Cash — shows revenue and costs only when a payment is received or made.
- Accrual — shows revenue and costs when recorded.
Minimal vs. Detailed View
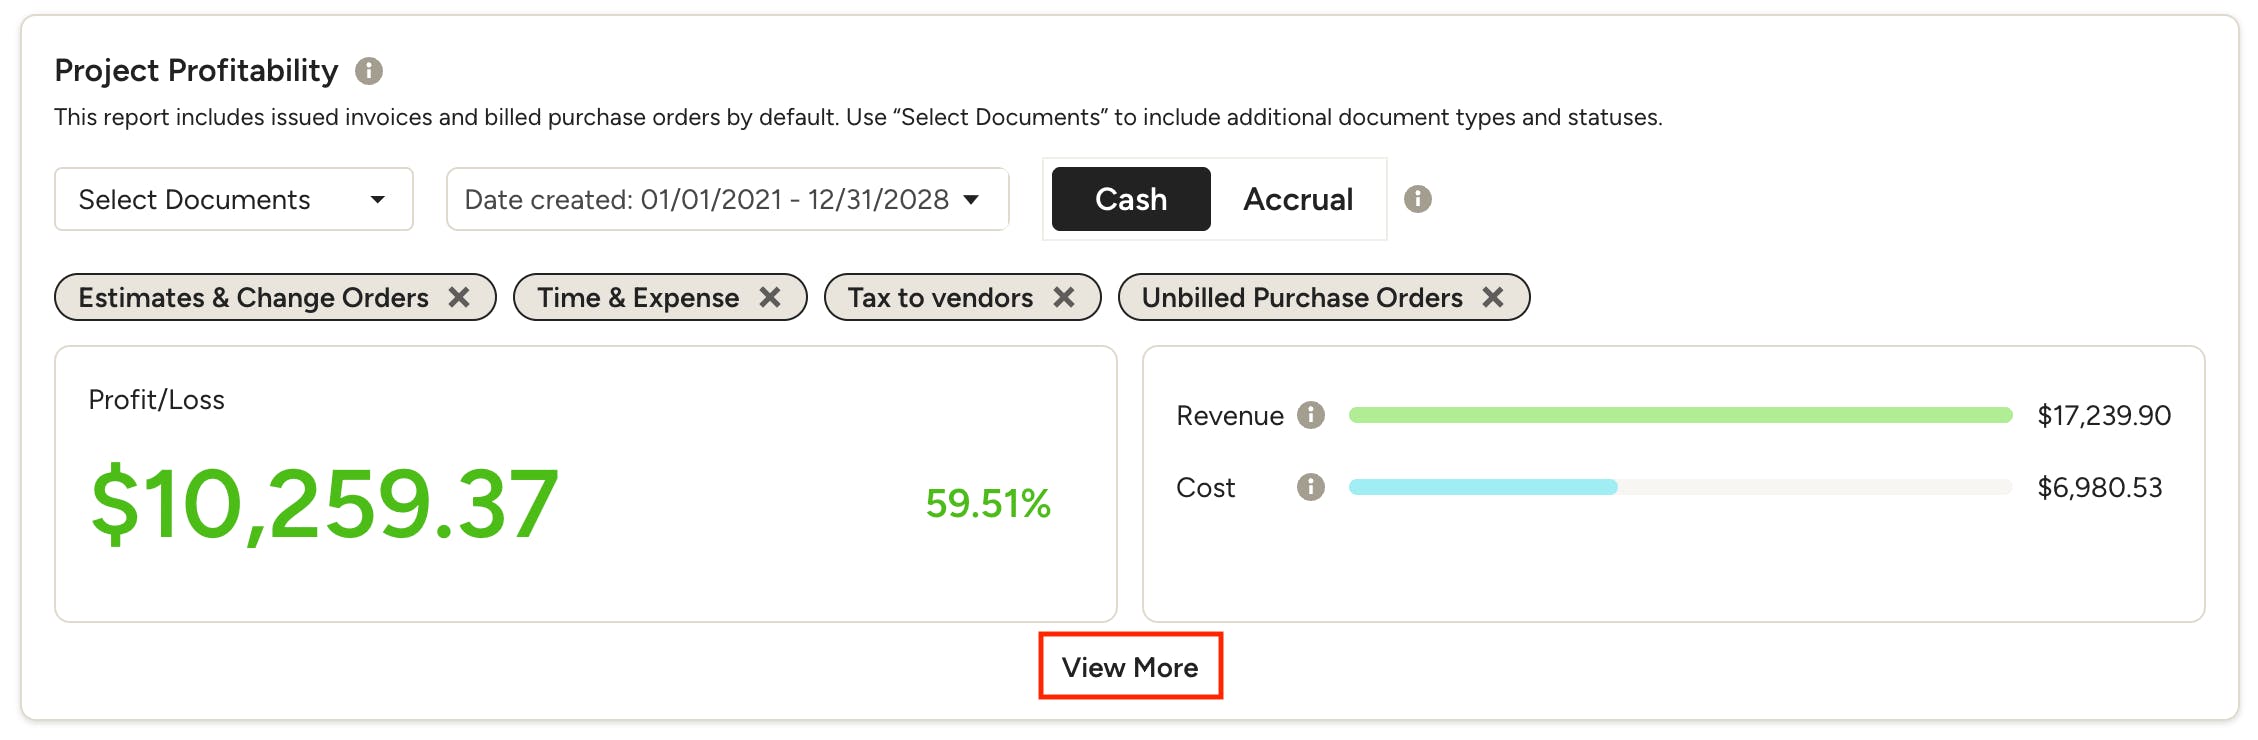
You can choose how much detail you want to see on the report by clicking the View More or View Less text at the bottom of the report to adjust the view.
- Minimal view — shows just the totals for revenue and costs.
- Detailed view — breaks costs down by type (e.g., labor, materials, purchase orders) so you can see exactly where money is going.
Minimal View:
Detailed View:
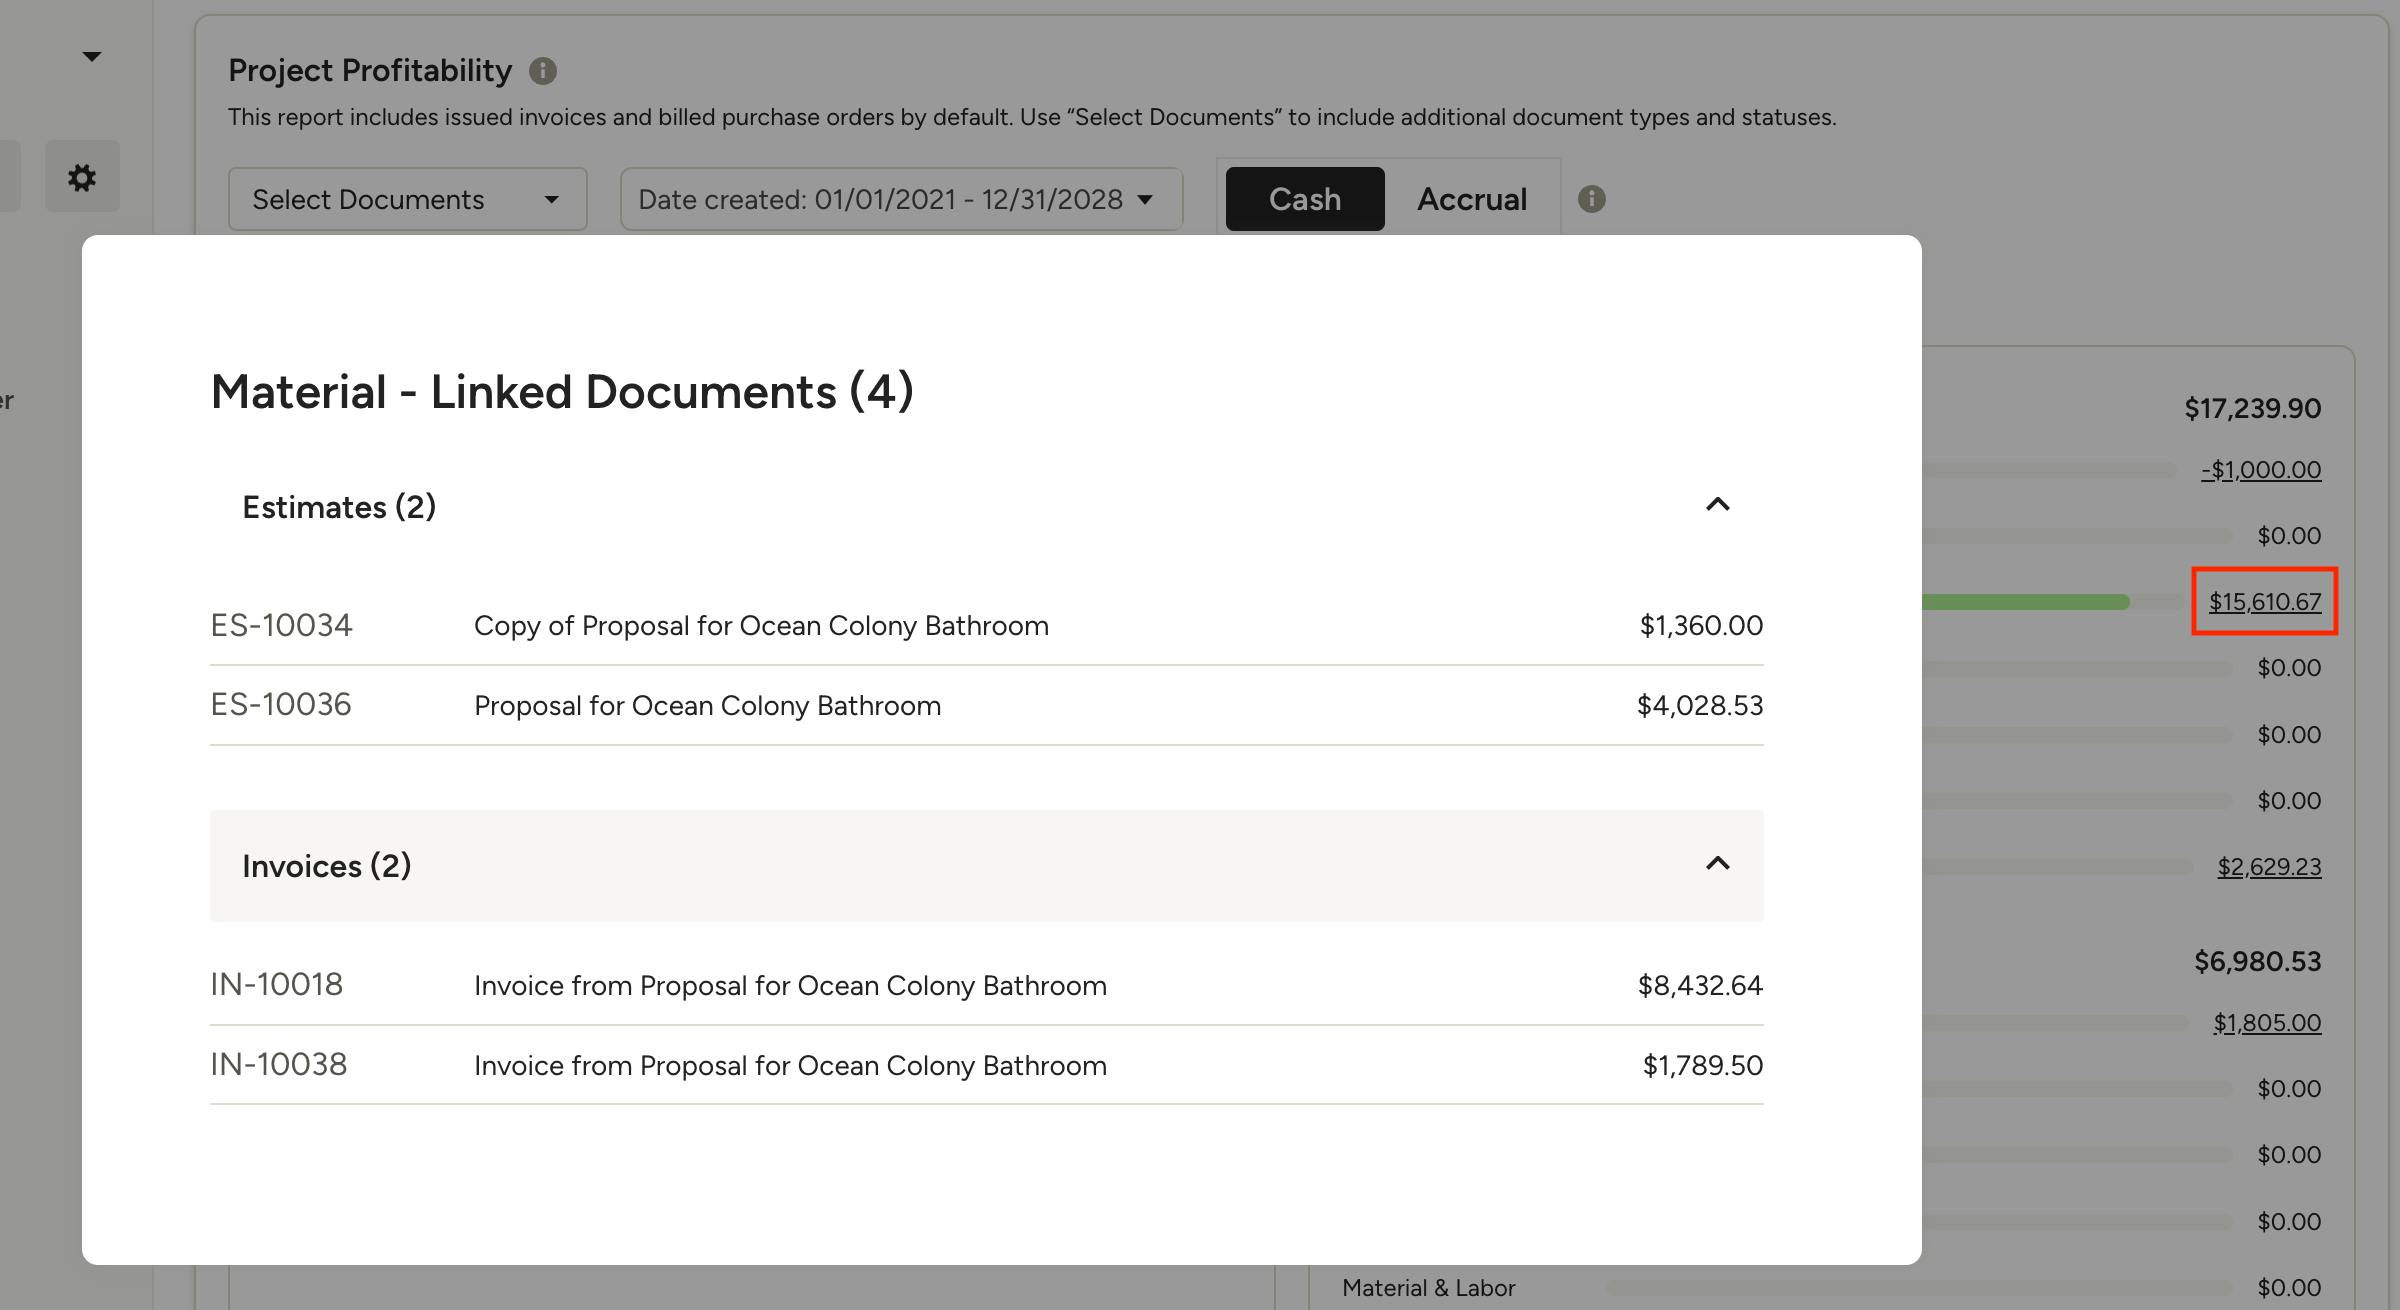
In the detailed view, you can click on the dollar amount on a type (material, product etc) to see the documents linked to that total. Click on a document in the Linked Documents modal to open said document.