How to Send Client Updates
With the Client Updates feature in Houzz Pro, you can send consistent, professional weekly progress reports to your clients. Instead of writing summaries from scratch, Houzz AI will generate an overview based on real project activity. You can then edit the overview as needed, and publish it to your client's dashboard in just a few clicks.
Access Client Updates
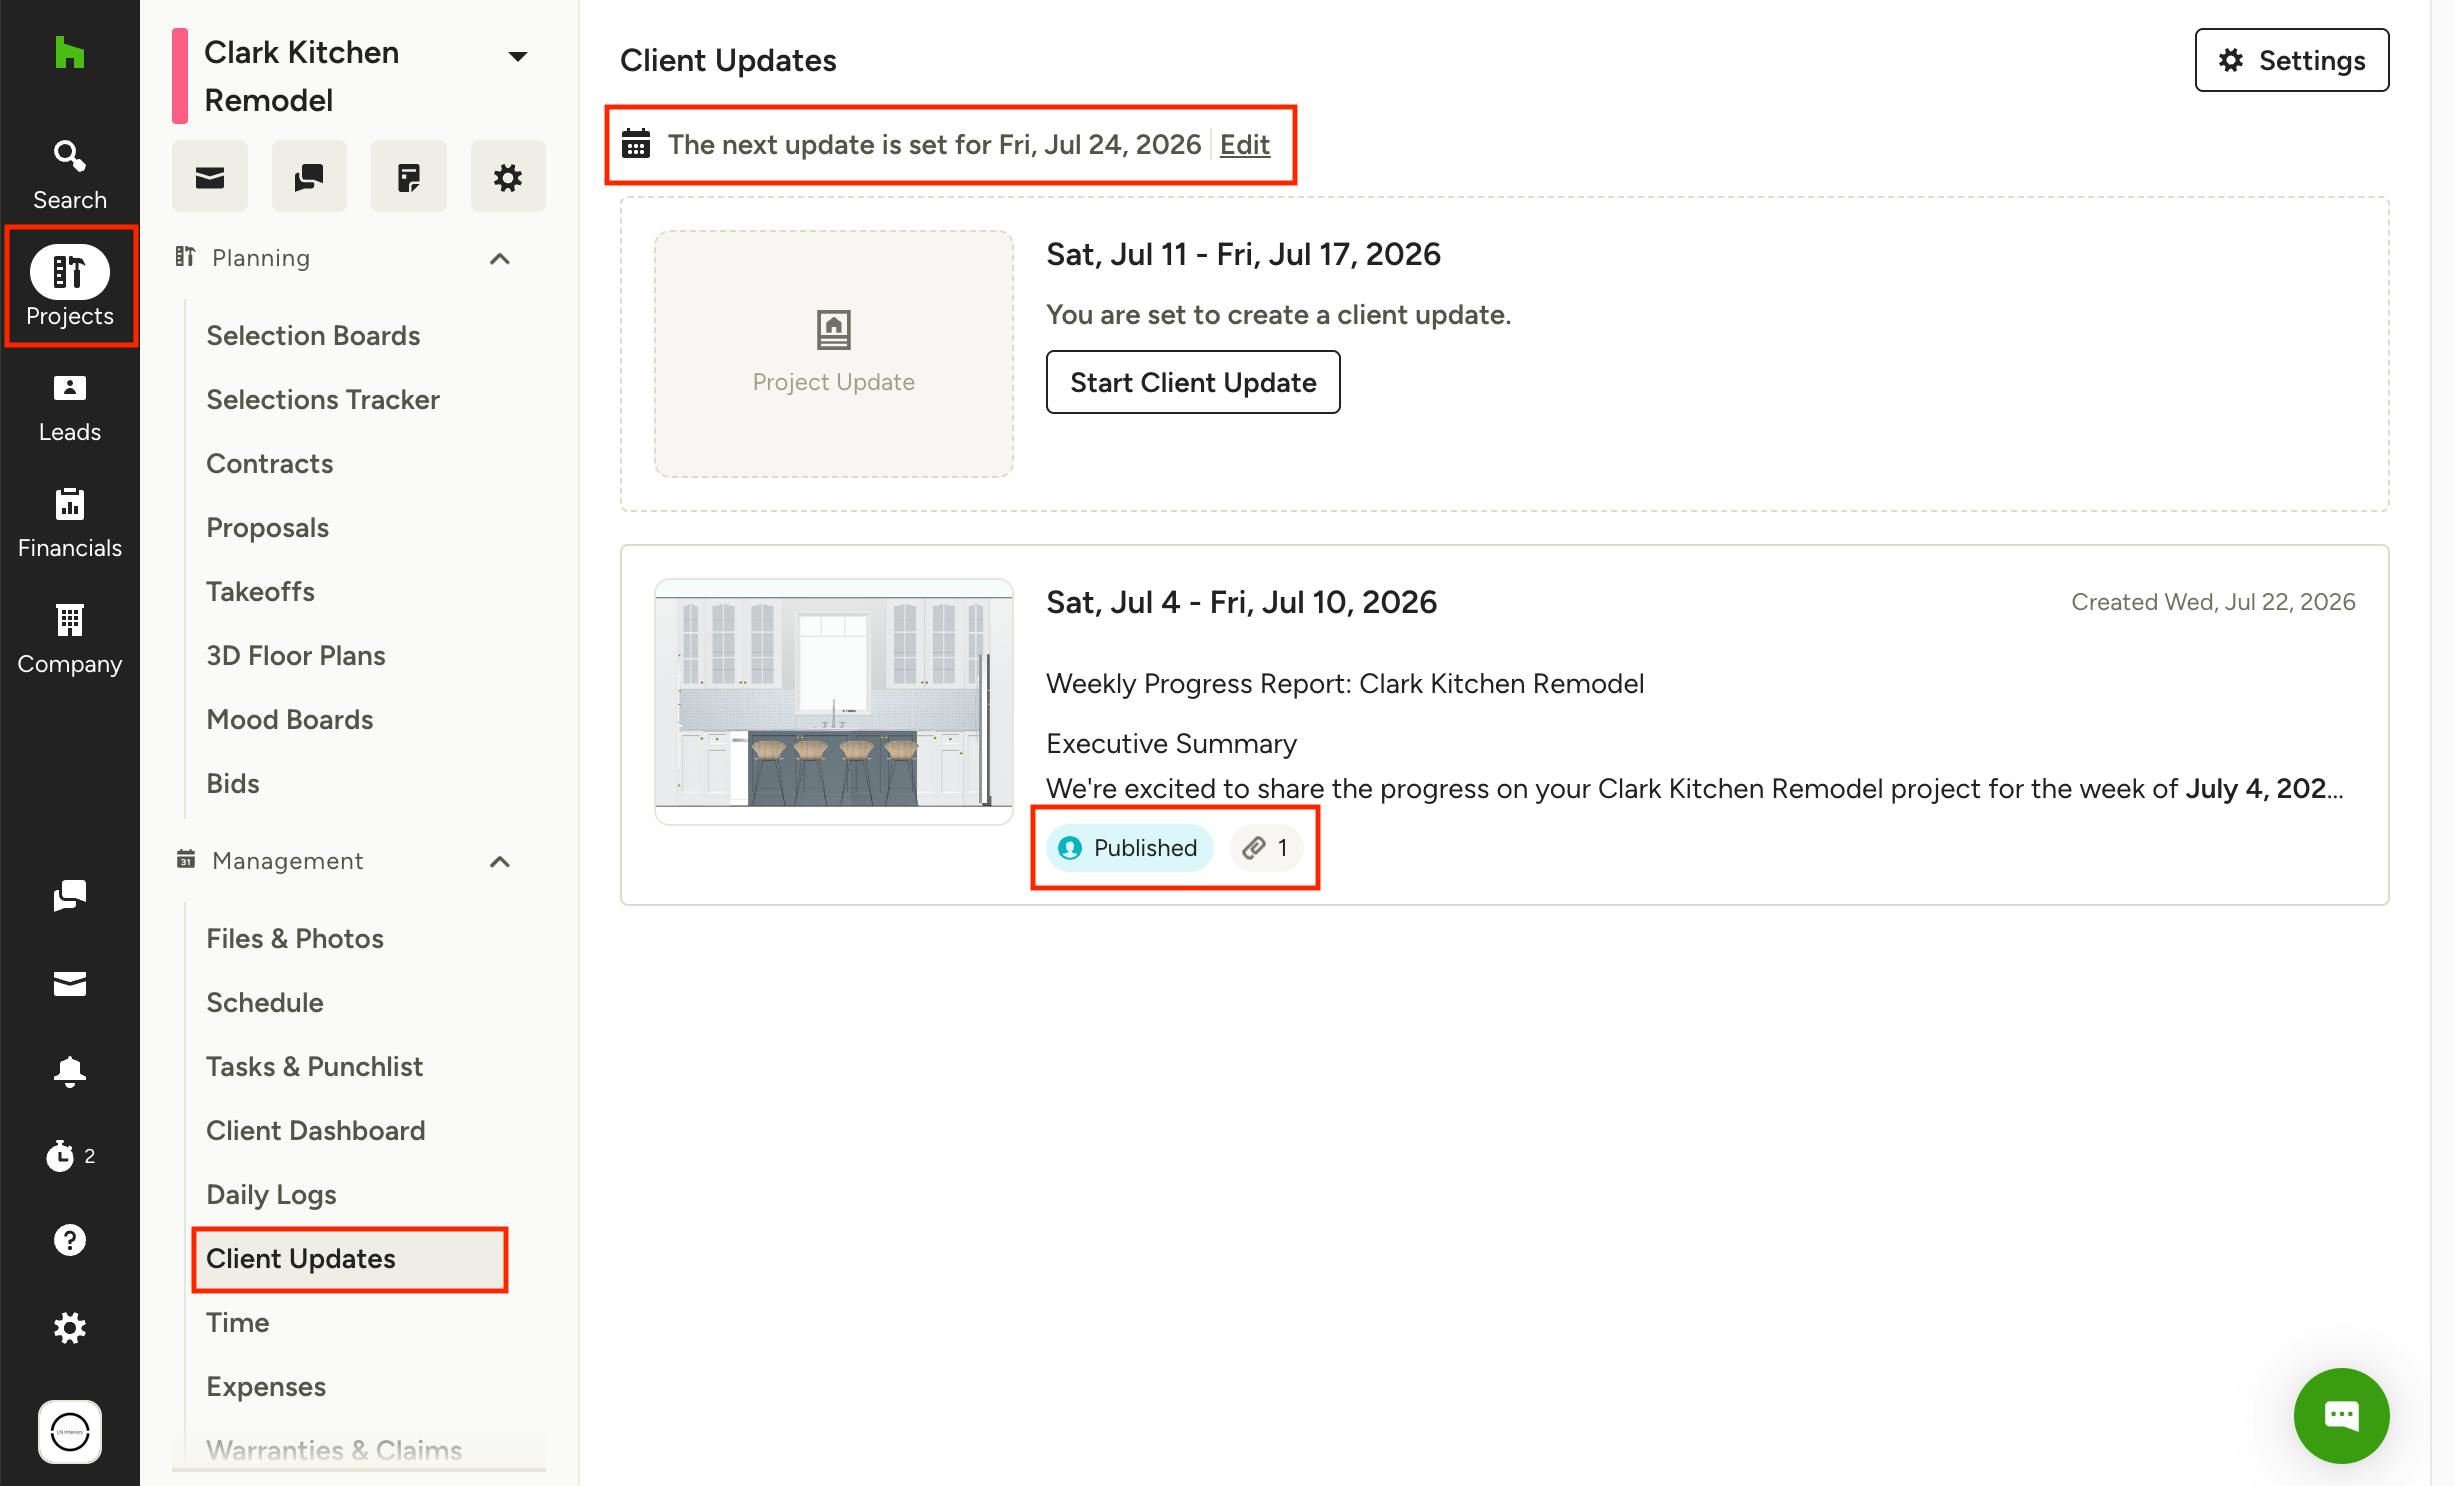
Client Updates are specific to each project and can be accessed by opening the desired project, then selecting Client Updates from the left-hand menu.
The list view shows all updates for a project in chronological order, with the current week's draft at the top. The header displays the next scheduled update date, with an Edit link to adjust your schedule.
Each update tile displays:
- The week range (e.g., Sat, May 2 – Fri, May 8, 2026)
- A content preview or prompt to start the update
- The status — either Not Published or Published
- A photo thumbnail and attachment count (if applicable)
Click any update tile to open and view or edit it.
Set Update Schedule
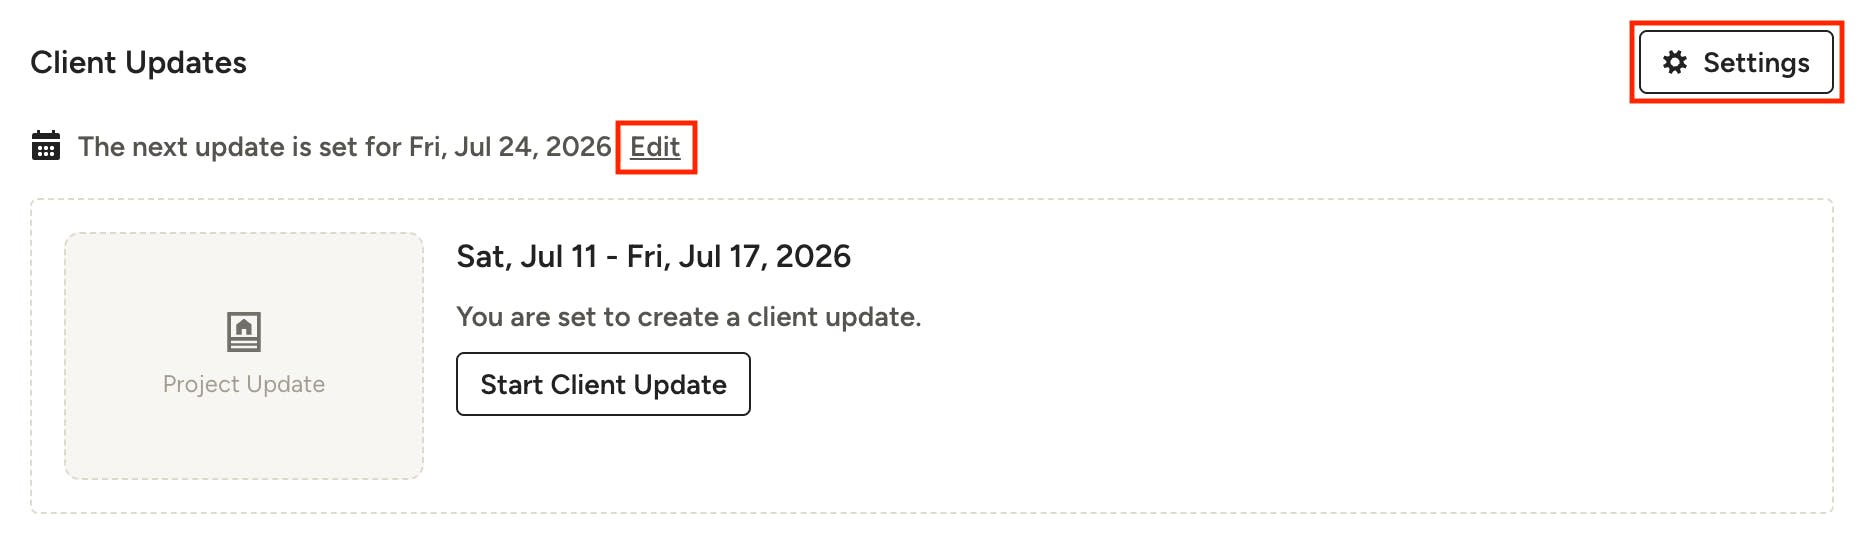
To configure your schedule for when updates are generated, click Settings in the top right, or Edit beside the next scheduled update. A new update draft is created automatically each week based on your chosen day, and each project can have its own schedule.
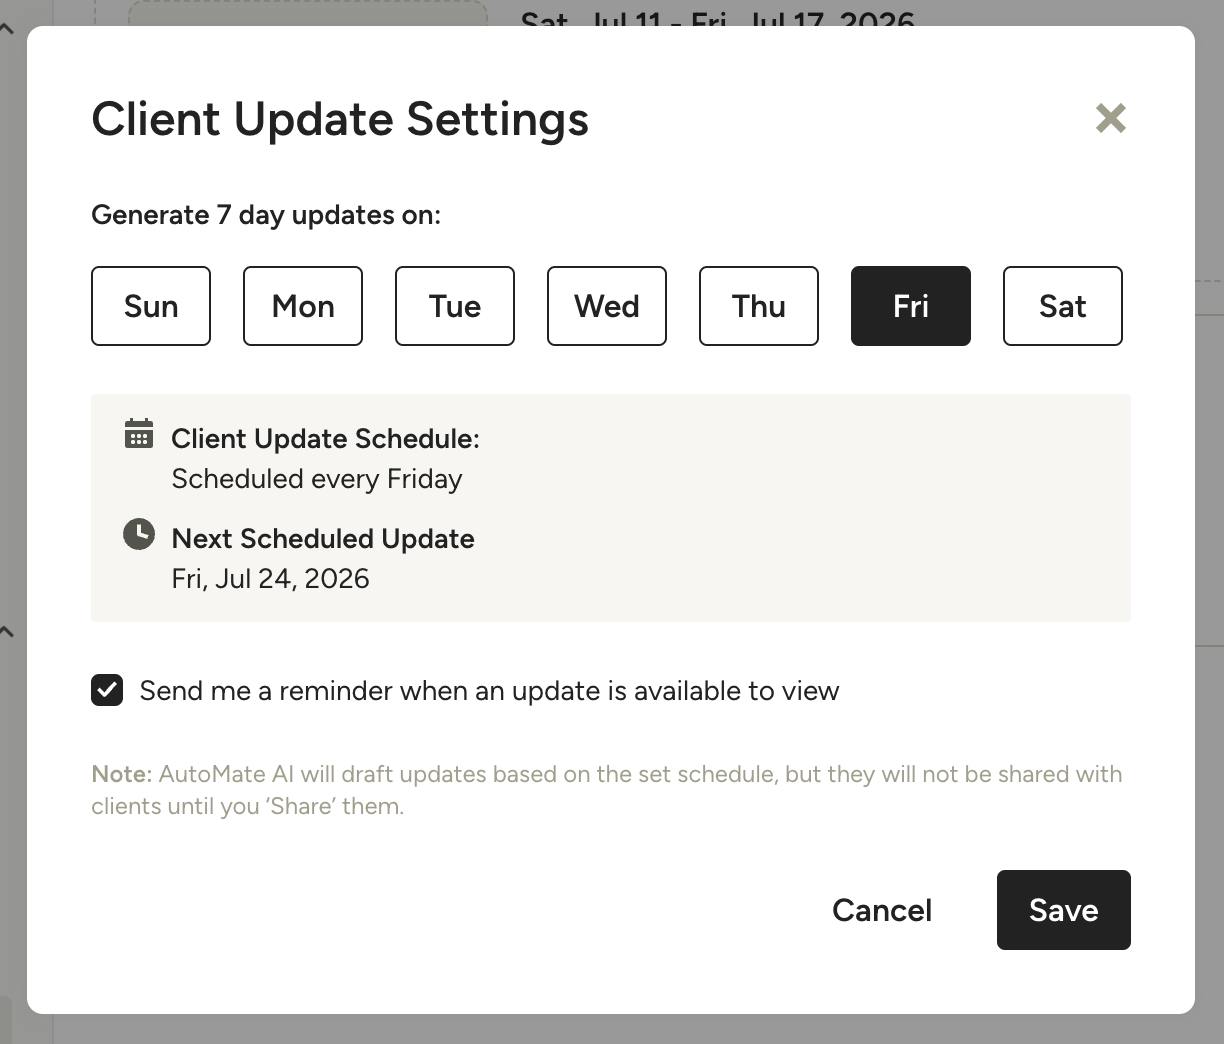
In the Client Update Settings, set the following:
- Day of the week — Select which day of the week you'd like updates to be generated. The default is Friday.
- Reminder notifications — Check "Send me a reminder when an update is available to view" to be notified when a new draft is ready.
Note: Houzz AI will draft updates based on the set schedule, but they will not be shared with clients until you click Share and publish it to their dashboard.
Generate Client Updates
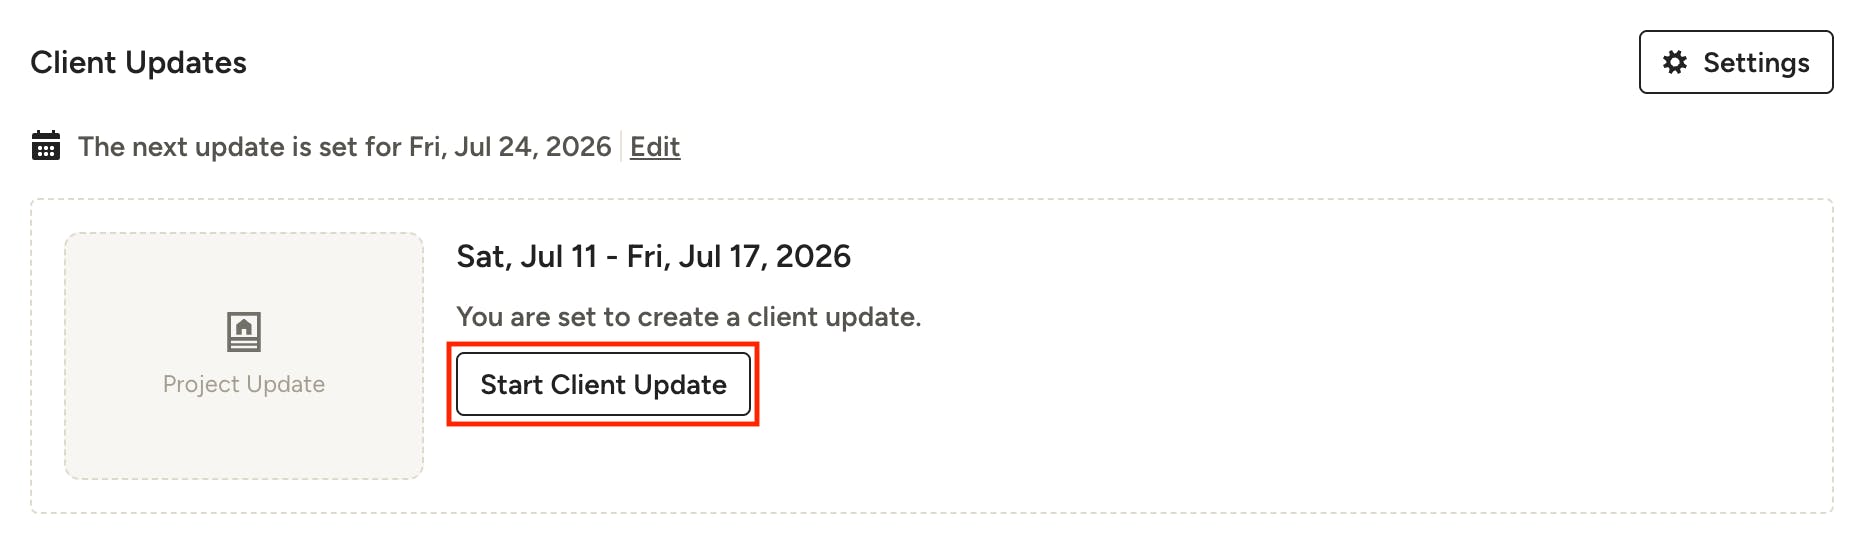
When a client update is ready to generate, it will appear at the top of the list. Click Start Client Update to begin.
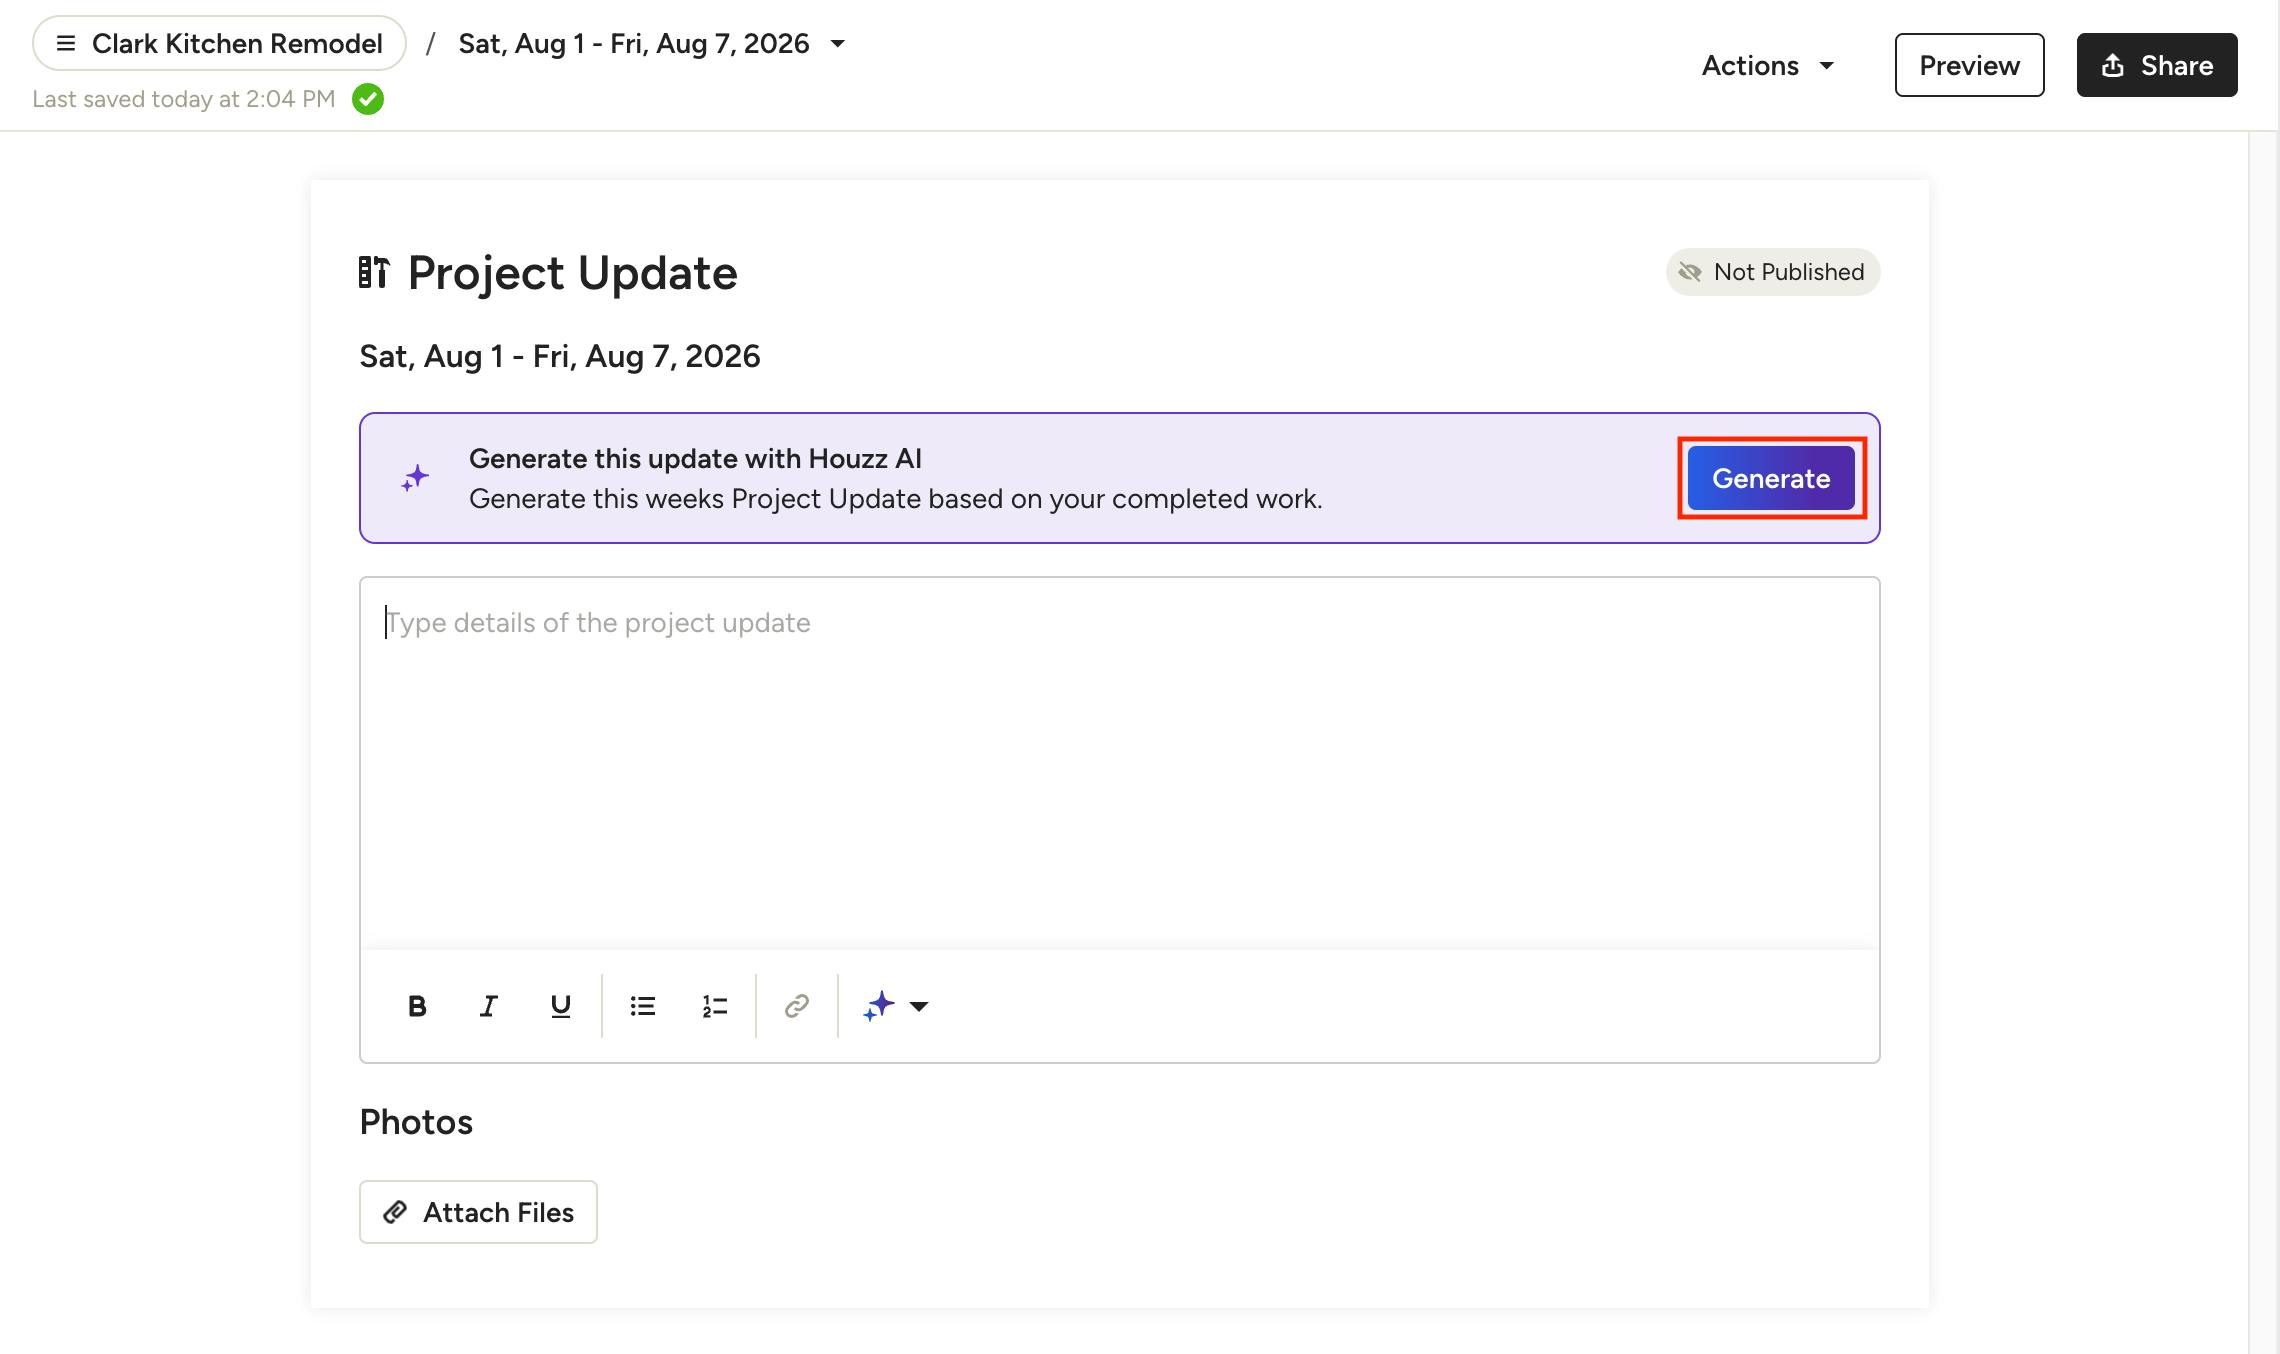
Inside each update, you'll see a prompt to Generate this update with Houzz AI. Click the Generate button to create a summary based on the past 7 days of project activity.
Our AI pulls activity from the following sections of your project:
- Schedule
- Documents
- Selections
- Payments (Estimates, Invoices, and Change Orders)
- Notes
- Daily Logs
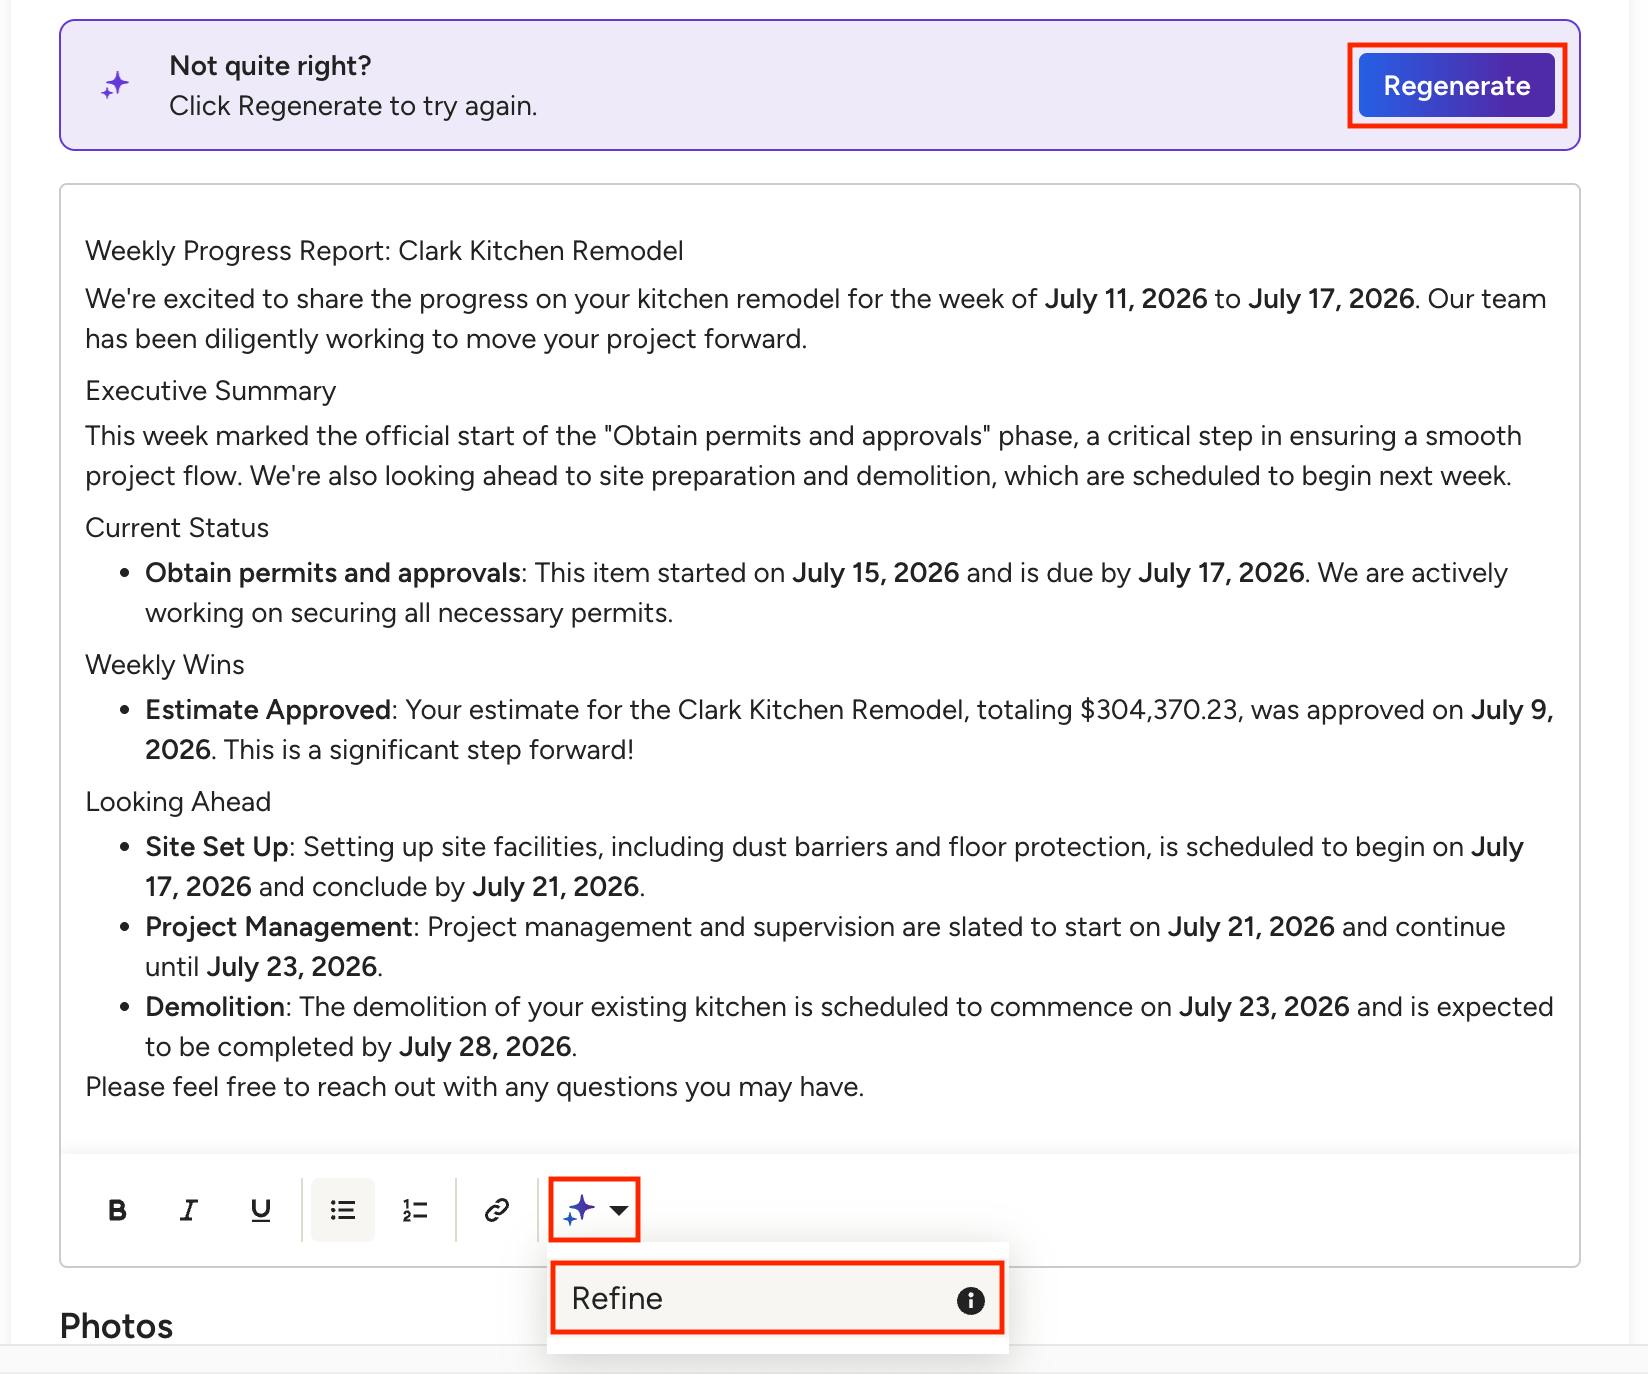
AI Update Structure
The generated overview typically includes four sections:
- Executive Summary — A brief overview of the week's progress and team activity
- Looking Ahead —Upcoming schedule items and milestones for the next week
- Action Items & Alerts — Outstanding estimates, invoices, approvals, or items needing attention
- Closing — A professional closing message inviting the client to reach out
After generating, you can edit the content freely using the built-in text editor. If the result isn't quite right, click Regenerate to try again. You can also use the Houzz AI Refine option to refine the text.
Add Photos & Files
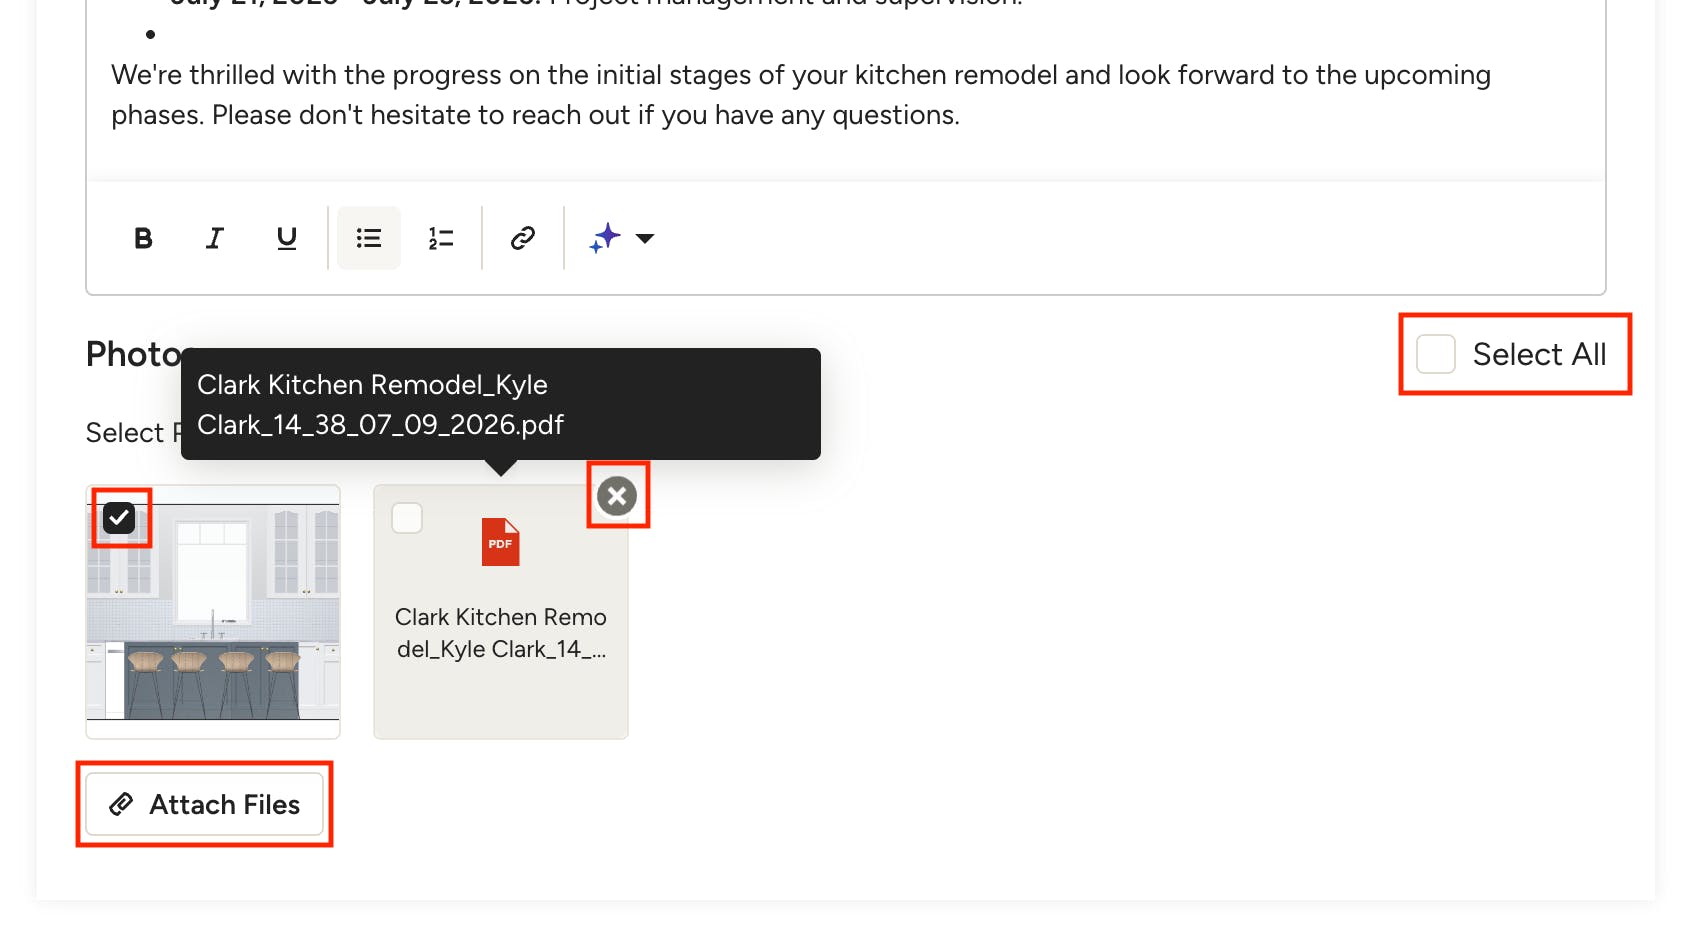
Below the text editor, the Photos section lets you attach visuals to the update. Any files or photos that were added to the project during the timeframe of the update will appear here, though these will only be included in the update if you select them.
To attach additional files or photos, click Attach Files to open your file picker, where you can choose from existing project files, company files, Google Drive or upload local files.
Once attached, photos appear as selectable thumbnails. Use Select All or check individual items to choose which photos to include in the published update. You can click the X on a file to completely remove it from the update.
Preview & Share with Client
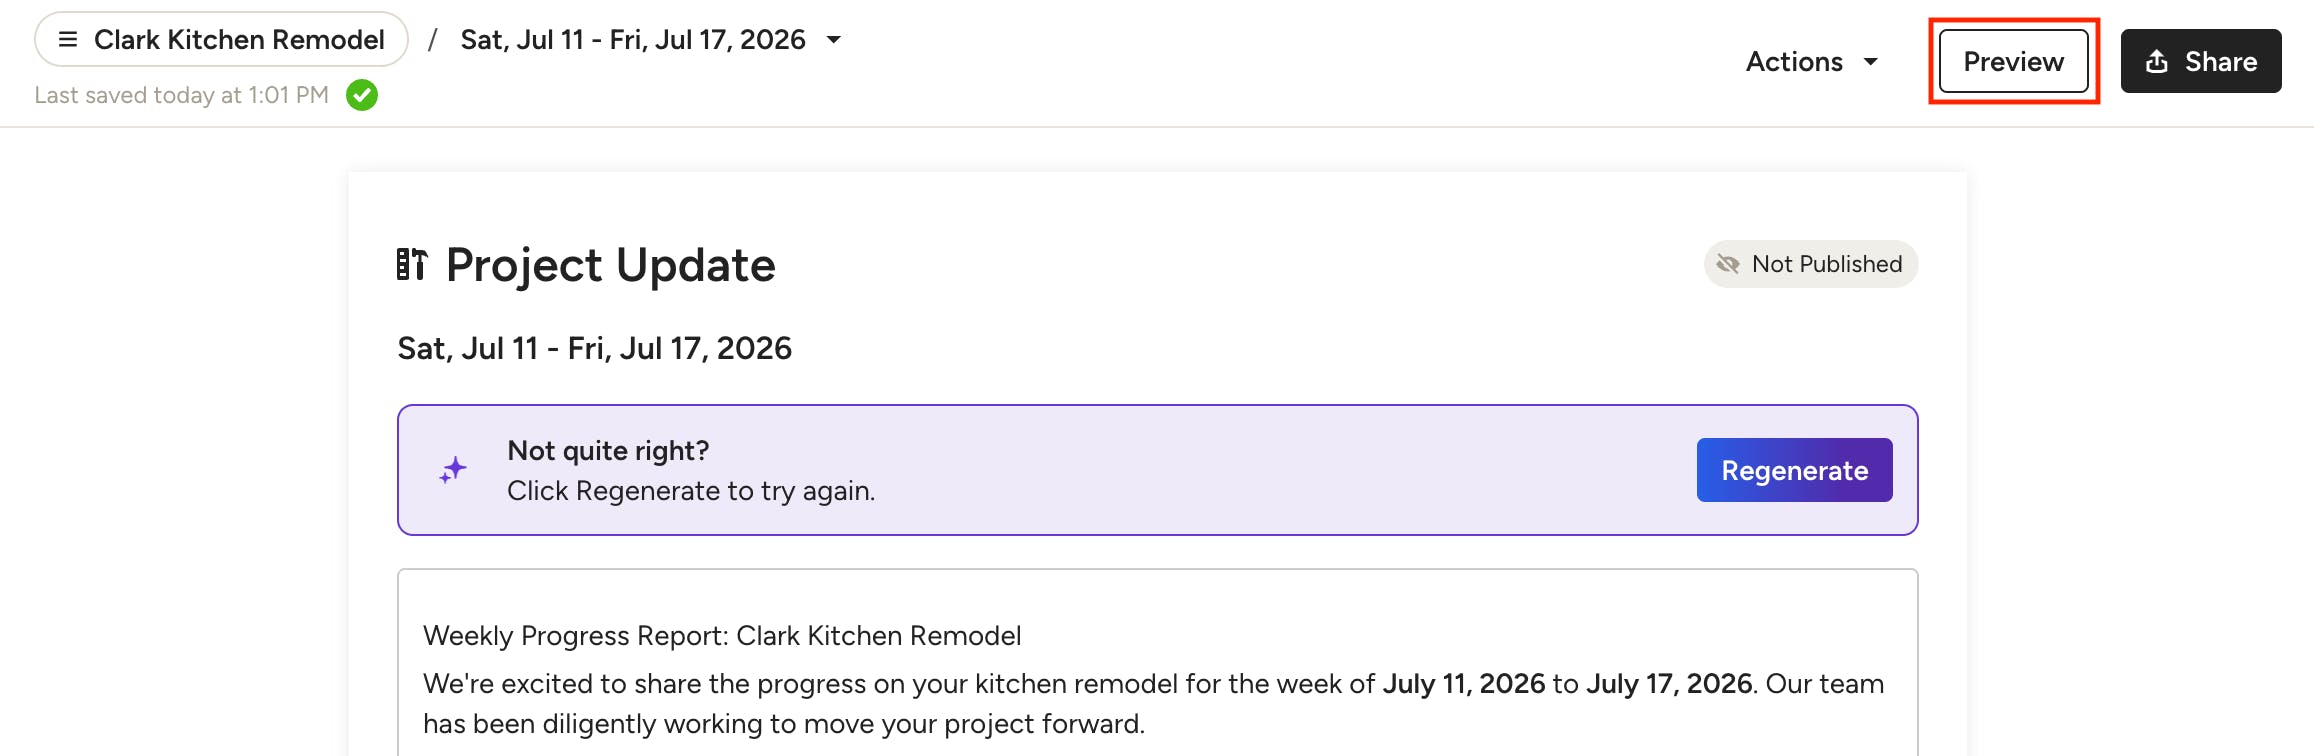
Before sharing the update with your client, click Preview in the top right to see exactly what your client will see — including the full update text and all selected photos.
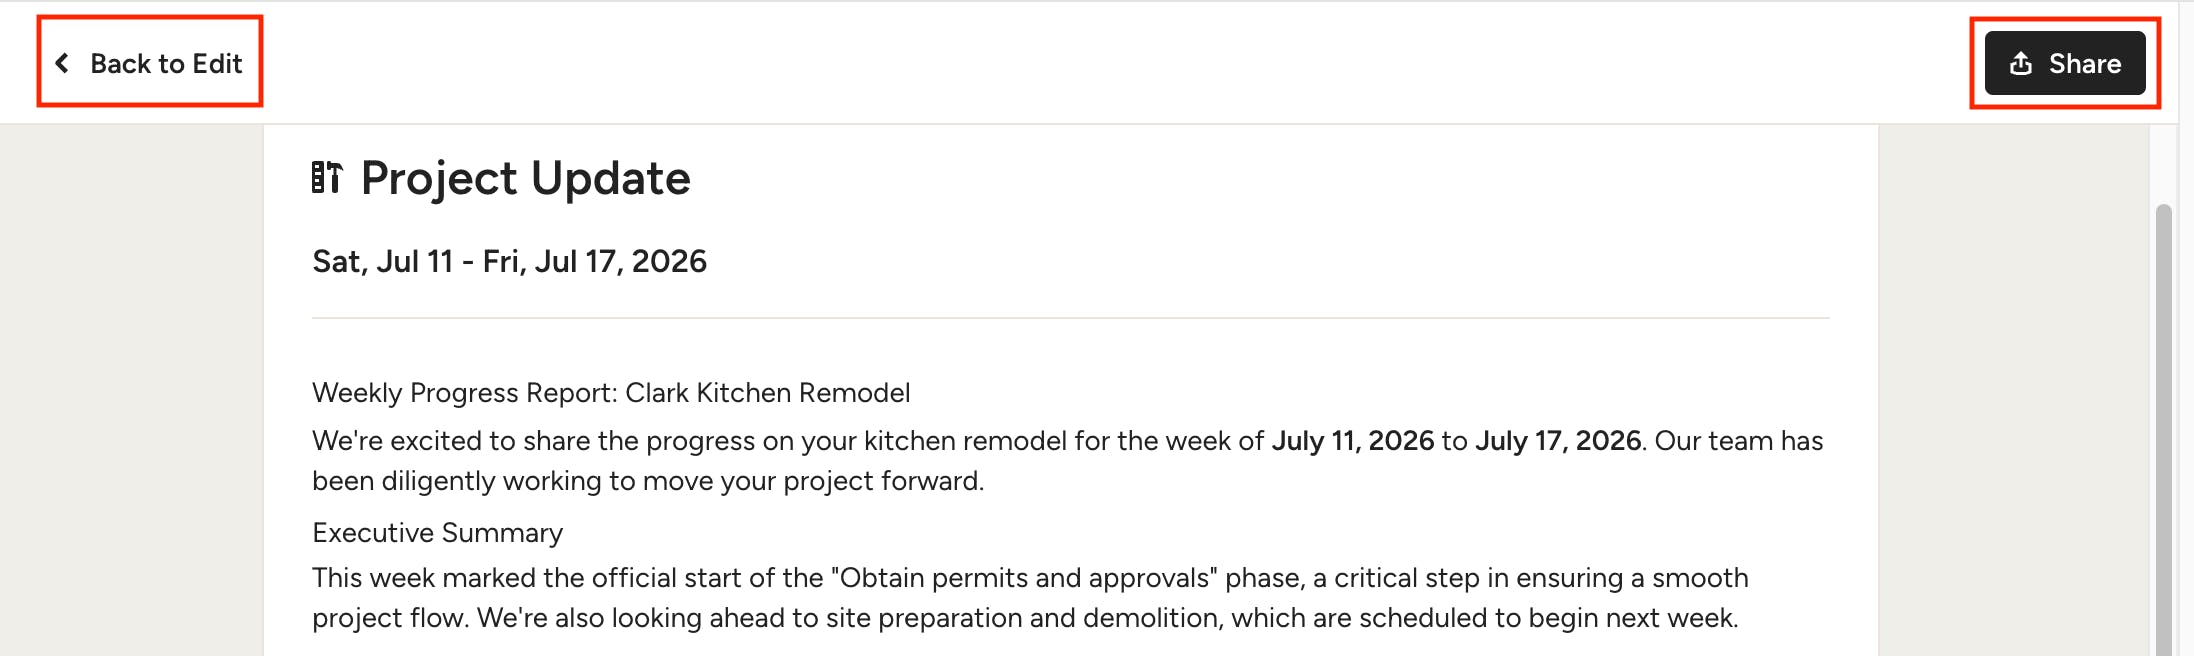
From the preview, you can click Back to Edit to make any final changes, or click Share to publish.
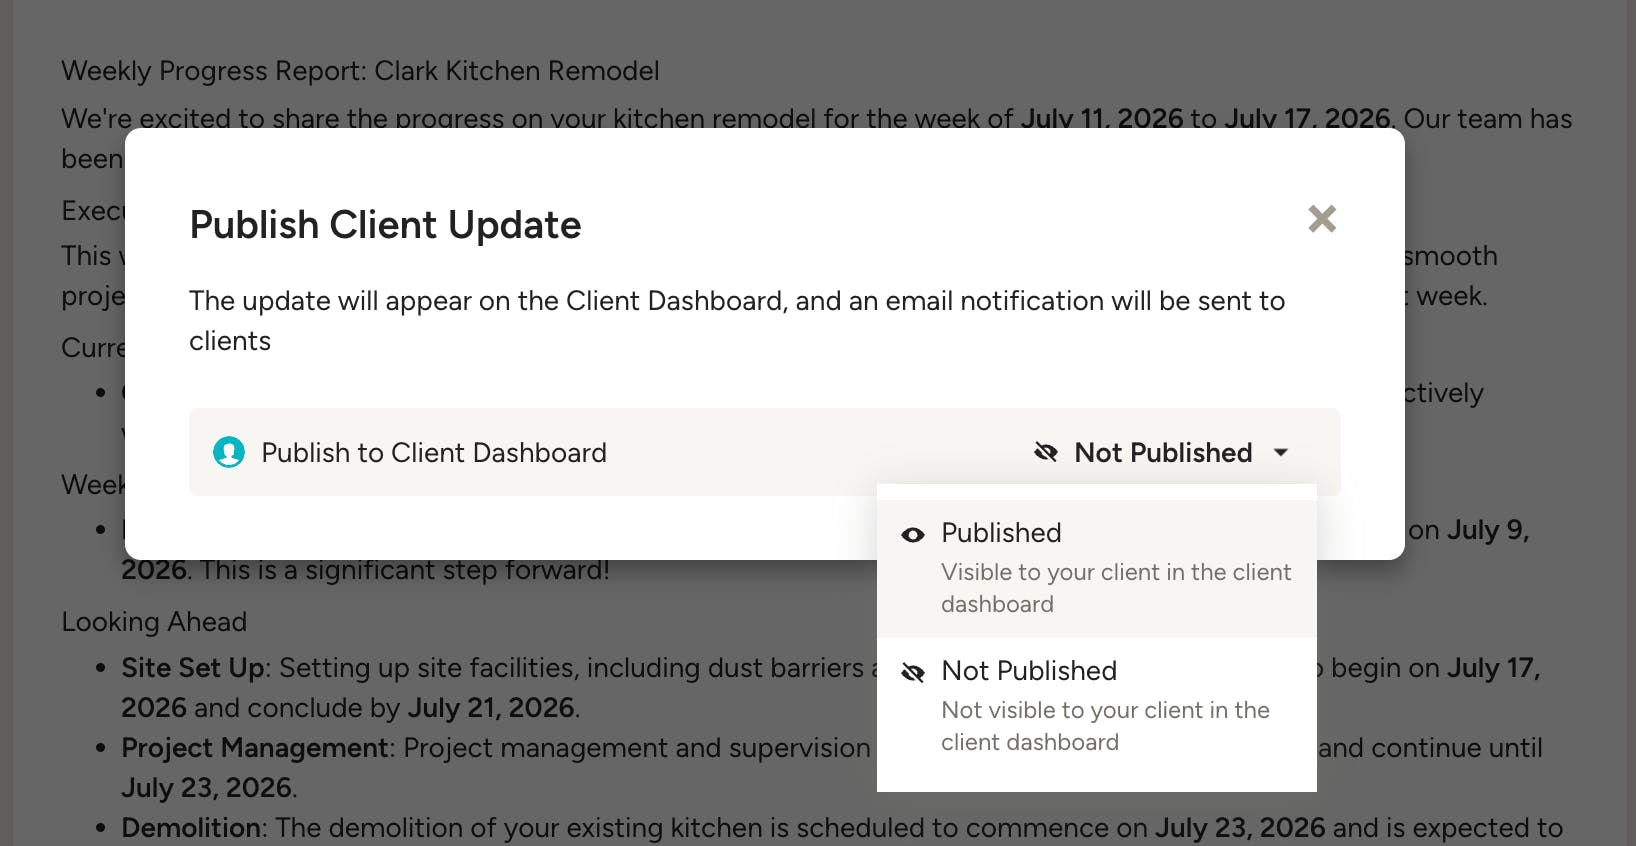
A modal will appear where you can set the share status from Not Published to Published.
Once published:
- The update is posted to your client's Project Dashboard.
- The client receives an email notification where they can view the update and click to open it in their Project Dashboard.
- The update status changes to Published in the updates list, letting you know it's been shared.
Frequently Asked Questions
- Can I edit the AI-generated content before sending? Yes. After generating the AI overview, you can make any edits in the text editor before publishing.
- What if I don't want to use AI? AI generation is optional. You can skip the Generate button and write your own update manually in the text field.
- Will my client be notified automatically? Clients receive an email notification only when you publish an update. Drafts are never shared automatically.
- Can I change my delivery day after setup? Yes. Click Settings from the Client Updates list at any time to update your scheduled day.
- Is this available on mobile? Yes, Client Updates is fully responsive and works on both desktop and mobile web.
- Can team members generate and send client updates? By default, Super Admins can generate and send client updates. To grant a team member access to client updates, select the Client Updates permission in their Details & Permission section when editing the team member.