How to Log Expenses on the Mobile App
With the Expenses feature on the Houzz Pro mobile app, you can create and edit expense entries while you’re on the go. This article will cover how to create, edit and manage expense entries on the mobile app. For more information on logging and managing expenses on the desktop version, read this article.
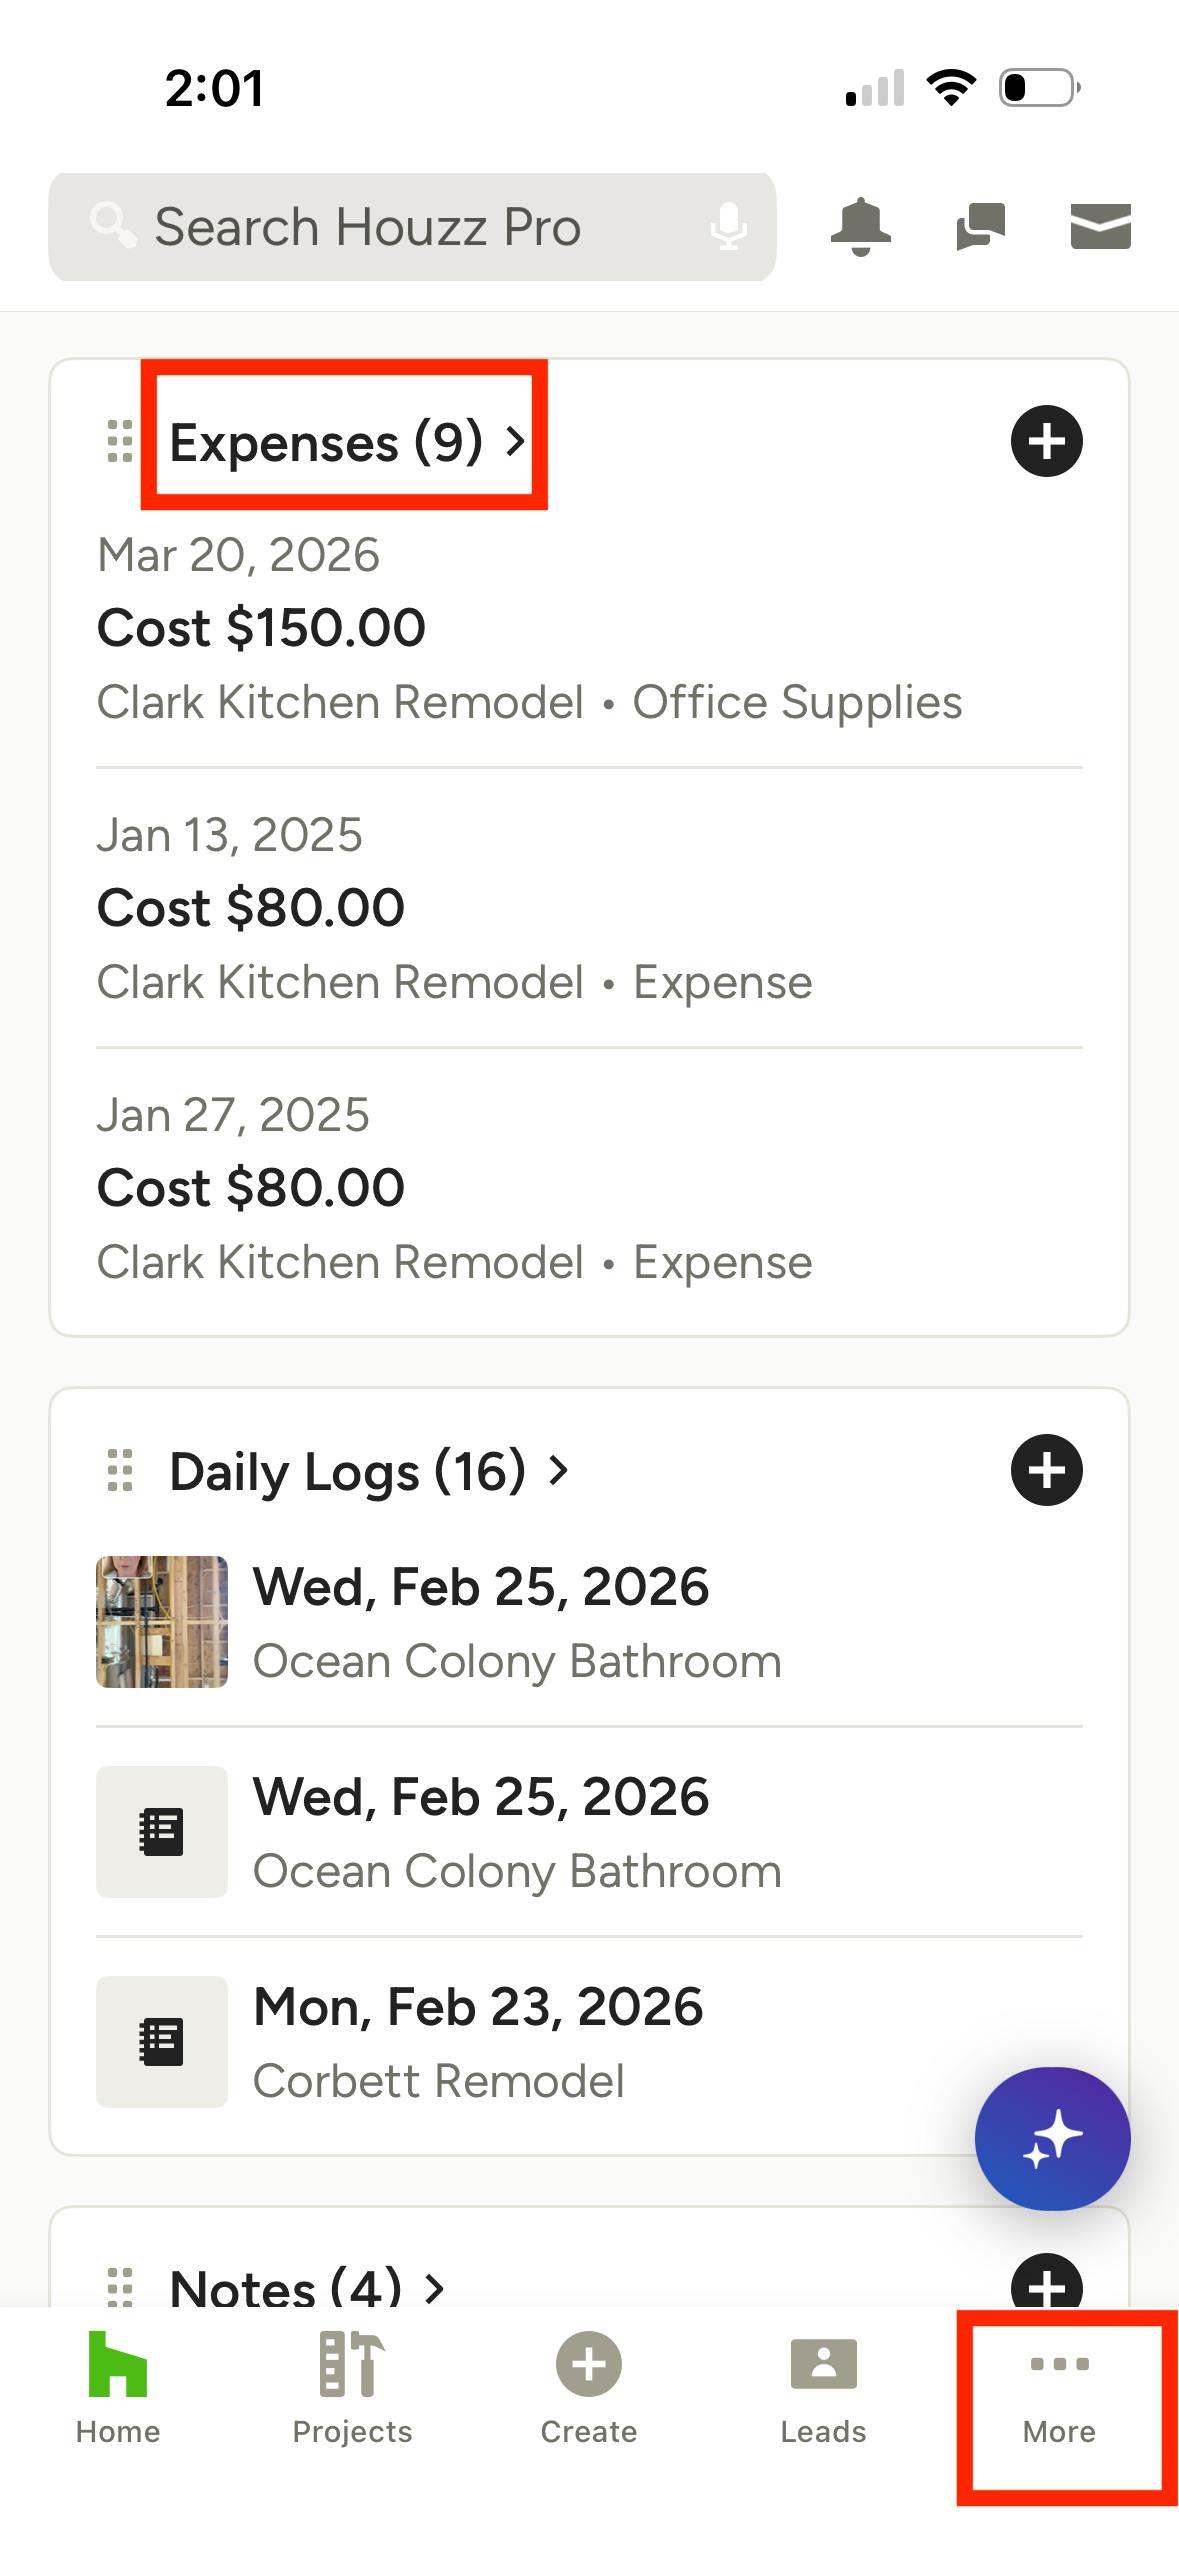
To access your main Expenses page on the app, scroll down to the Expenses section on the homepage and tap the title. You can also tap the More icon in the bottom navigation, then select Expenses.
Create an Expense Entry
To manually create an expense entry on the Houzz Pro app, follow these steps:
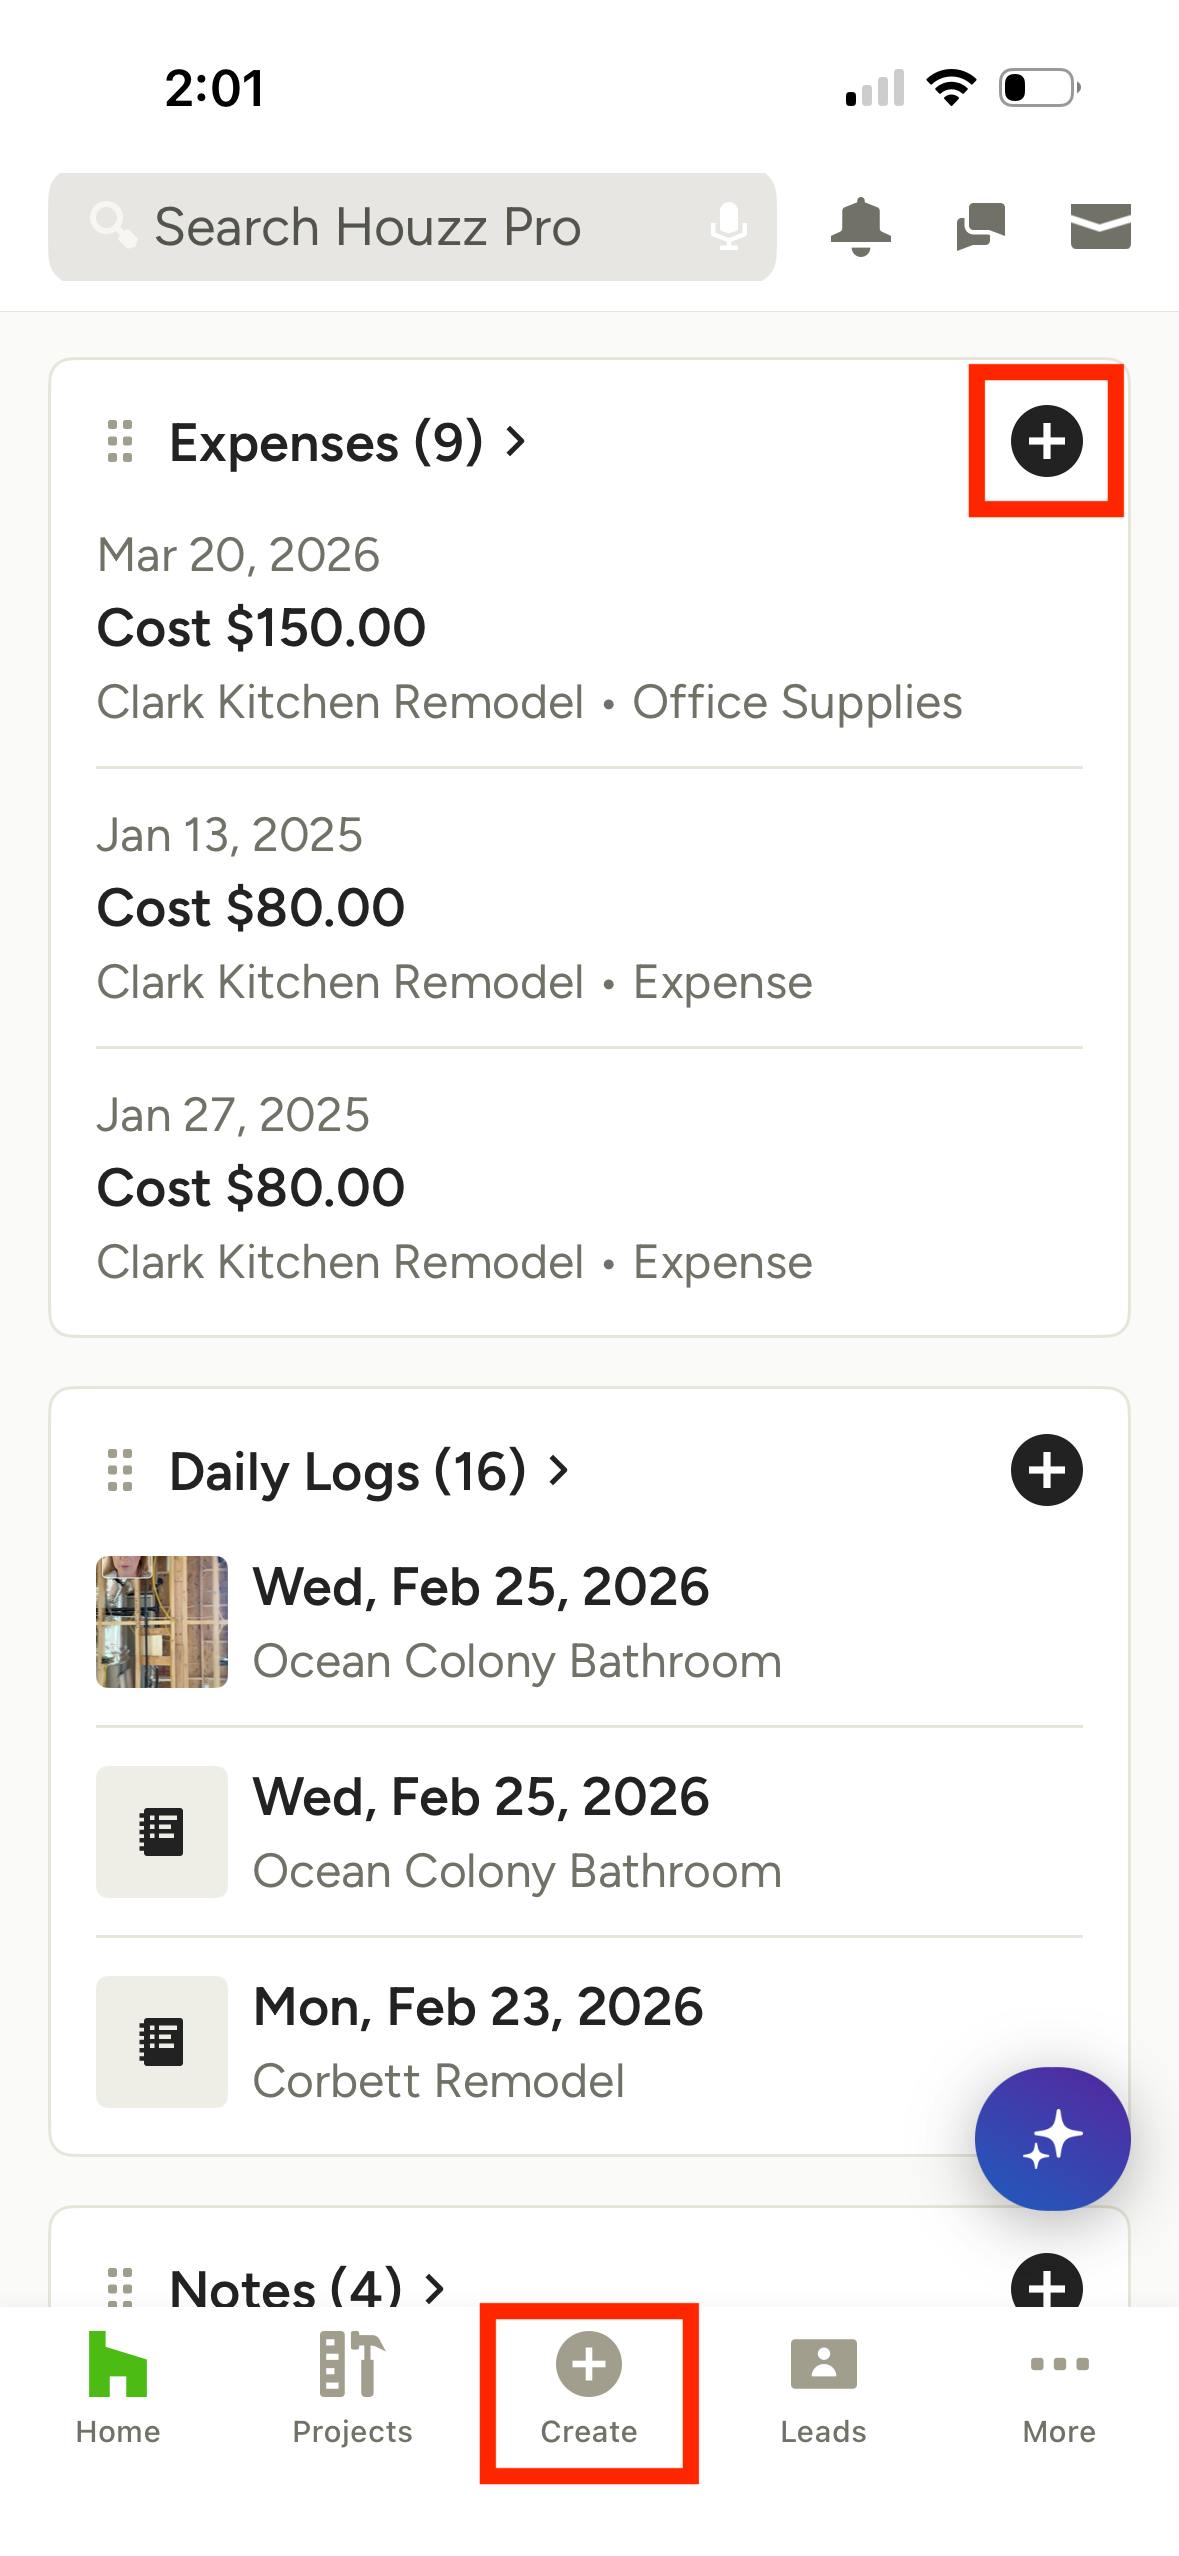
From the app's homepage, tap the + icon in the Expenses section, or tap the Create icon in the bottom navigation, then select Expense.
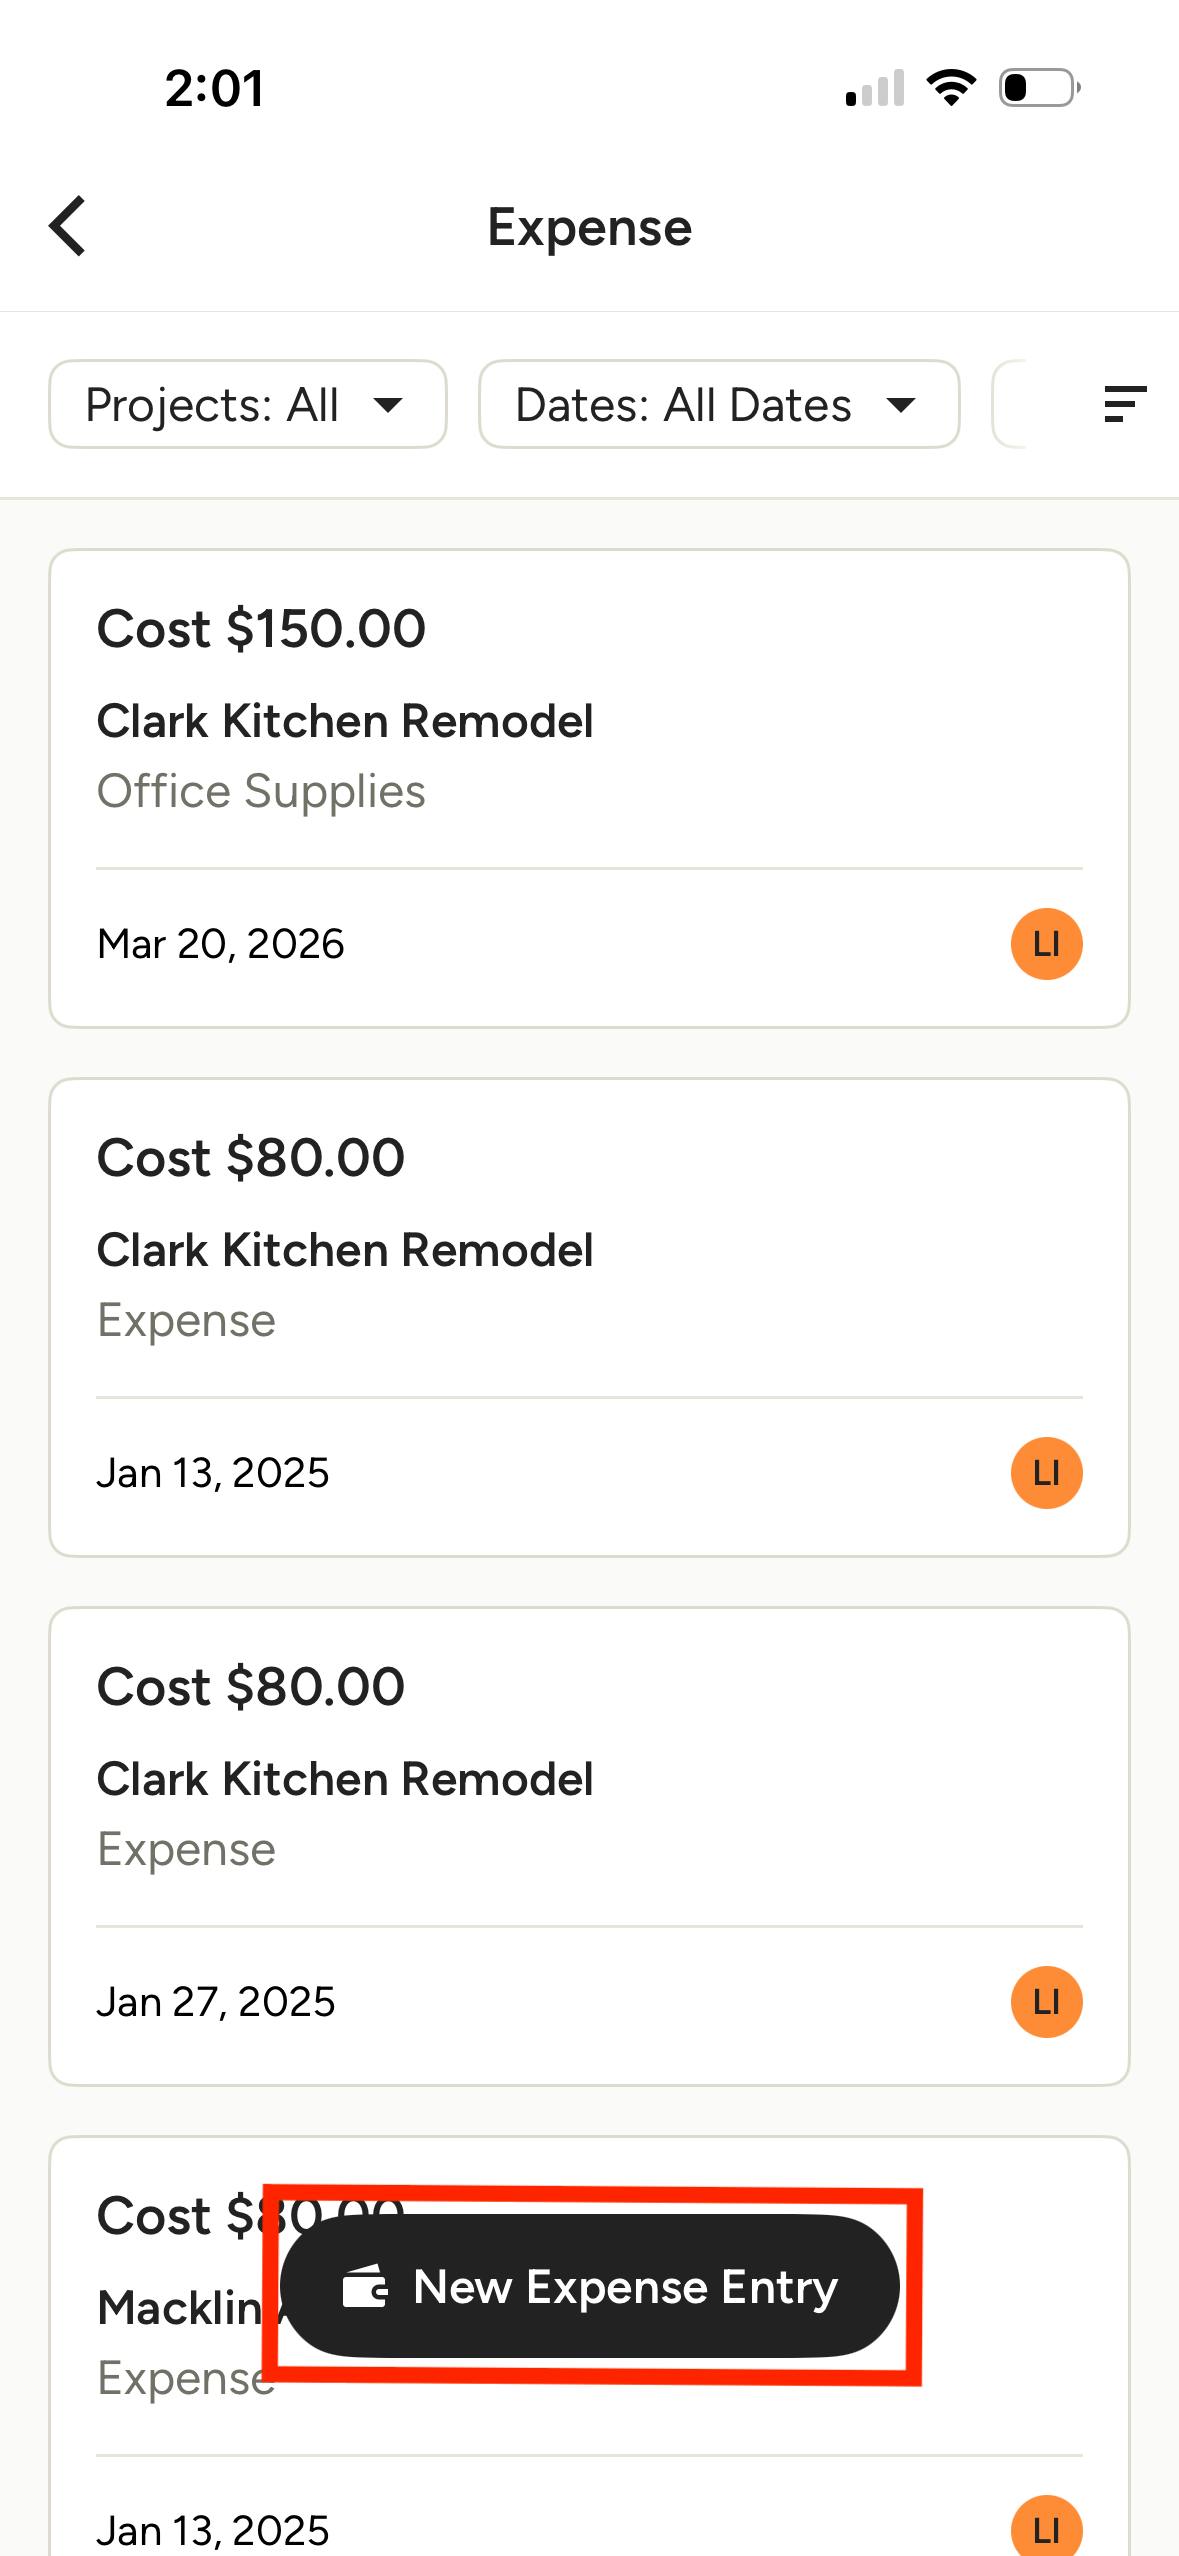
You can also tap New Expense Entry on the bottom of the main Expenses page to start an entry.
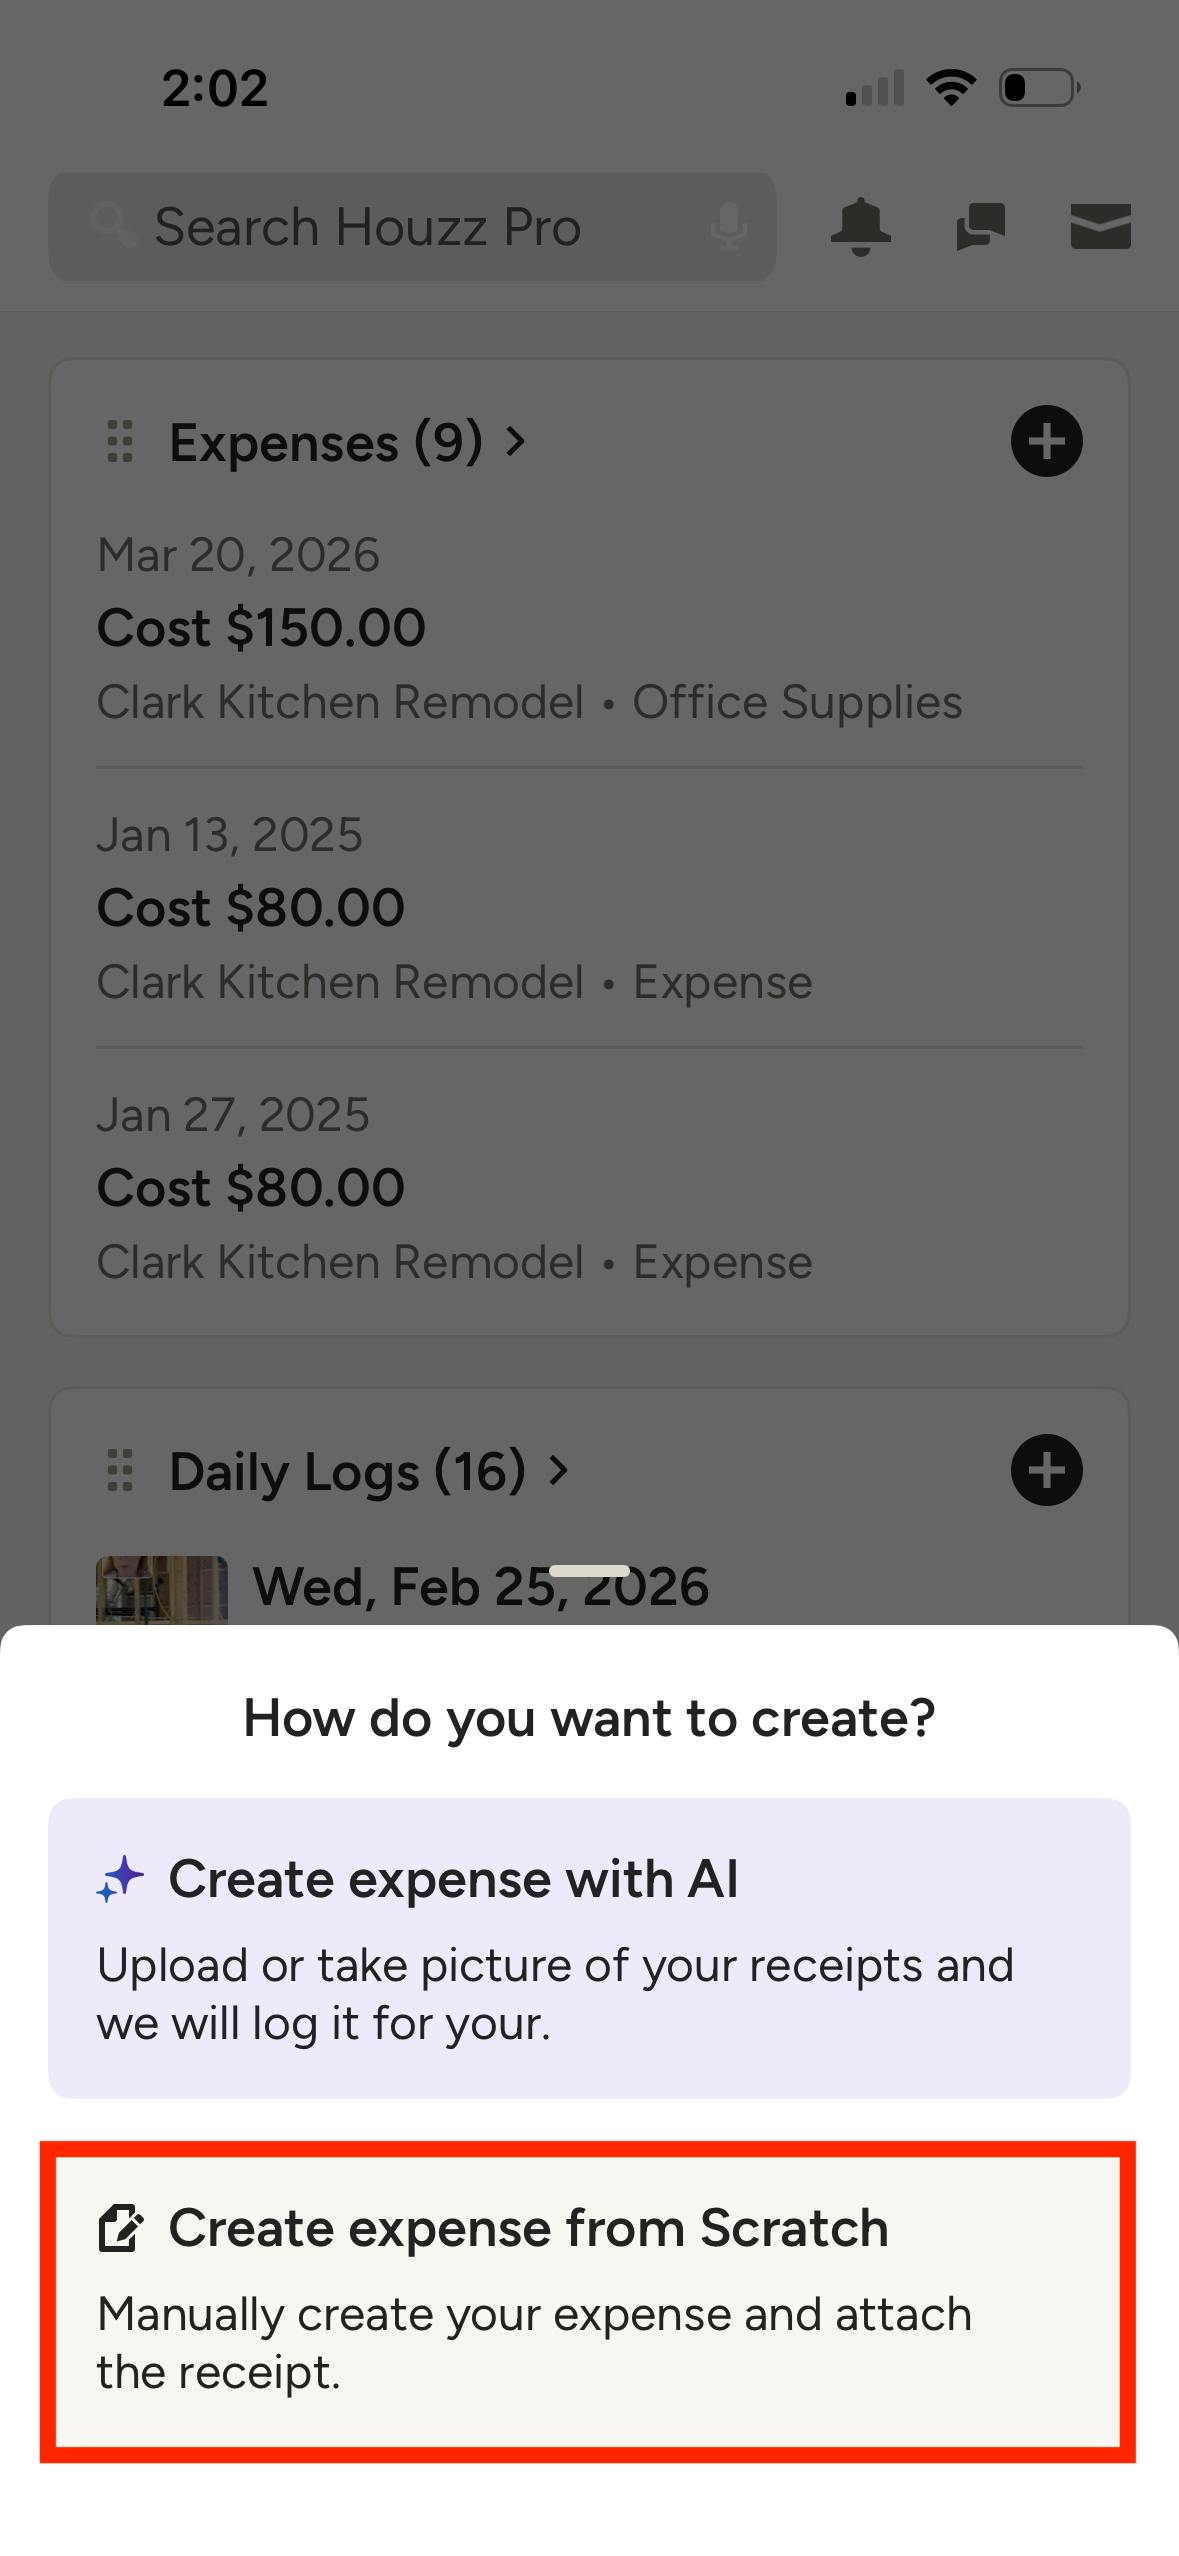
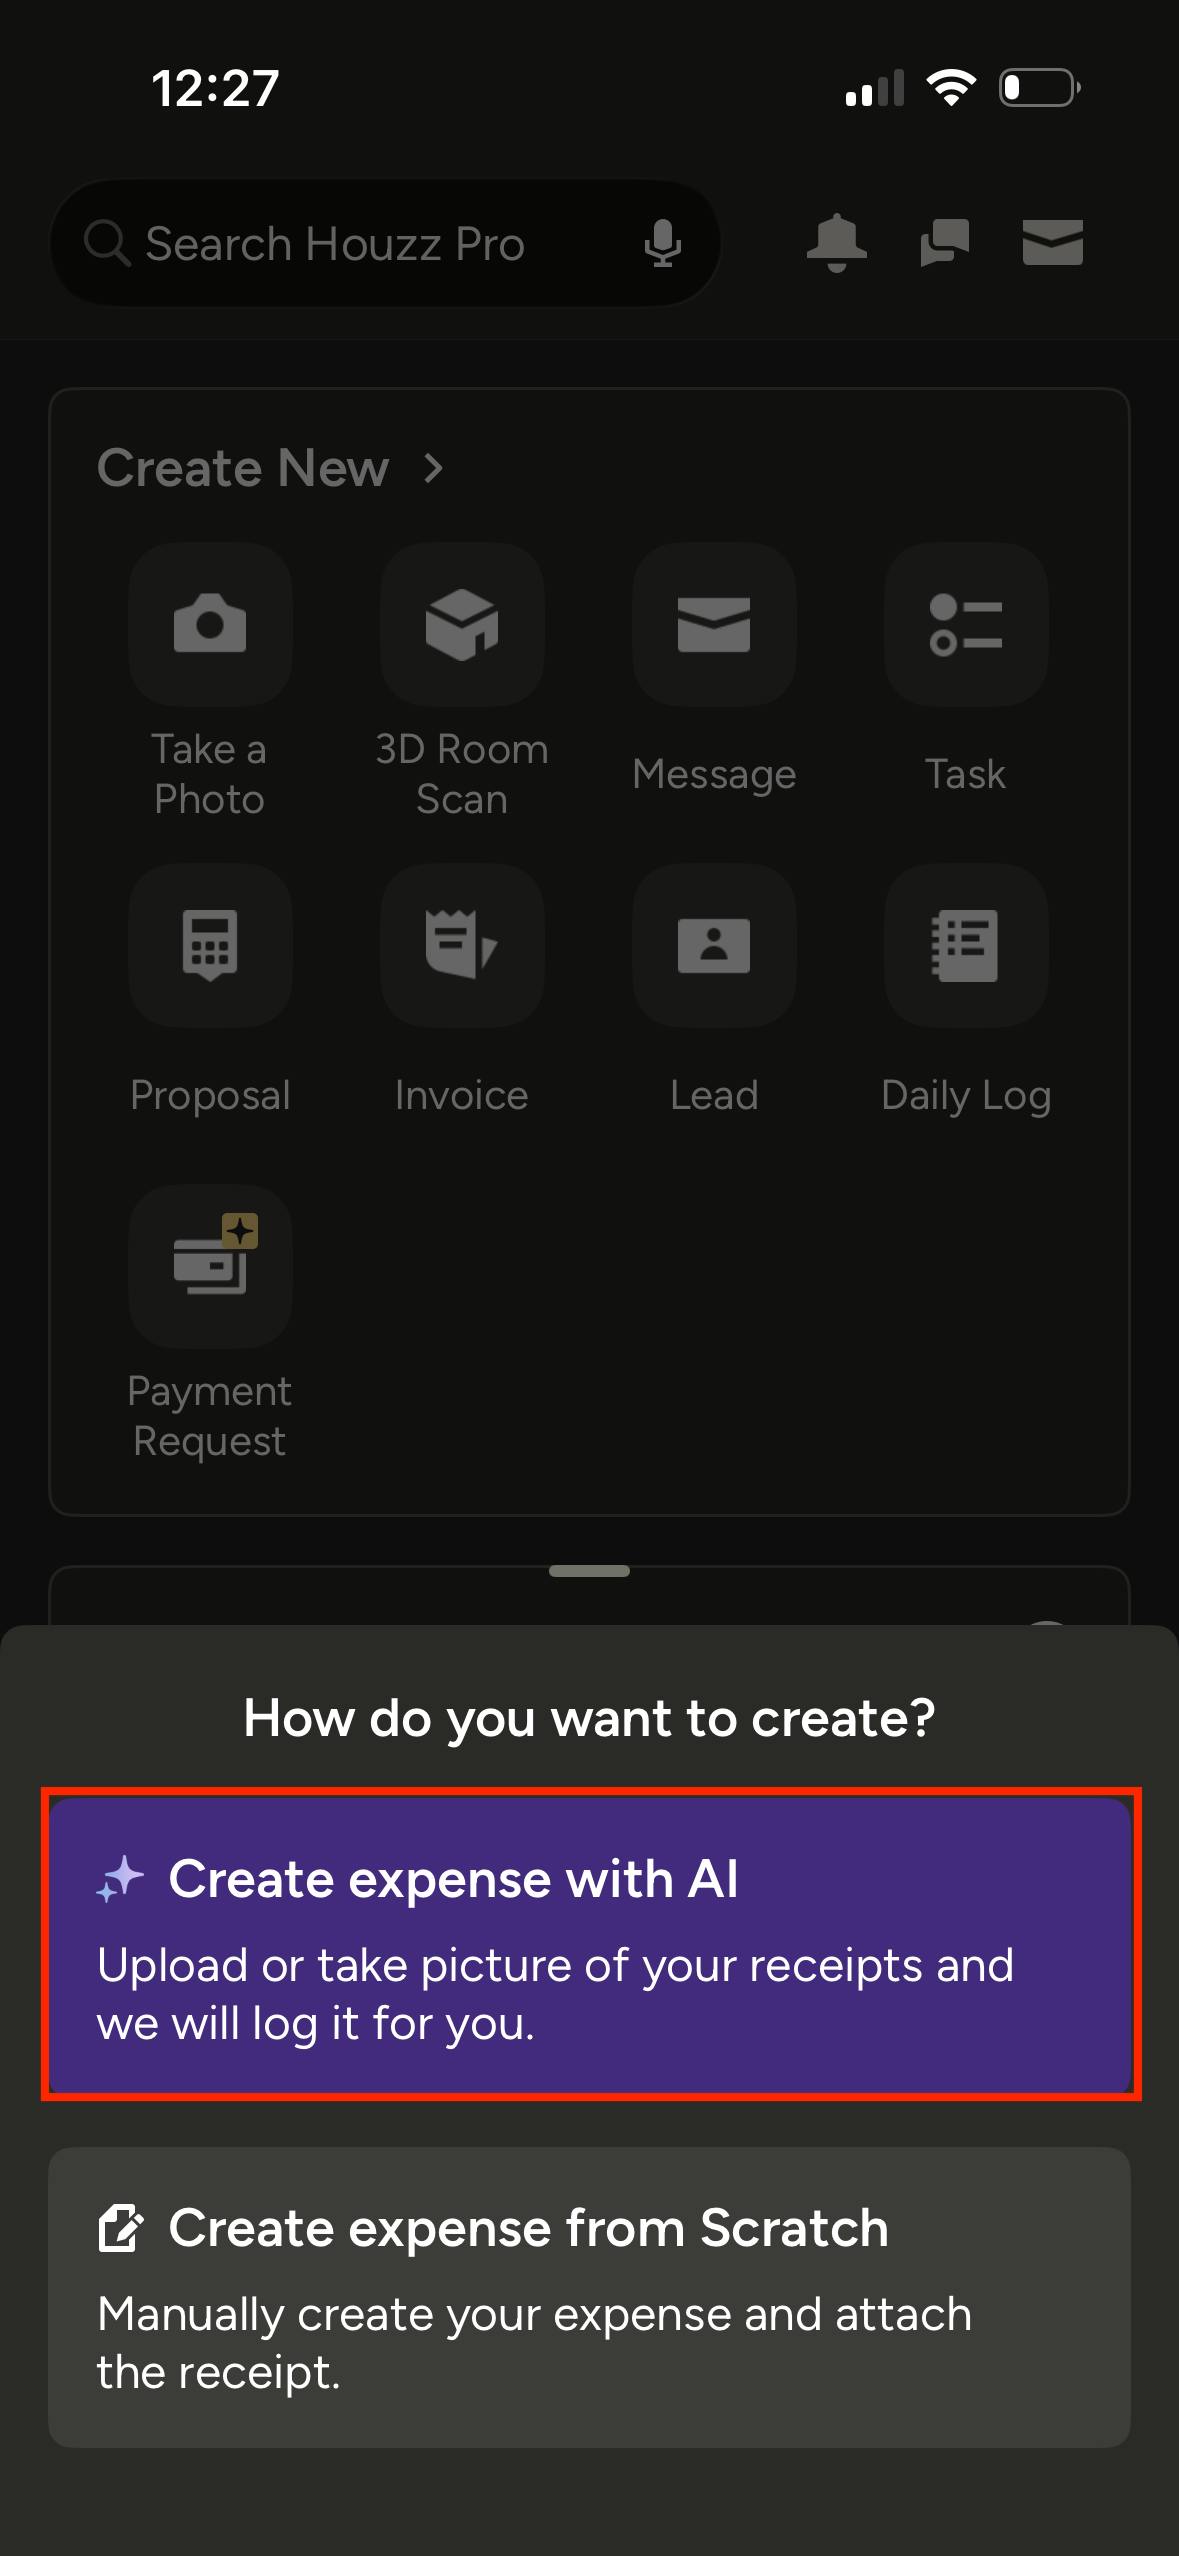
Select the Create Expense from Scratch option.
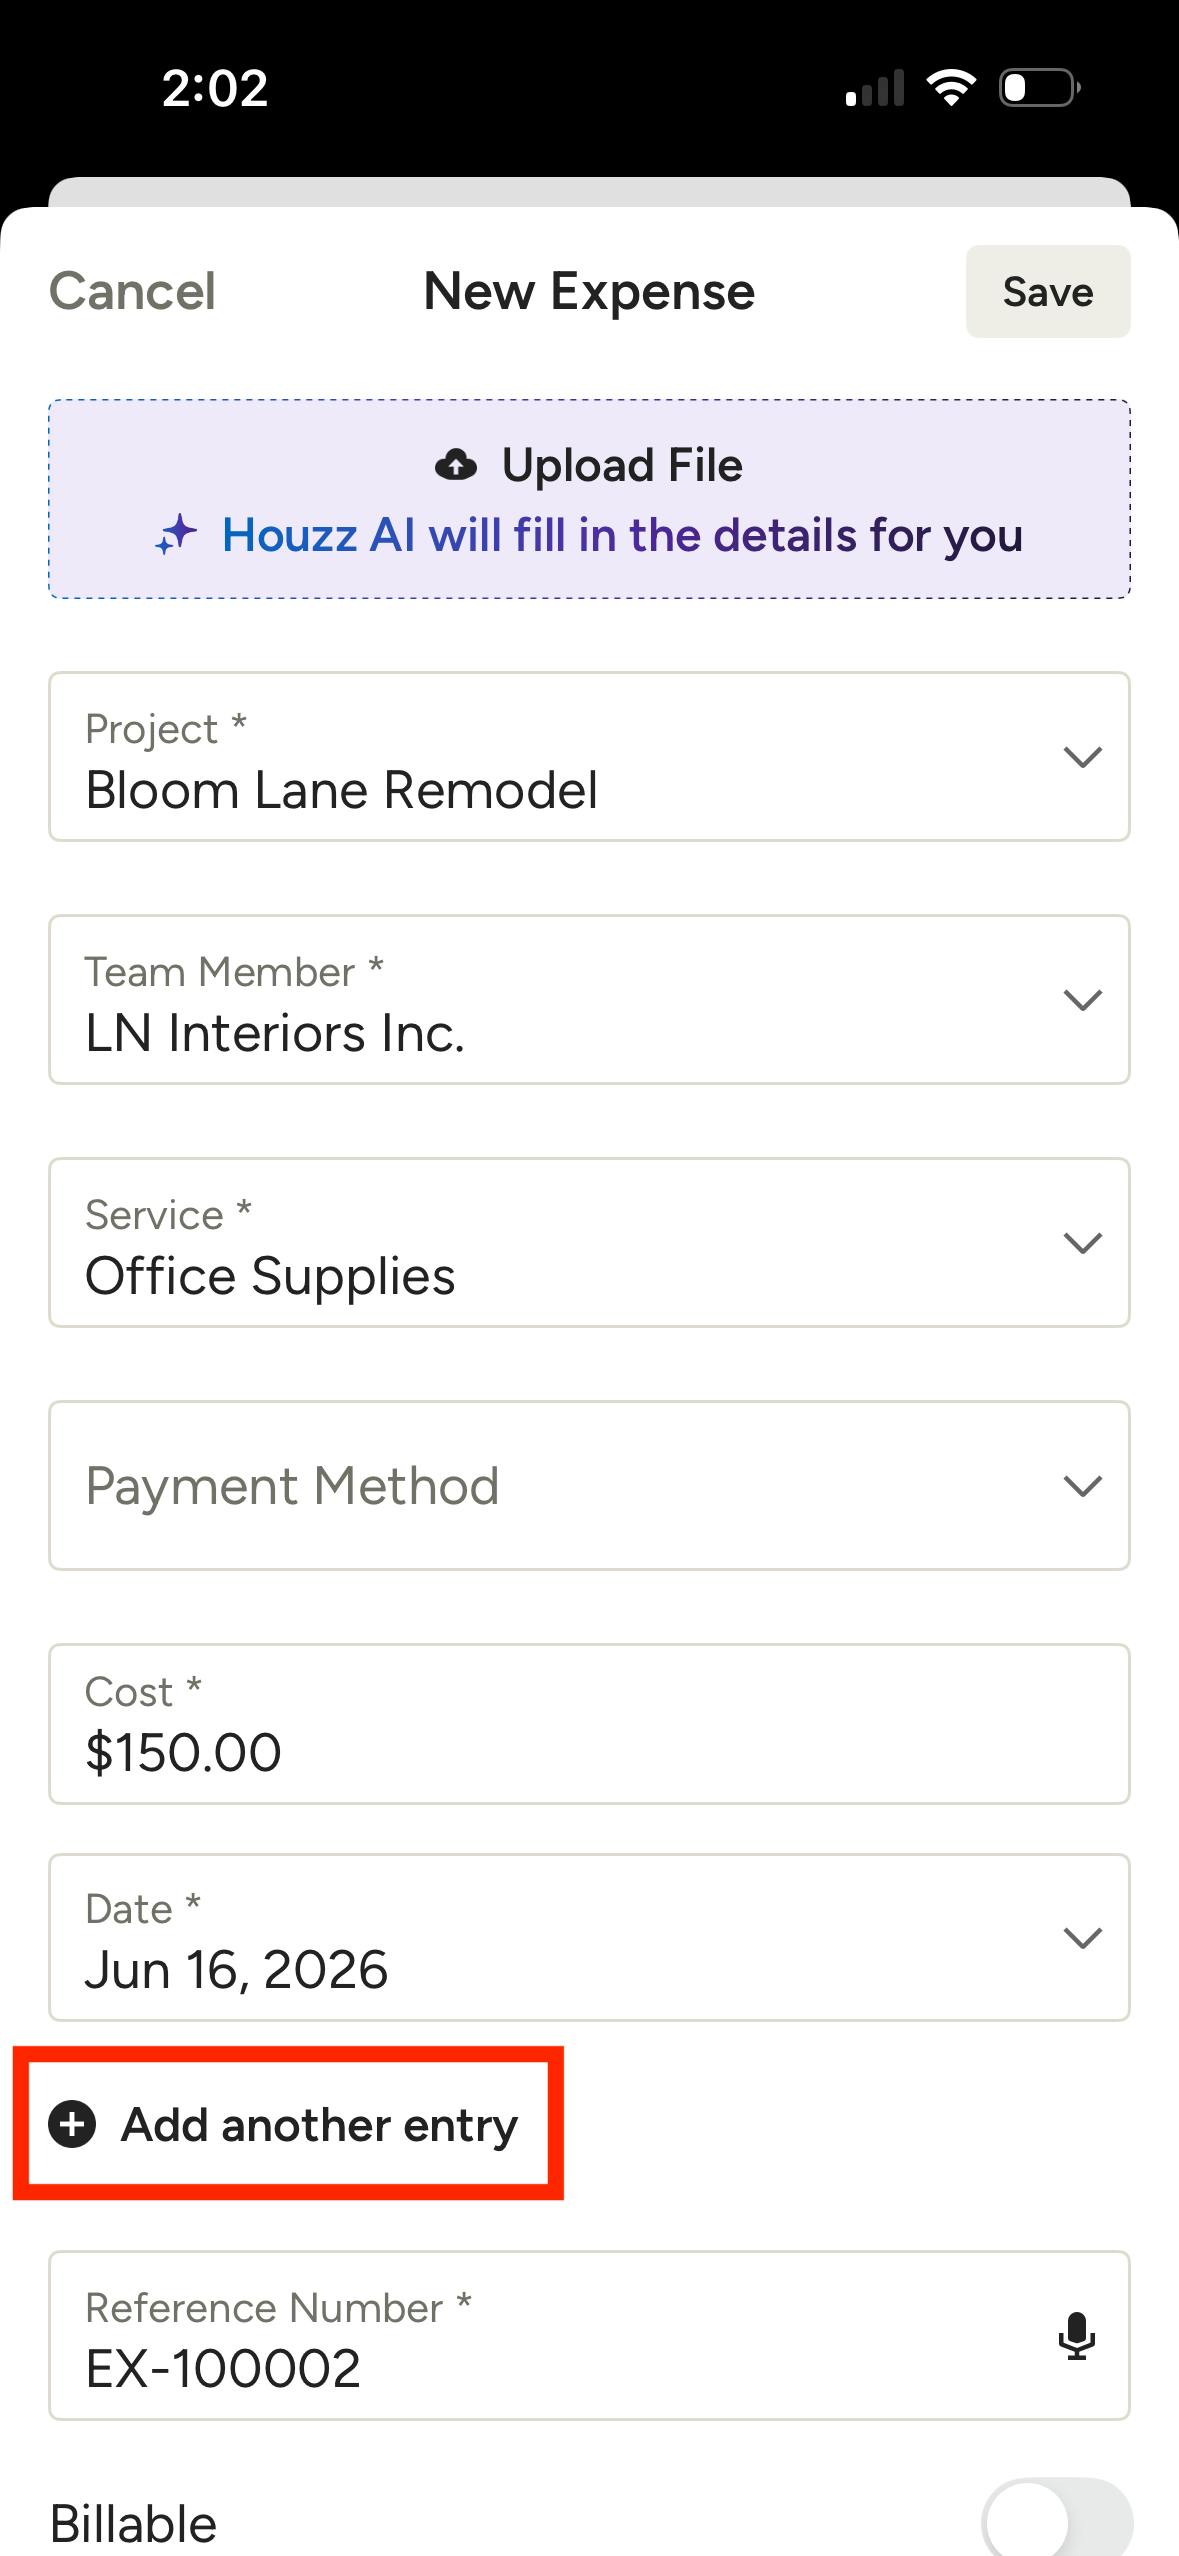
Enter the relevant details, including project, service, cost and any description necessary. You can add multiple expense entries for the same team member and service by tapping Add Another Entry. Note that team members and admins will see different fields in their expense modal depending on their permissions.
Once the details are entered, tap the Save button and you will see the new entry listed on the Expenses page.
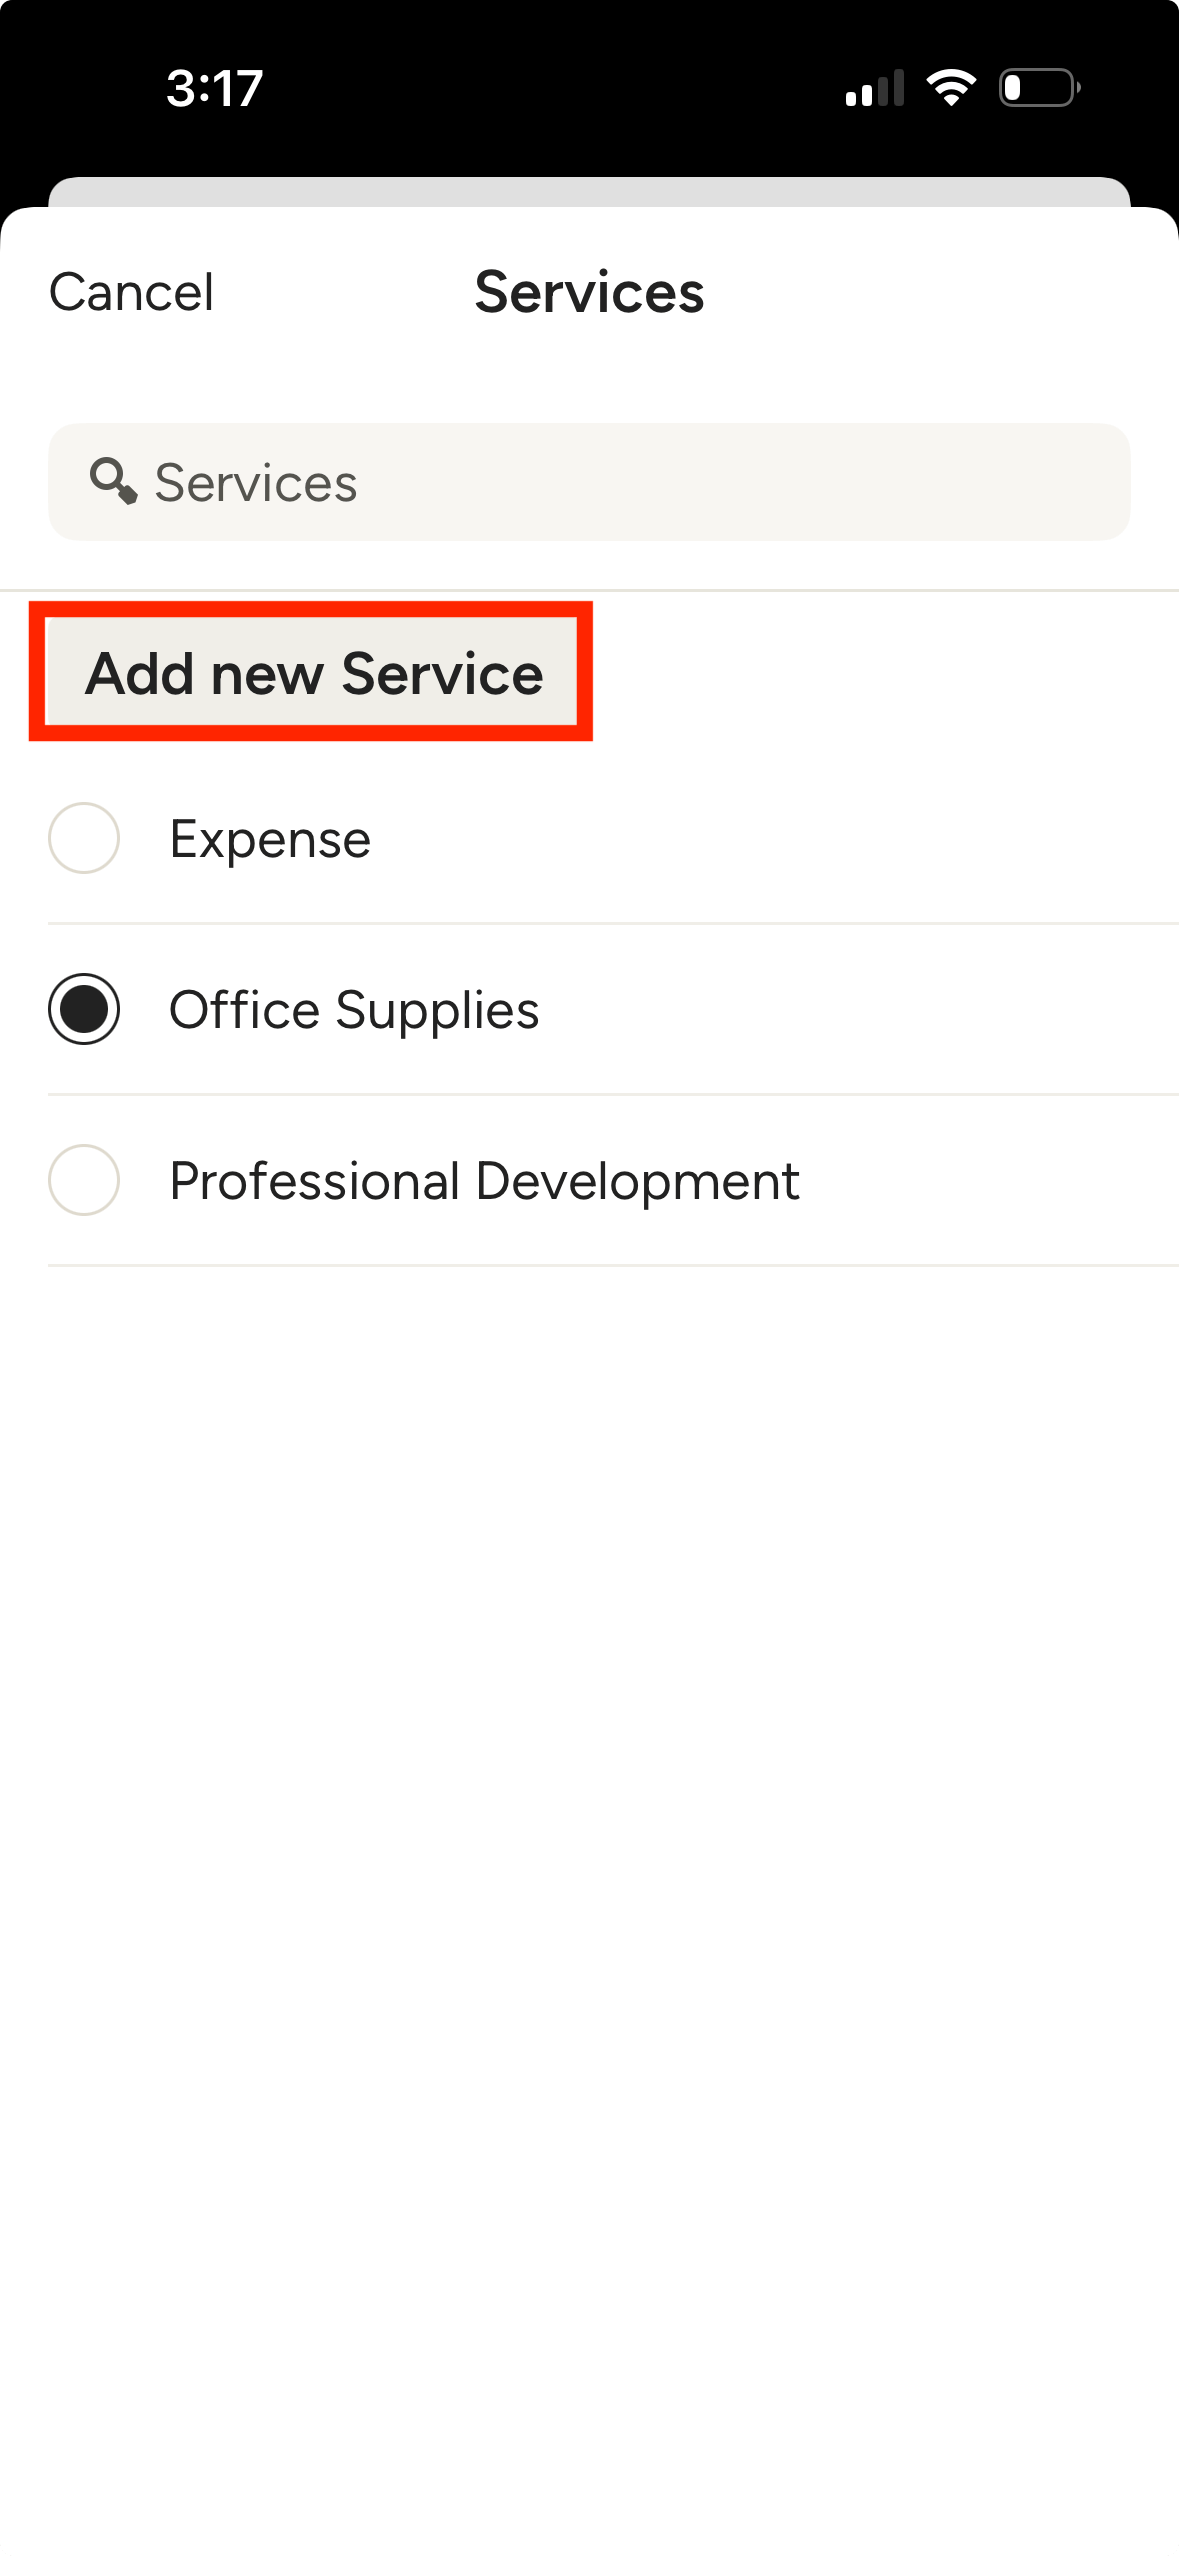
If there are no existing services or you wish to create a new service, simply tap Add New Service in the service dropdown, type the name of the service you wish to add/create, and tap Save.
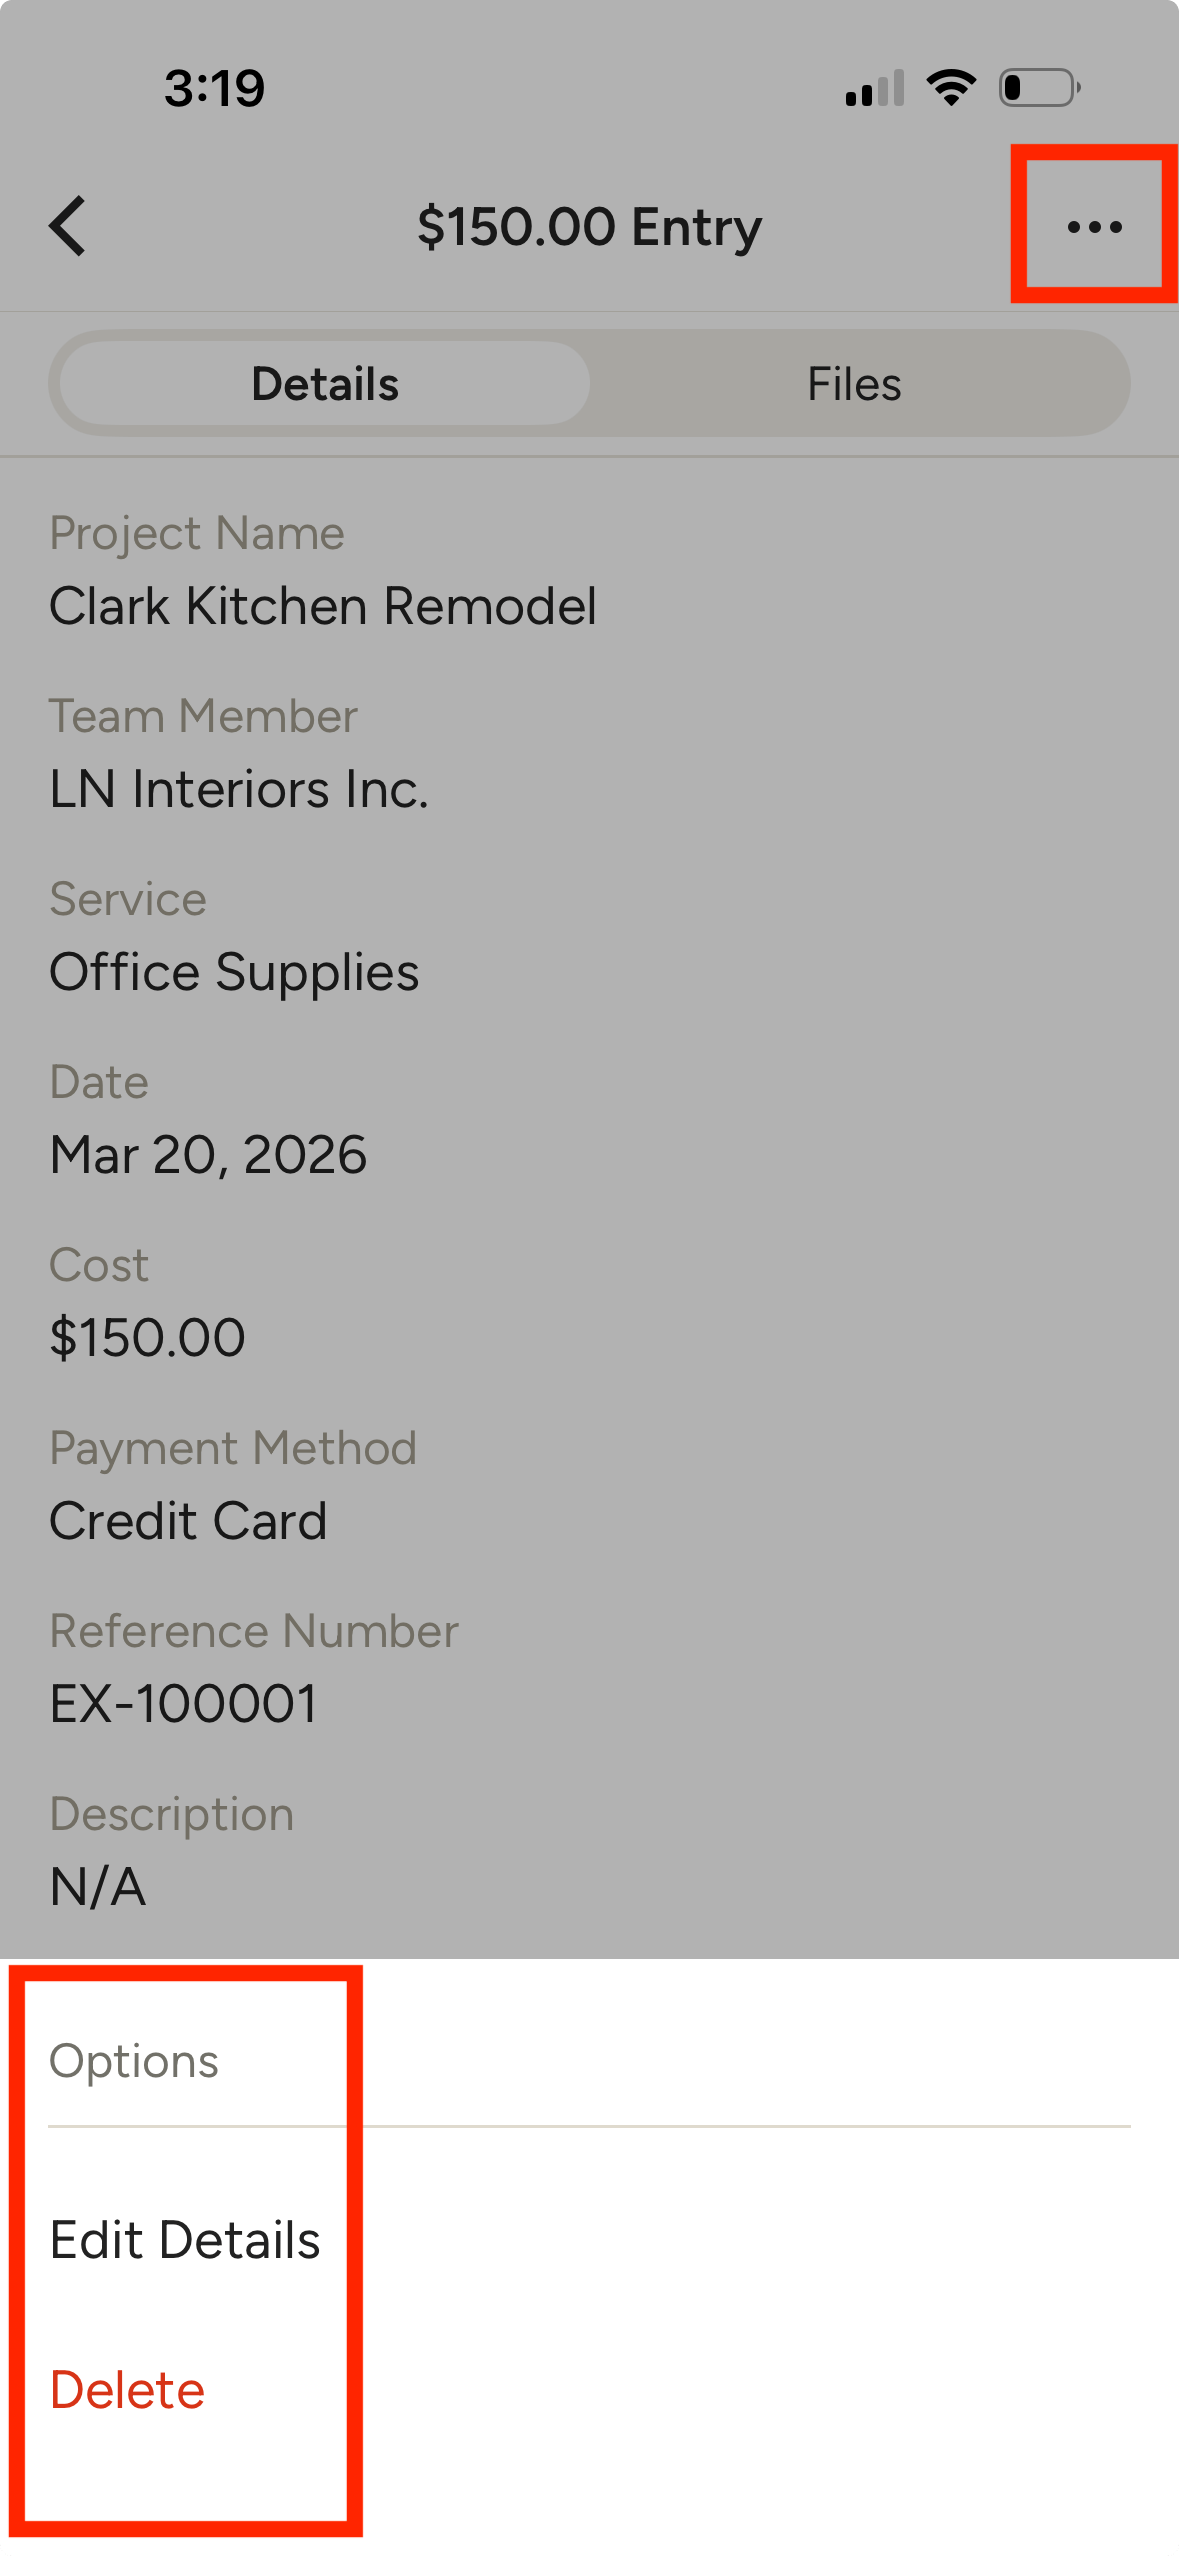
You can edit or delete an expense by tapping the desired entry, and opening the Options menu at the top and selecting the action you want to take.
Note that for proper record-keeping purposes, an entry cannot be deleted or edited once it’s linked to a document, such as an issued invoice.
Upload & Scan Receipts with AI
You can quickly create a expense entries on the mobile app by uploading or scanning files, photos or receipts and letting Houzz AI fill in the details for you.
To start, open a new expense entry, either from the Expenses page or section on the homepage (see above for more details). Tap Create expense with AI.
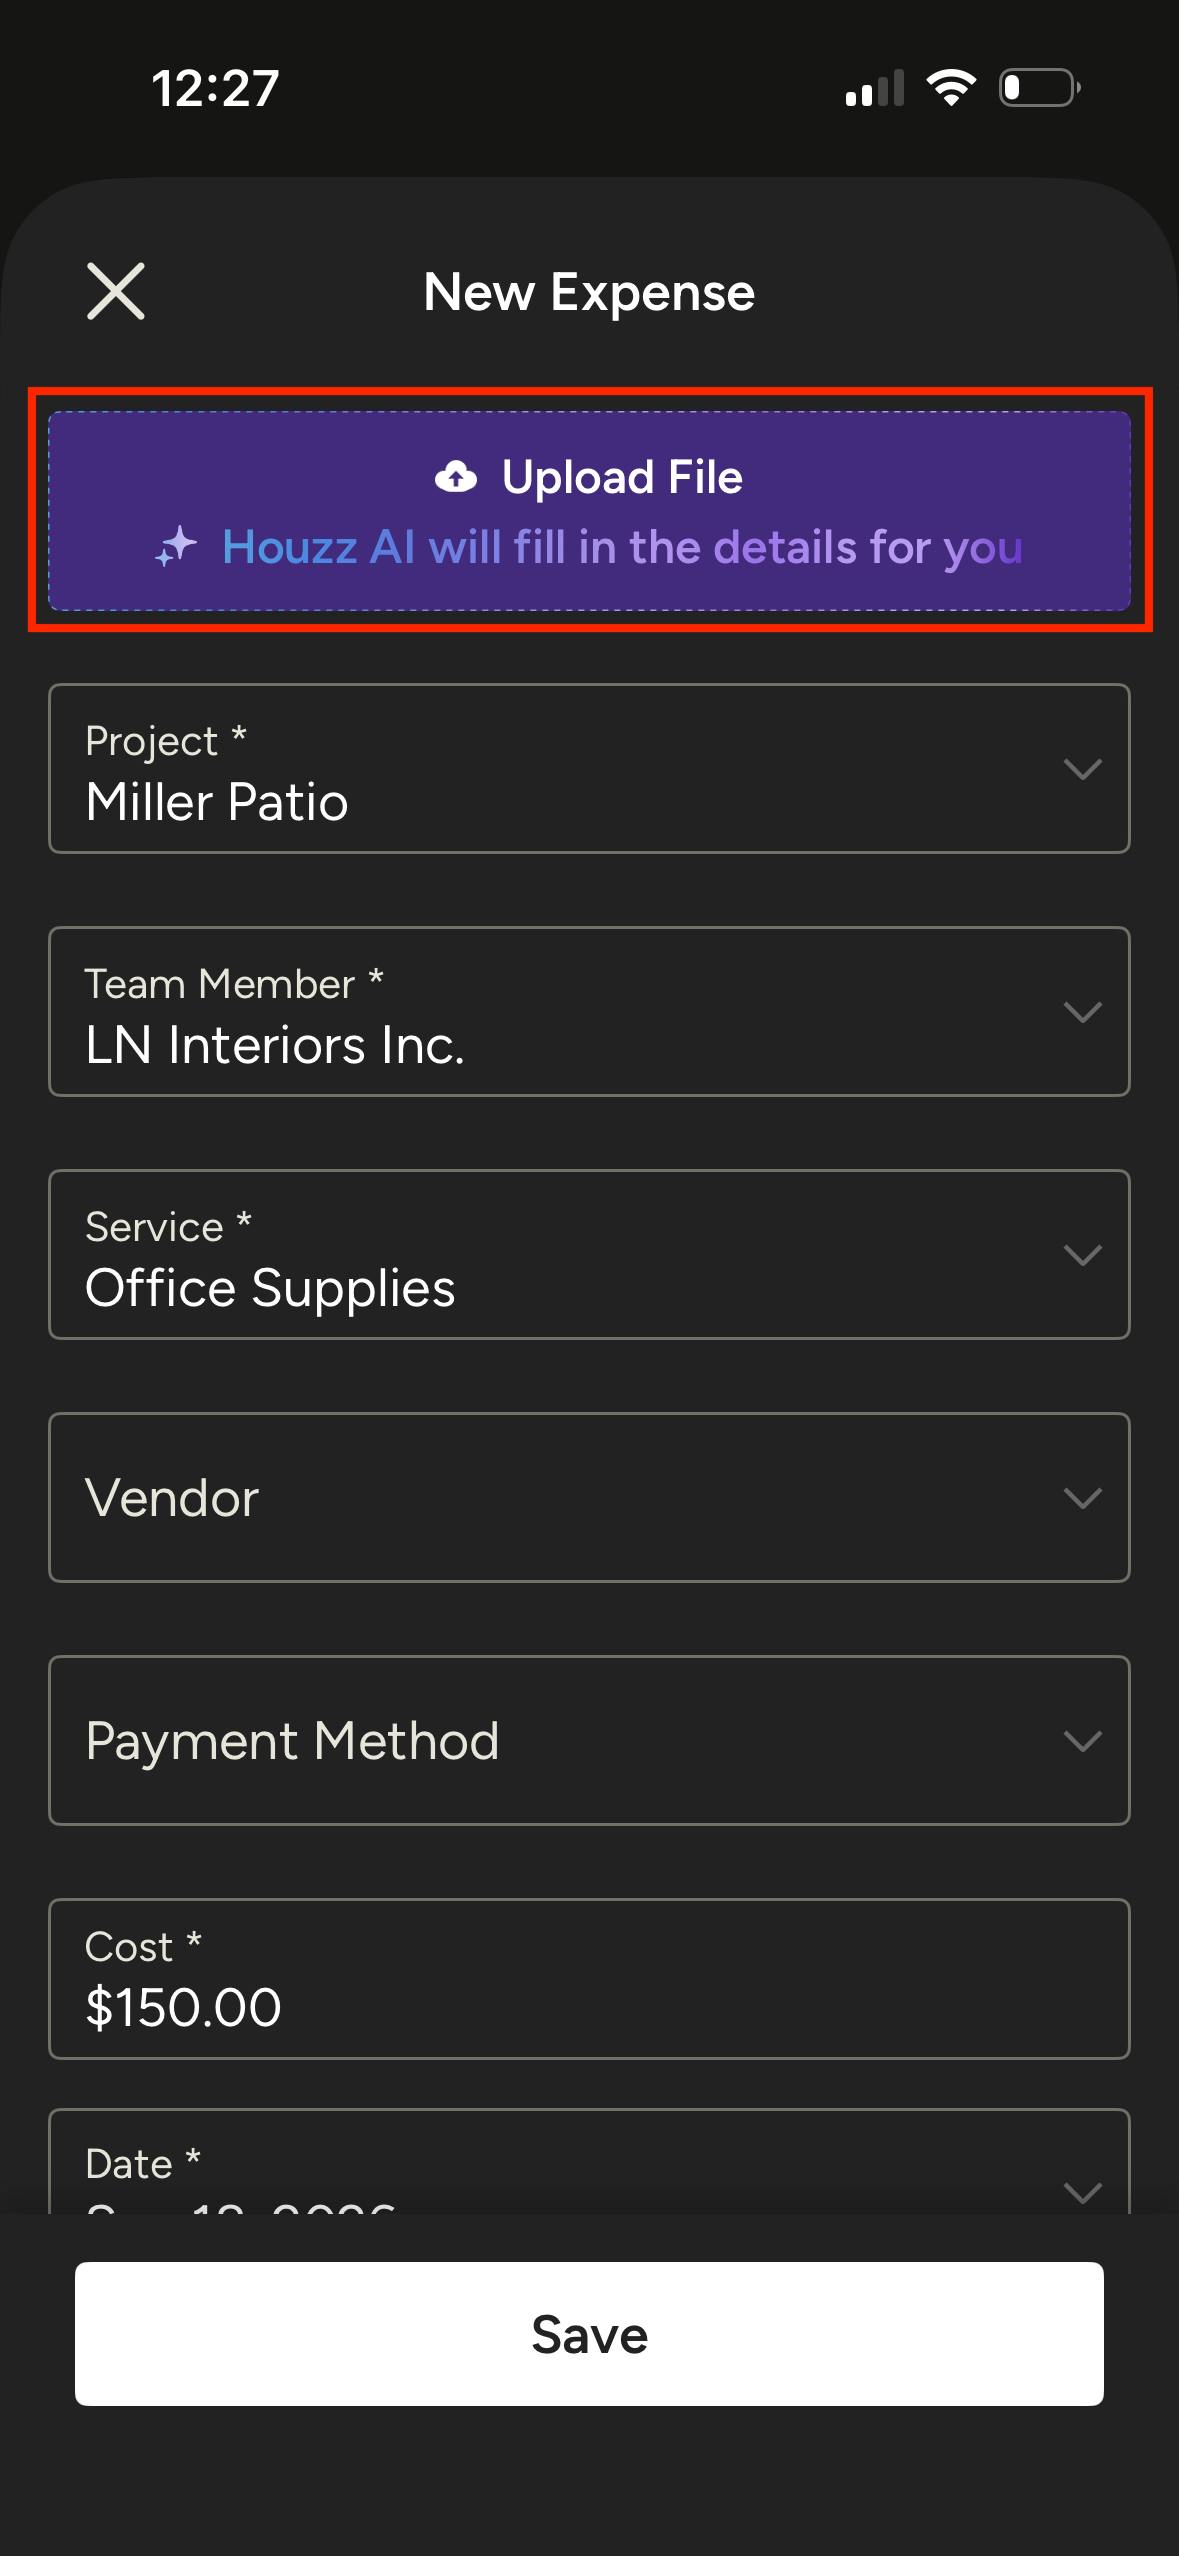
If you select Create expense from Scratch, you can access this AI option from Upload File section at the top of the entry.
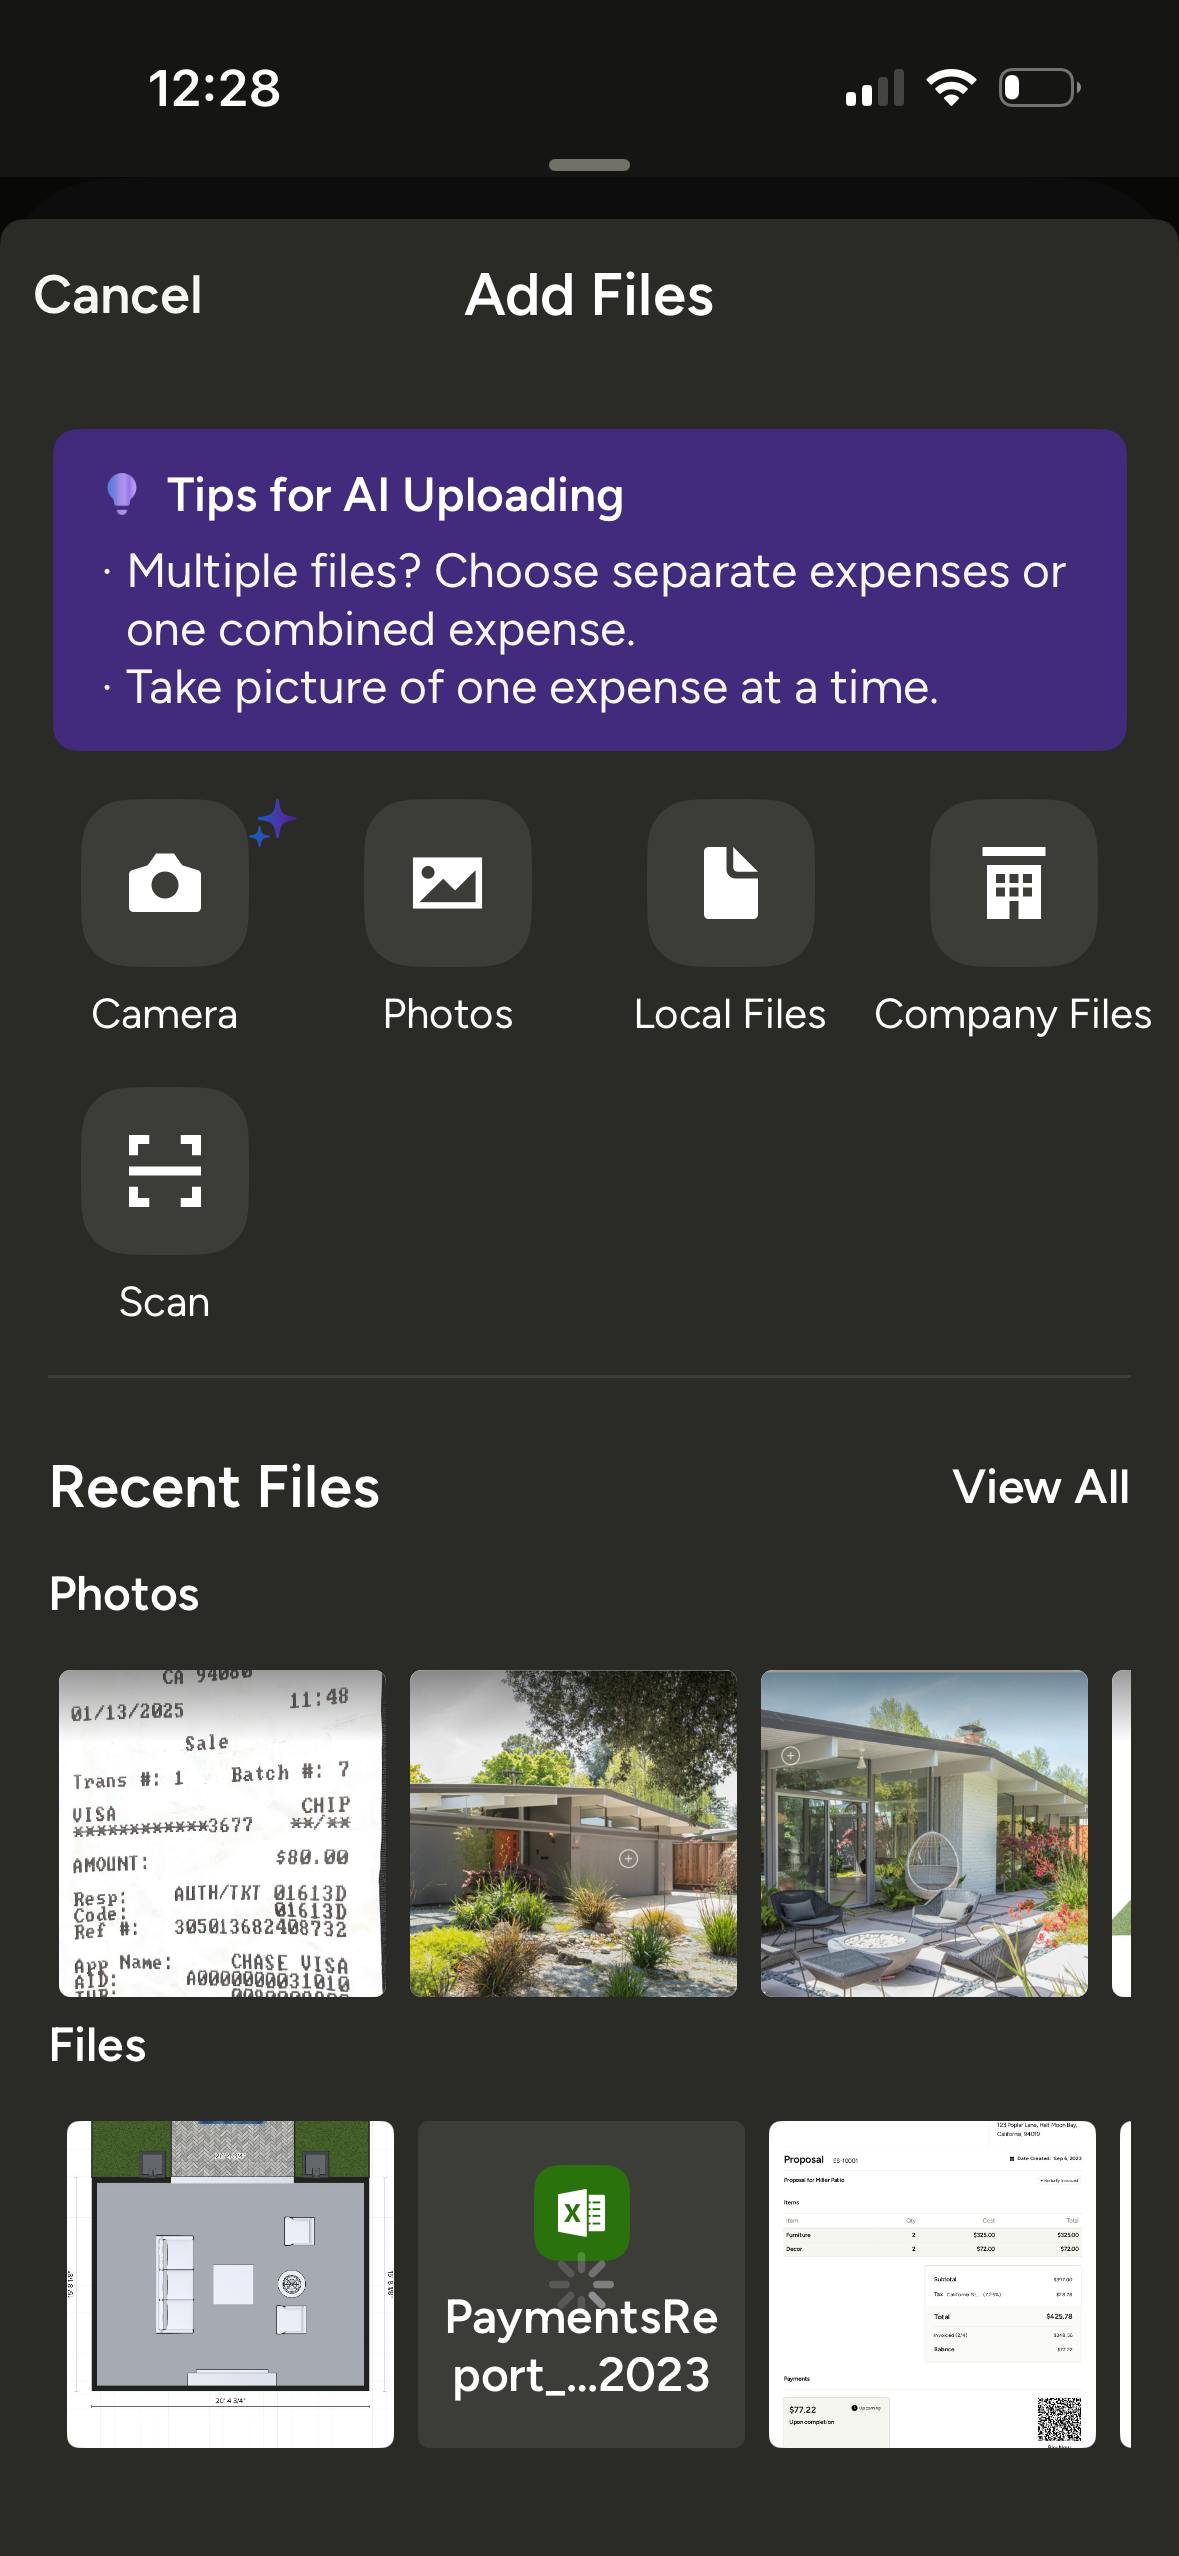
Next, you will be prompted to choose how you want to add your file for AI uploading. You can use your camera, select from your device's library or local files, your Company Files, or scan a document or receipt. You can upload or select multiple files to save time, with the option to create multiple expenses or attach all files to a single expense.
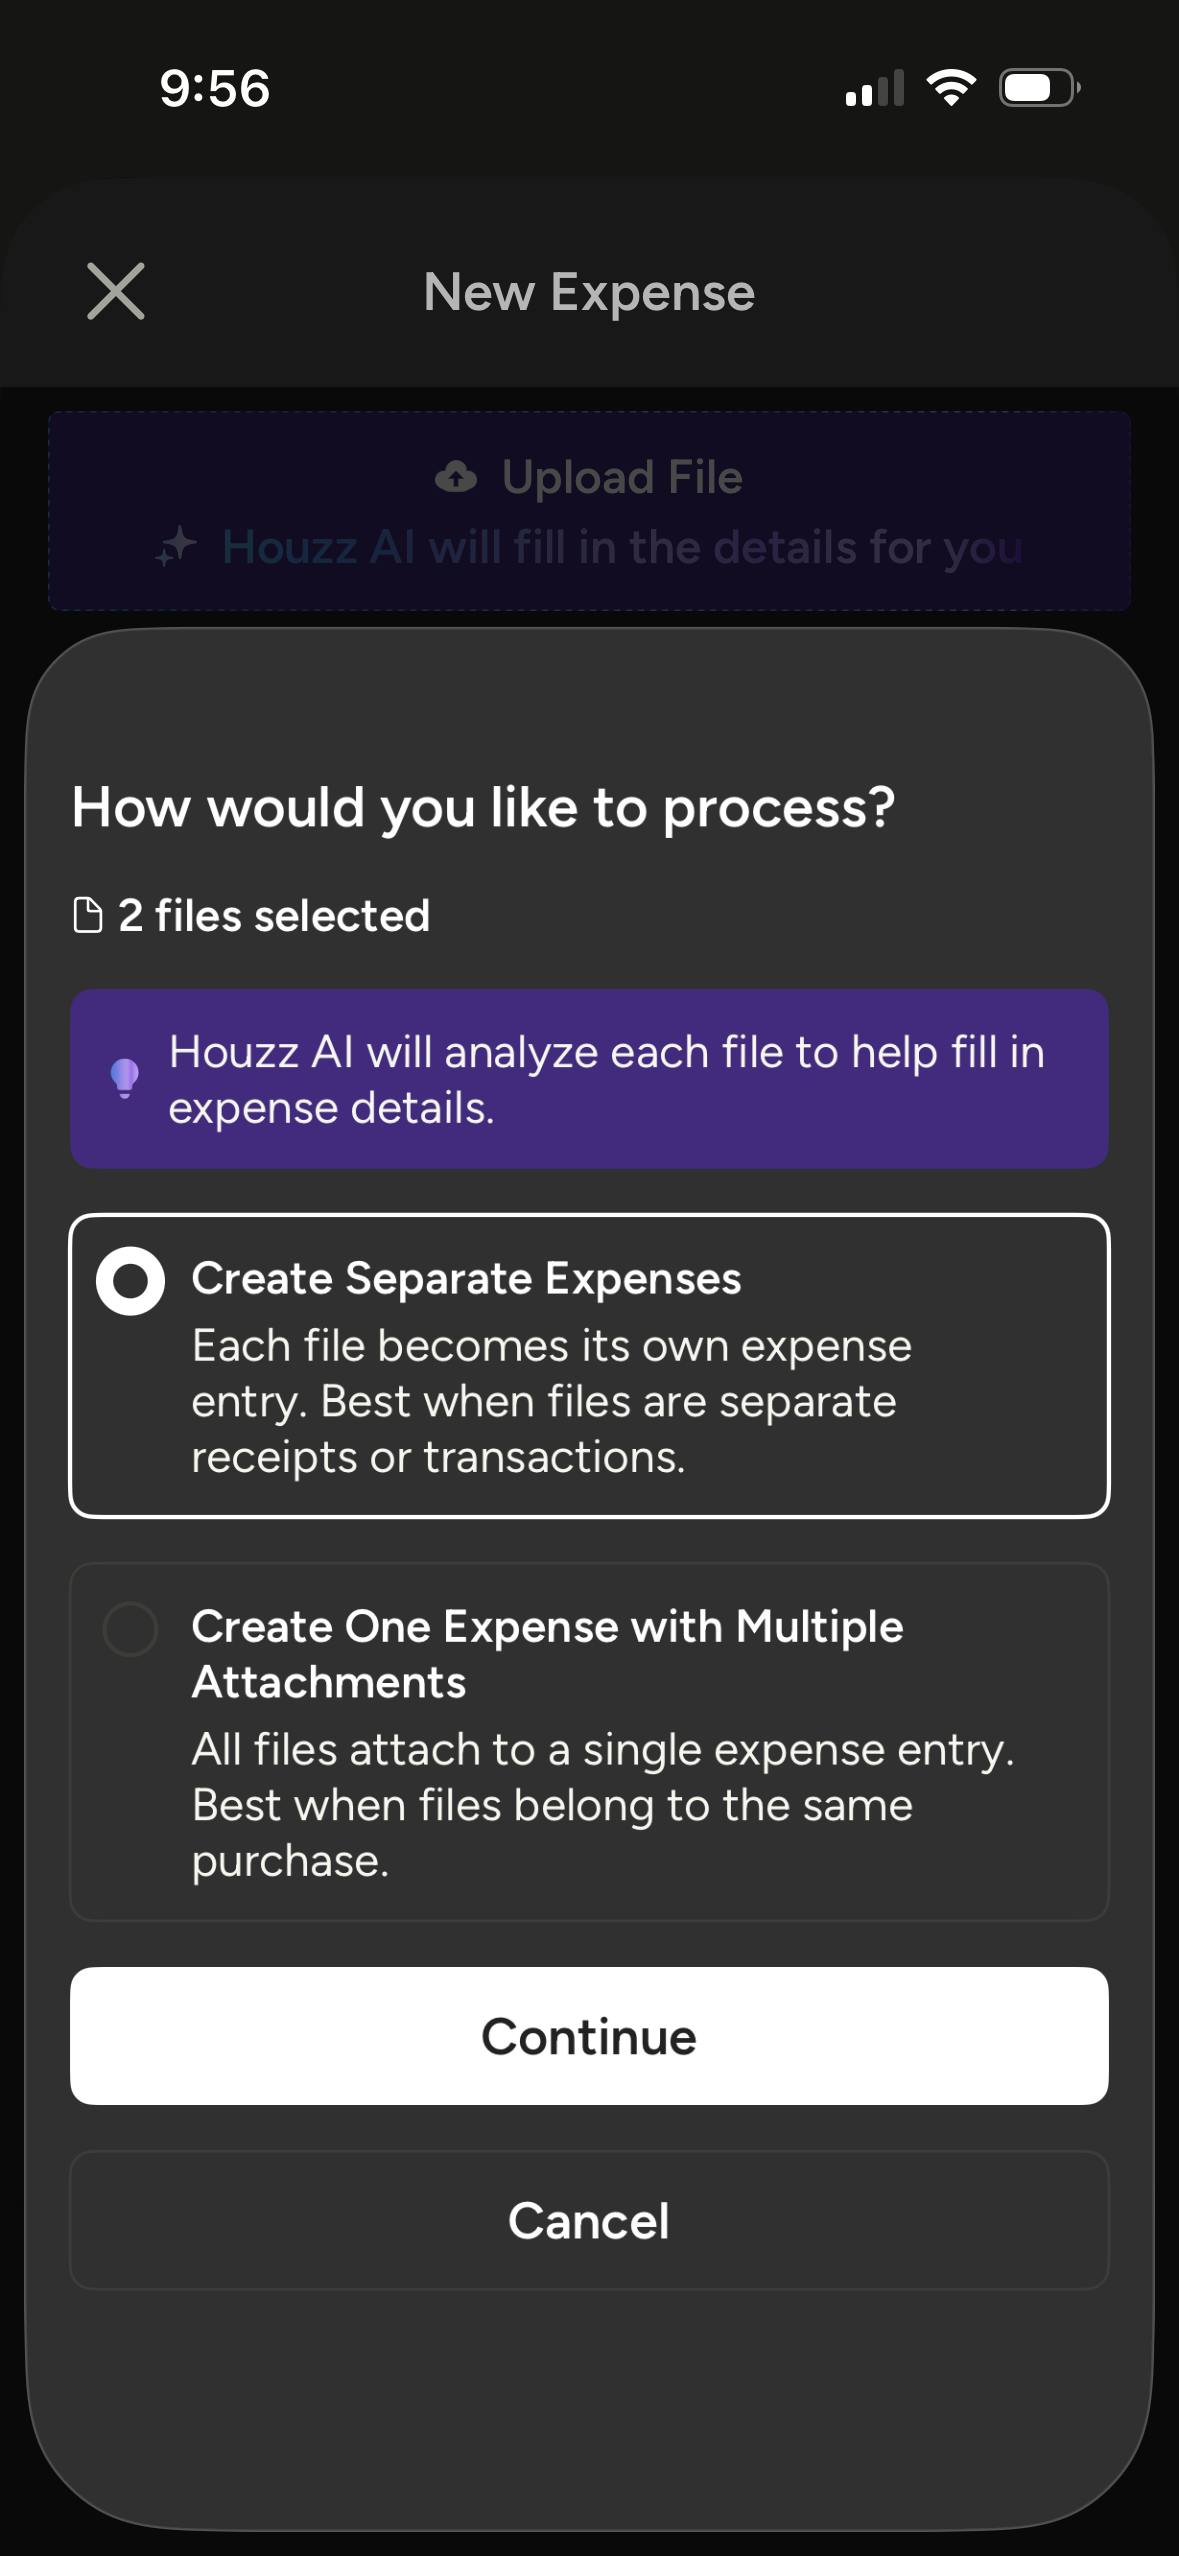
If you select multiple files, you will be prompted to choose how to process them:
- Create Separate Expenses: Each file becomes its own expense entry. Best when files are separate receipts or transactions.
- Create One Expense with Multiple Attachments: All files attach to a single expense entry. Best when files belong to the same purchase.
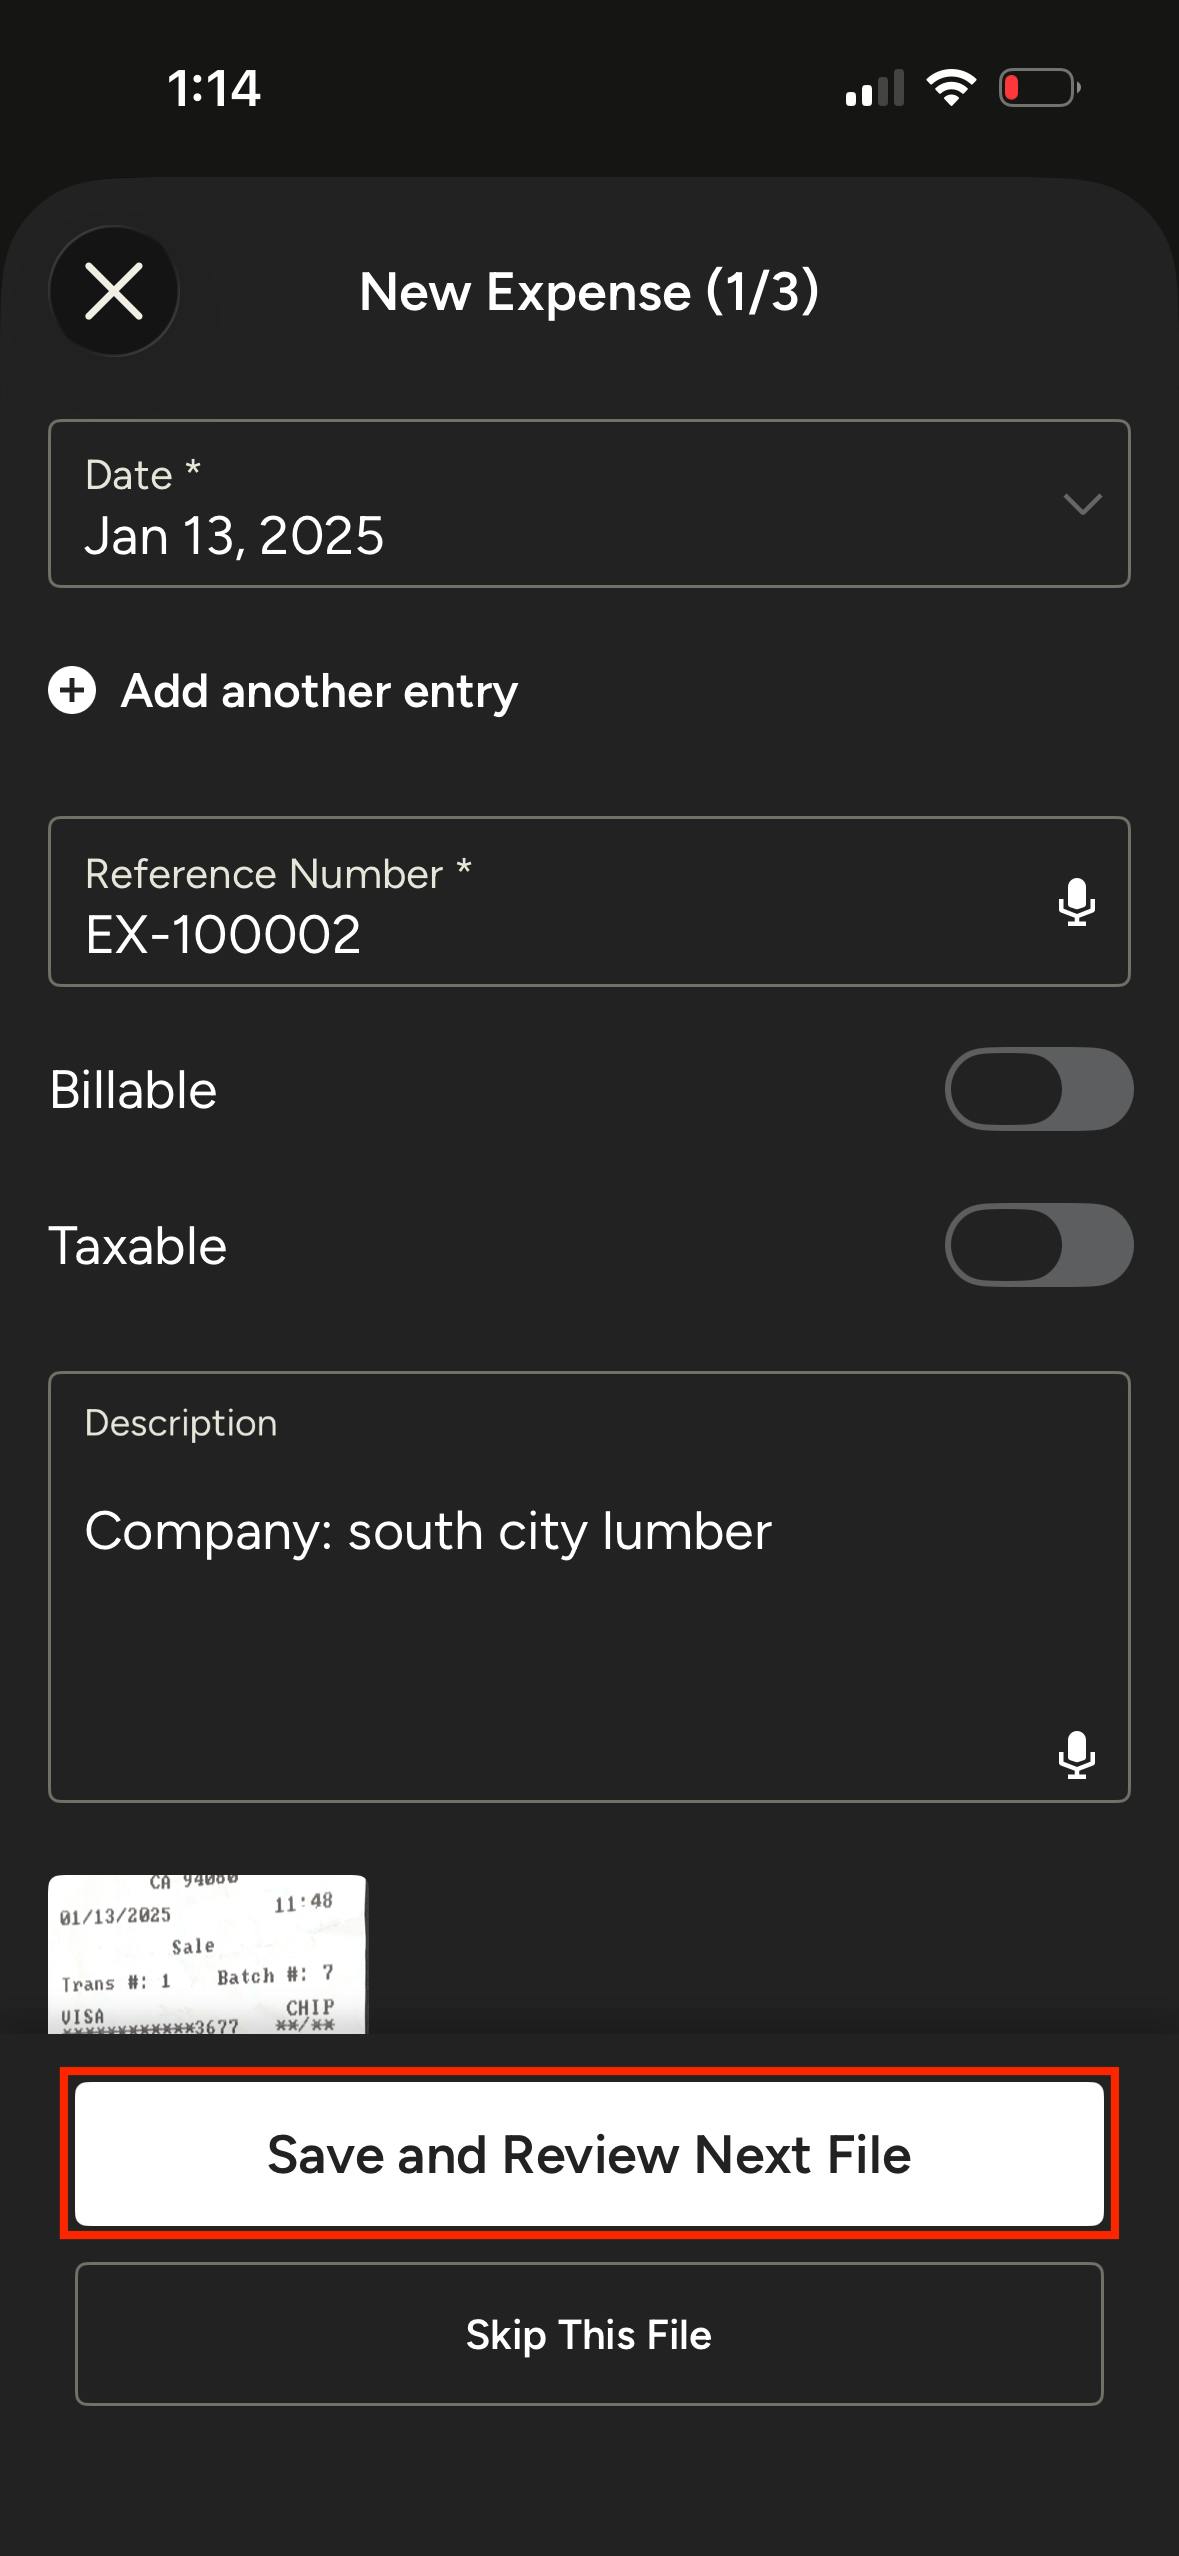
Next, review the AI generated expense entry from each file you added and make adjustments as needed. Tap Finish to save the expense (if it's a single upload) or Save and Review Next File if you added multiple expenses.
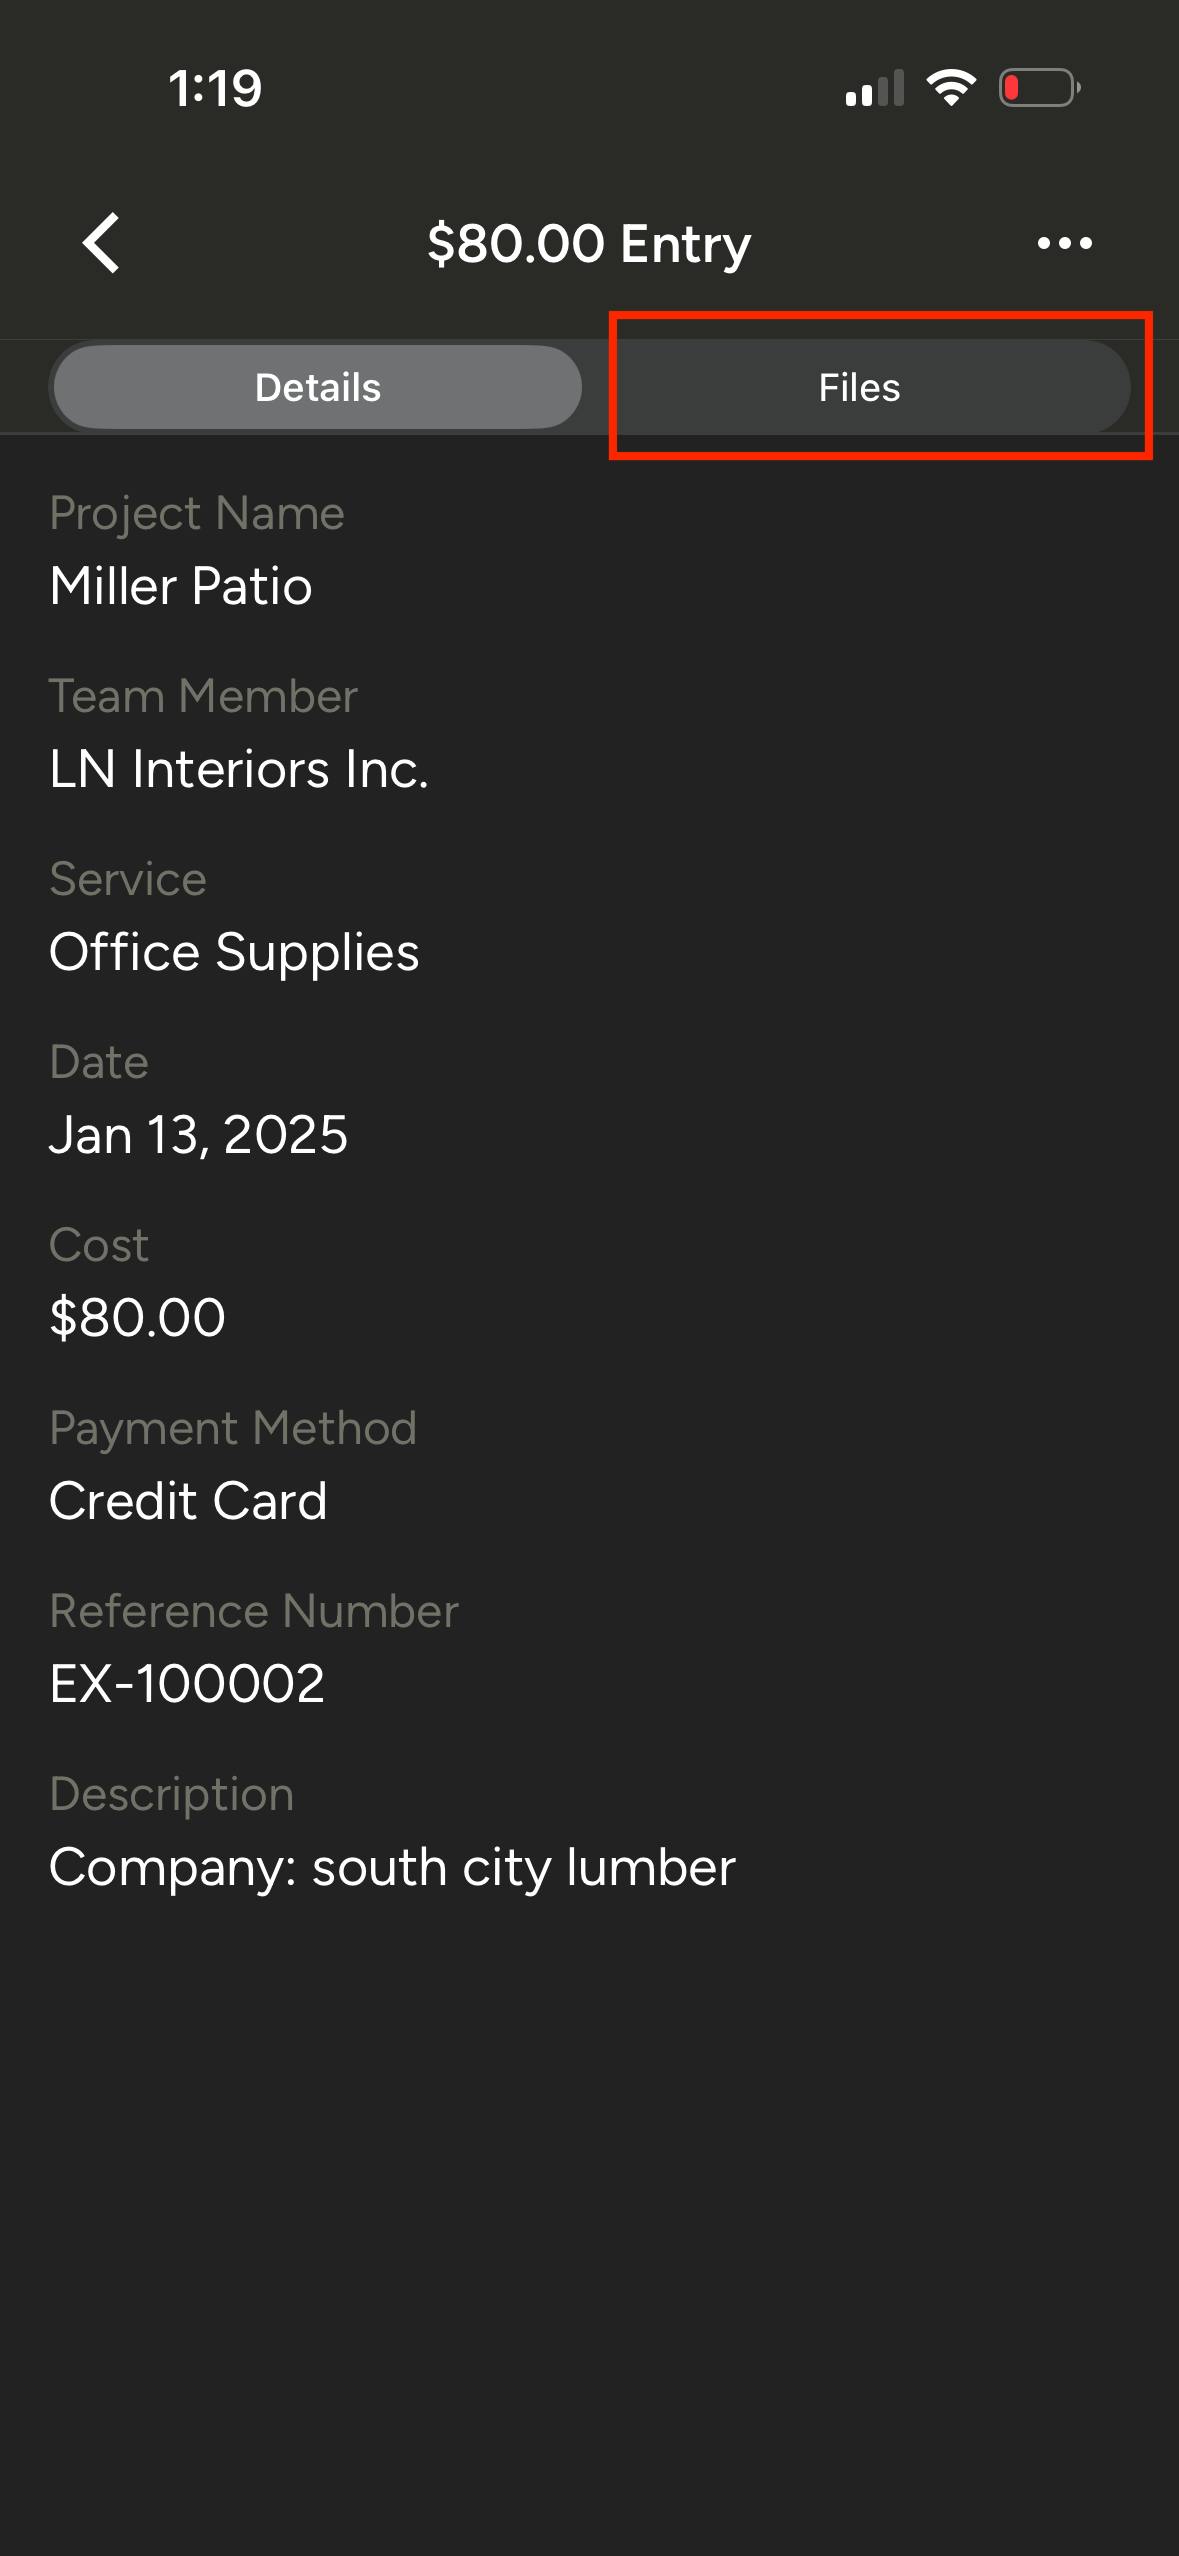
You can find your saved expenses in the Expenses section, along with the uploaded/scanned file attached in the Files tab at the top.
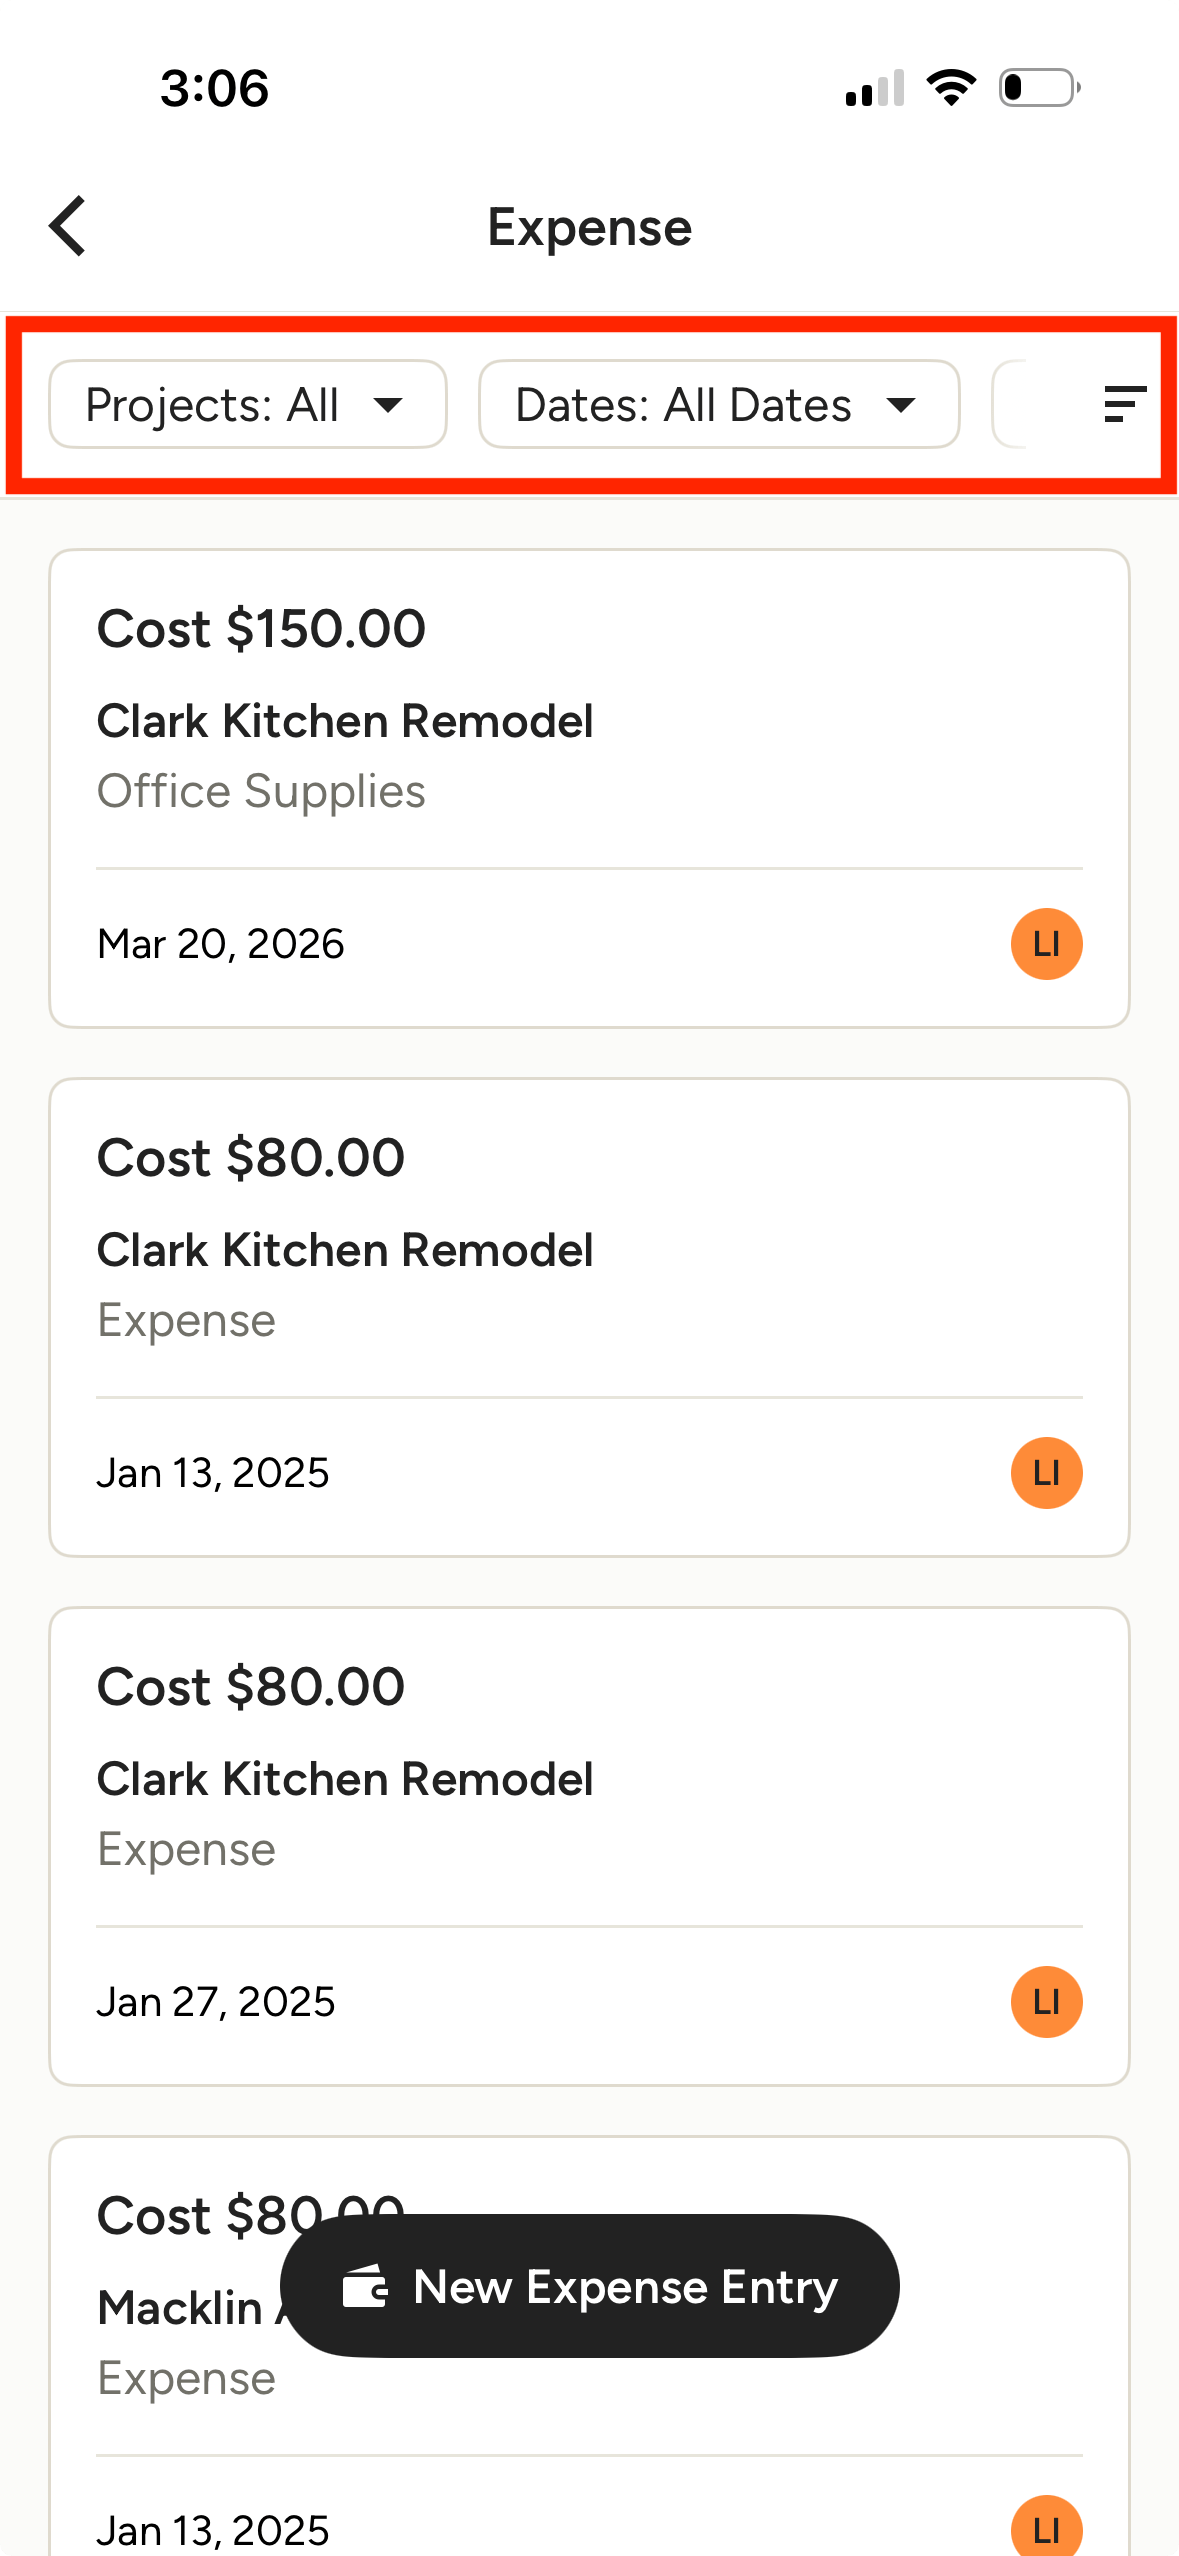
Filter and Sort Expenses
You can filter expense entries by project, date, service type, team member, and whether they’ve been invoiced or not, and sort according to your needs by using the options at the top of the page.
Manage Expense Services
Within the Houzz Pro app you can create new expense services during the process of logging an expense entry, as detailed in the steps above. To edit, delete or manage services you need to use the desktop version of Houzz Pro. See this article for more information on managing expense services.
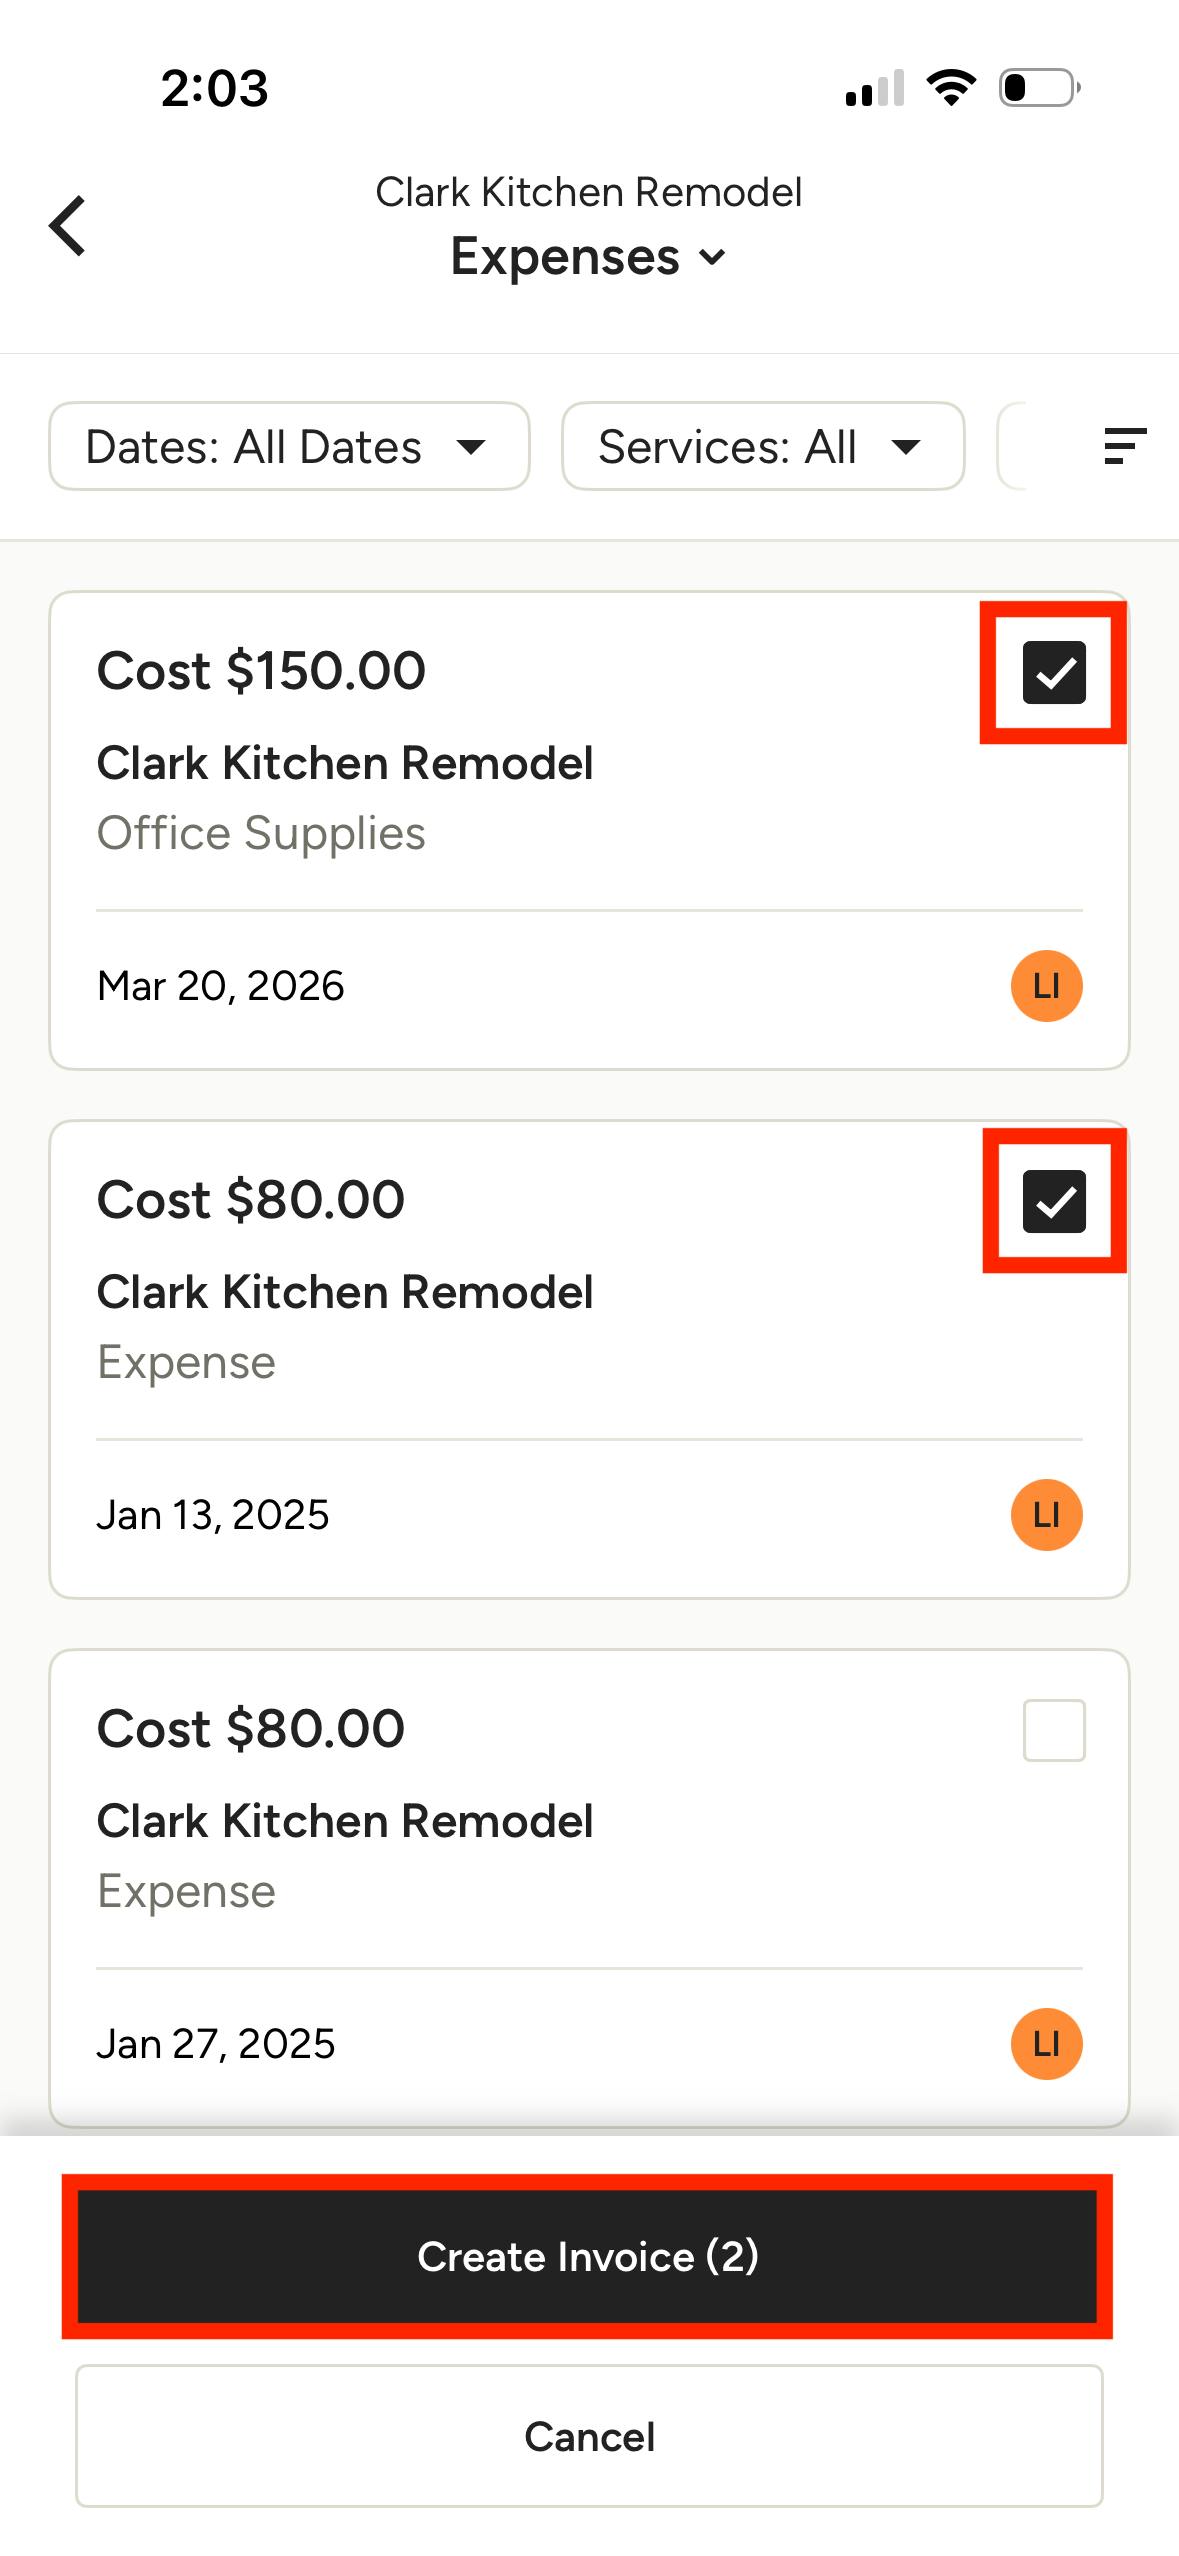
Invoice Expenses
If you want to invoice expenses within the app, you must first navigate to a specific project page — this action cannot be done from the main Expenses page in the app. From a project overview page, you can tap on the Expenses section, select the entry(s) you wish to invoice by tapping the checkbox on the right, then tap Create Invoice in the menu that appears.