


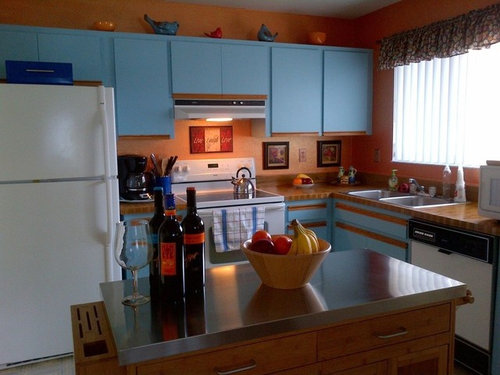
How did I do? A kitchen redo for $350... But...
mbouse
10 years ago
last modified: 10 years ago

Featured Answer
Sort by:Oldest
Comments (76)
 PRO
PROChristopher James Interiors
10 years ago
mbouse
10 years agombouse
10 years agojkflag
10 years ago
ginale
10 years agombouse
10 years agoVicki K
10 years ago
mabulu
10 years ago PRO
PROBrown Bros. Masonry
10 years ago
row_014
10 years agombouse
10 years ago
Geneviève
10 years agoBrenda
10 years agolast modified: 10 years ago PRO
PROVirtus Design
10 years agombouse
10 years ago PRO
PROSustainable Dwellings
10 years ago
Laura E.
10 years ago- PRO
Sustainable Dwellings
10 years ago 
Mary Sheehan Zsemlye
10 years agombouse
10 years agoBeerpocketbook
10 years ago PRO
PROCabinets To Go
10 years agolsanchezshad
10 years agosbrustein
10 years ago
bananamamma
10 years agombouse
10 years agombouse
10 years agodstemple1956
10 years ago
bungalowmo
10 years agolast modified: 10 years ago
Curt D'Onofrio
10 years agombouse
10 years agombouse
10 years agobungalowmo
10 years ago PRO
PROStudio NOO Design
10 years ago PRO
PROPrestige One Landscape
10 years agombouse
10 years agombouse
10 years agobungalowmo
10 years agolast modified: 10 years agombouse
10 years agombouse
10 years ago PRO
PRO123 Remodeling Inc.
9 years ago PRO
PROFive Star Painting of Austin
6 years agosheilaksb
4 years ago PRO
PRONorwood Architects
4 years agombouse
last yearmotupeg
last yearBeerpocketbook
last year
RedRyder
last year
Andee
last year PRO
PROFrameMyMirror
last year
Related Stories
BUDGETING YOUR PROJECTHouzz Call: What Did Your Kitchen Renovation Teach You About Budgeting?
Cost is often the biggest shocker in a home renovation project. Share your wisdom to help your fellow Houzzers
Full Story
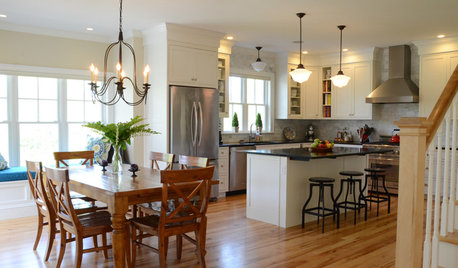
MY HOUZZMy Houzz: Warmth and Style in 350 Square Feet
Lack of space doesn’t deter this San Francisco pair from creating a warm, functional space that’s ideal for entertaining
Full Story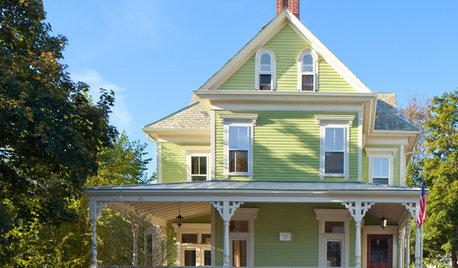
TRADITIONAL HOMESHouzz Tour: Redo Shines Light on 19th-Century Newport Beauty
The renovated Rhode Island home boasts gorgeous woodwork, an appealing wraparound porch and a newly spacious kitchen
Full Story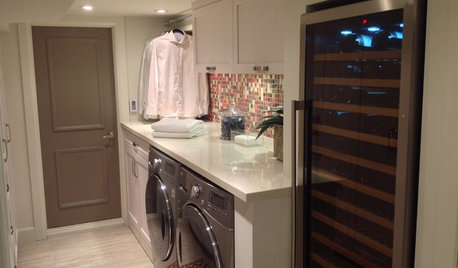
LAUNDRY ROOMSLaundry Room Redo Adds Function, Looks and Storage
After demolishing their old laundry room, this couple felt stuck. A design pro helped them get on track — and even find room to store wine
Full Story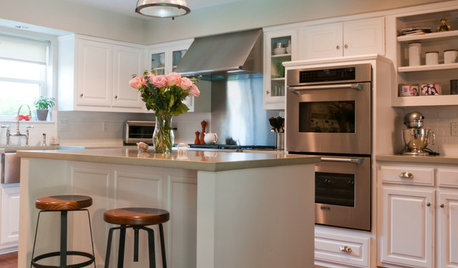
KITCHEN DESIGNShow Us Your Fabulous DIY Kitchen
Did you do a great job when you did it yourself? We want to see and hear about it
Full Story
MY HOUZZMy Houzz: Organic Minimalism in a Denver Redo
Before and After: Avid DIY-ers bring a 1970s home back to life with midcentury and bohemian decor
Full Story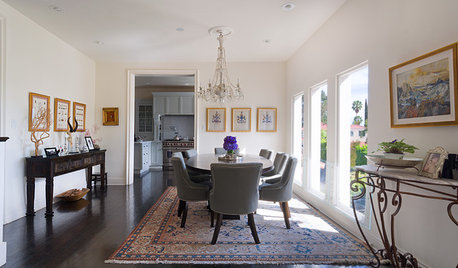
HOUZZ TOURSMy Houzz: Elegant Redo of a Hollywood Spanish Colonial
A film producer takes a cue from his Scottish roots to bring comfort and familiarity to his home in the Hollywood Hills
Full Story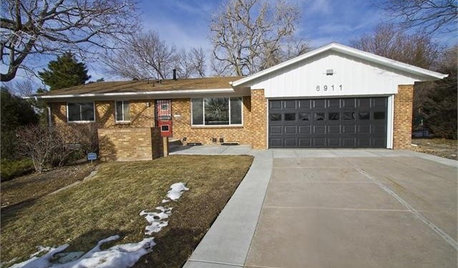
HOUZZ TOURSHouzz Tour: 1960s Ranch Redo in Denver
This sibling team balanced their renovation budget by spending where it counts, and turned their Colorado childhood home into a showplace
Full Story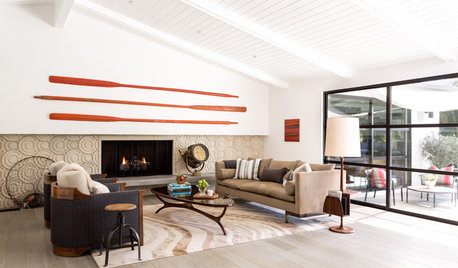
MODERN HOMESHouzz Tour: ’50s Ranch Redo Could Be a Keeper
An experienced house flipper puts his creative talents to work on an L.A. remodel designed for his own family
Full Story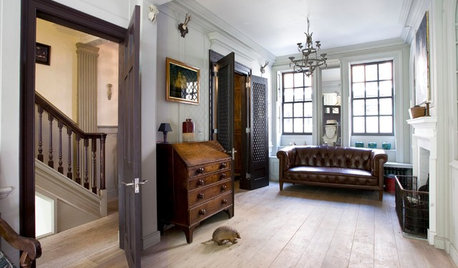
TRADITIONAL HOMESHouzz Tour: Redo Brings a 1720s London Home Into the Present
Skillful renovation and an eclectic mix of art, antiques and furnishings update an 18th-century townhouse
Full Story


mbouseOriginal Author